
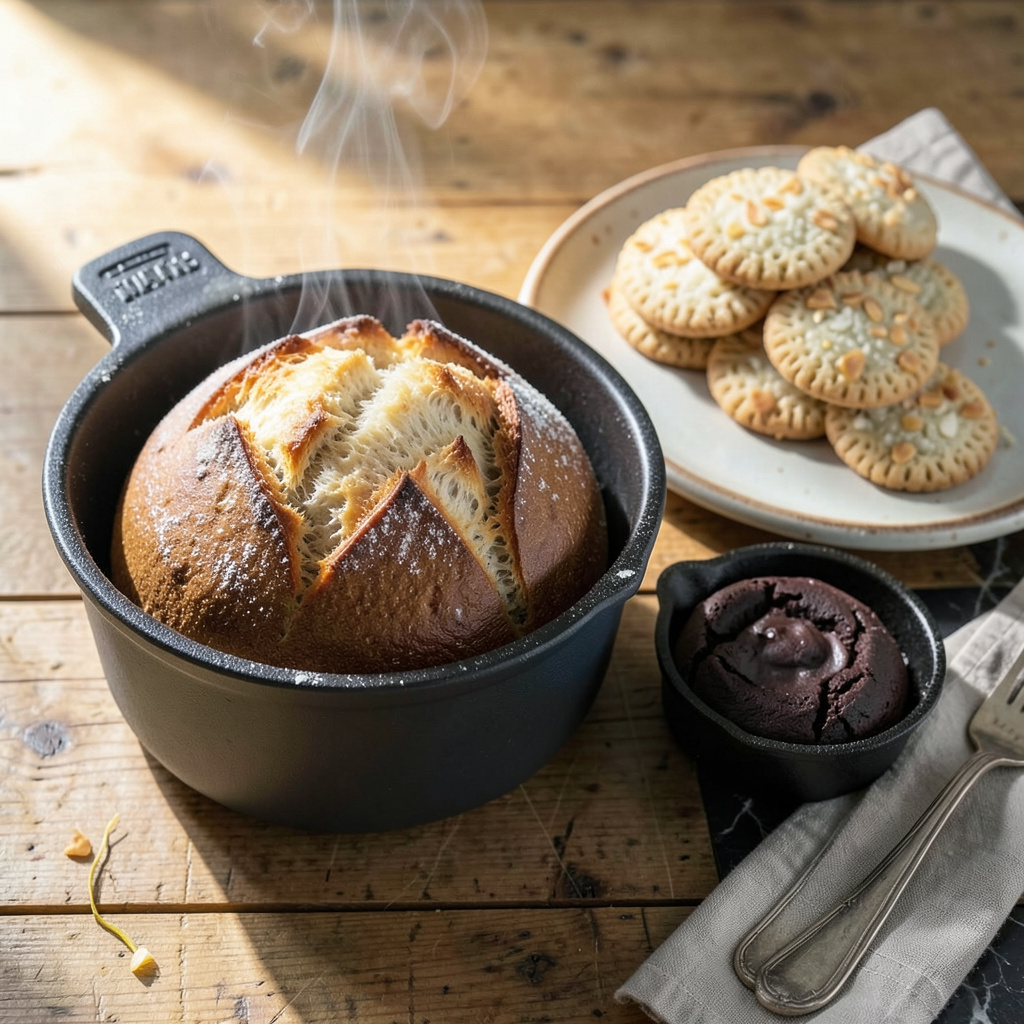
No oven? No problem. I’ve spent years perfecting ways to bake without one, and let me tell you—some of my best desserts were made on a stovetop or in a toaster oven. The secret is knowing how to harness the heat you do have, whether it’s a heavy Dutch oven, an air fryer, or even a trusty slow cooker.
What really changed the game for me was realizing that baking isn’t about the appliance—it’s about controlling heat and moisture. A cake baked in a rice cooker can be just as perfect as one from a fancy oven if you nail the timing and temperature. I’ve burned through my fair share of experiments (literally), but the methods I’m sharing here? They work every time.
You’ll be surprised how many classic baked goods you can pull off with just a pot, a heat source, and a little creativity. We’re talking golden-brown cakes, crispy flatbreads, and even cookies that’ll make you forget you ever needed an oven. The key is adapting recipes to your equipment—not the other way around.
Whether you’re in a tiny apartment, your oven’s on the fritz, or you just want to try something new, these techniques will give you foolproof results. And honestly? Some of these methods are faster than waiting for an oven to preheat. Let’s get started with what actually works.
📚 In This Guide
- What You’ll Need
- Instructions
- Tips and Common Mistakes
What Youll Need
- ● Essential Tools: 1 large, heavy-bottomed pot or Dutch oven (5–6 quarts, with a tight-fitting lid)
- ● 1 stovetop or portable burner (gas, electric, or induction)
- ● 1 heatproof baking dish or cake pan (fits inside your pot; 8–9 inches ideal)
- ● Aluminum foil (to cover dishes or line pots)
- ● Parchment paper (for easy release and cleanup)
- ● Tongs or oven mitts (heat-resistant, for safe handling)
- ○ Optional (But Helpful!) Extras: Steamer basket or rack (elevates dishes for even heat)
- ● Instant-read thermometer (to check doneness, e.g., bread at 190–200°F)
- ● Cast-iron skillet (great for stovetop cookies or flatbreads)
- ● Silicone mat (non-stick surface for baking on a skillet)
- ● Pantry Staples: Salt, sugar, flour (all-purpose or recipe-specific)
- ● Baking powder/soda (for leavening—check expiration dates!)
- ● Oil, butter, or ghee (for greasing + cooking)
Step-by-Step Instructions for Baking Without an Oven
You’ll be amazed how simple it is to achieve perfect baked goods using just your stovetop and a few clever techniques!
Choose Your Stovetop Baking Method
First, decide which technique works best for your recipe. For cakes and breads, I love using a heavy-bottomed pot with a tight-fitting lid—it creates the perfect steam environment. If you’re making cookies or flatbreads, a simple skillet with a lid works wonders.
Fill the bottom of your pot with about 1 inch of salt or sand to diffuse heat evenly. This prevents hot spots that could burn your baked goods. The salt/sand layer acts like an oven’s heating element, distributing warmth gently and consistently.
Prepare Your Baking Vessel
Grease your baking pan or dish thoroughly with butter or oil to prevent sticking. I always use parchment paper too—it makes removal effortless and adds extra protection against burning. Place your prepared pan inside the pot, resting it on top of the salt/sand layer.
Cover the pot with its lid to trap heat and create that all-important oven-like environment. If your lid isn’t tight-fitting, seal the edges with aluminum foil to prevent steam from escaping. This step is crucial for even baking and proper rise.
Master the Heat Control
Preheat your stovetop to medium-low heat and maintain this temperature throughout baking. I’ve found this setting works perfectly for most recipes—it’s hot enough to bake thoroughly but gentle enough to prevent burning. Use a heat diffuser if you’re concerned about temperature control.
After placing your batter or dough in the prepared pot, cover it immediately. Bake for the recommended time, checking occasionally. You’ll know it’s working when you see steam escaping from under the lid—that’s your visual cue that the baking process is active.
Test for Doneness
Use the same doneness tests you would in an oven. For cakes, insert a toothpick into the center—it should come out clean or with just a few moist crumbs. Bread should sound hollow when tapped on the bottom, and cookies should have golden brown edges.
Remember that stovetop baking might take 10-15 minutes longer than oven baking, so be patient. The results will be worth it! Let your creation cool in the pot for 5-10 minutes before transferring to a wire rack—this prevents sudden temperature changes that could cause sinking.
Perfect Your Technique with Practice
Each stovetop is different, so I recommend keeping notes about your first few attempts. Record the heat setting you used, how long each recipe took, and any adjustments you made. This will help you develop an instinct for stovetop baking that’s tailored to your specific equipment.
Don’t be discouraged if your first attempt isn’t perfect—even professional bakers had to learn! The beauty of stovetop baking is that you can see and adjust as you go. With each try, you’ll gain confidence and achieve more consistent, delicious results that rival anything from a conventional oven.
Tips and Common Mistakes for Perfect Stovetop Baking
Mastering stovetop baking opens up a world of possibilities—here’s how to make every attempt your best yet.
Heat Diffusion Secret: The 1-inch layer of salt or sand in Step 1 isn’t just for show—it’s your heat regulator! I’ve tested this with both kosher salt and play sand, and they work equally well. The key is spreading it evenly to create a flat surface for your baking pan. This simple layer prevents those frustrating hot spots that can burn the bottom of your cakes or breads while leaving the top undercooked.
Steam Management Technique: When you see steam escaping from under the lid in Step 3, that’s your baking in action! But here’s what nobody tells you—if the steam is pouring out aggressively, your heat might be too high. Adjust to maintain a gentle, consistent stream. I like to keep a small notebook by the stove to record how much steam I see at different heat levels—this helps perfect your technique over time.
Patience Pays Off: The 10-15 minutes extra baking time mentioned in Step 4 isn’t just a suggestion—it’s where the magic happens! Stovetop baking requires this additional time because the heat surrounds your food differently than an oven. I’ve found that cakes benefit most from the full 15 minutes, while breads often need just 10. Use a timer and check at the 10-minute mark, then decide if you need those extra 5 minutes for perfection.
Cooling Strategy: Those 5-10 minutes of cooling time in the pot aren’t just for show—they’re critical! I learned this the hard way after having a beautiful cake sink in the center from temperature shock. The gradual cooling prevents the sudden contraction that causes collapsing. For best results, crack the lid slightly after the first 5 minutes to let excess steam escape gradually before removing your creation completely.
Pro Tips for Baking Without Oven
- Mastering stovetop baking opens up a world of possibilities—here’s how to make every attempt your best yet.
- Heat Diffusion Secret: The 1-inch layer of salt or sand in Step 1 isn’t just for show—it’s your heat regulator! I’ve …
- Steam Management Technique: When you see steam escaping from under the lid in Step 3, that’s your baking in action! B…
Frequently Asked Questions
Got questions about baking without an oven? You’re not alone! Here are the most common queries—with quick, practical answers to help you bake like a pro.
Can I really bake a cake without an oven?
Absolutely! Methods like stovetop baking (using a heavy pot or Dutch oven), microwave mug cakes, or even slow cookers work surprisingly well. Just adjust temps and timing—most recipes adapt easily with a little practice.
How do I prevent my baked goods from burning on the stovetop?
Use low to medium heat and a heat diffuser to distribute warmth evenly. Check frequently and rotate the pan if needed. A tight-fitting lid (with a small vent) helps trap heat without scorching.
What’s the best oven-free method for cookies?
A skillet or griddle on low heat is perfect! Use a lid to mimic oven heat, and flip cookies halfway. For chewier texture, try a microwave (10–15 sec bursts) or air fryer (320°F for 5–8 mins).
Why did my stovetop cake turn out dense or gummy?
Overmixing the batter or high heat are usual culprits. Whisk just until combined, and keep heat low and steady. If using a pressure cooker, avoid excess water—steam can make cakes soggy.
Can I use an air fryer for all oven-free baking?
Almost! Air fryers excel at cookies, muffins, and small cakes but struggle with large loaves. Reduce temps by ~25°F and check 5–10 mins early—hot spots can cause uneven browning.
Who knew you could whip up delicious baked goods without an oven? 🎉 From stovetop cakes to microwave mug treats, these foolproof methods prove that a little creativity (and the right tools) can yield seriously impressive results. Whether you’re in a tiny kitchen, traveling, or just oven-less for the day, there’s no excuse to skip baking!
Ready to put these tricks to the test? Pick one method—like the trusty Dutch oven or a speedy air fryer—and try a simple recipe (think cookies or cornbread) this weekend. Your taste buds (and maybe even your Instagram feed) will thank you! 🍪✨