
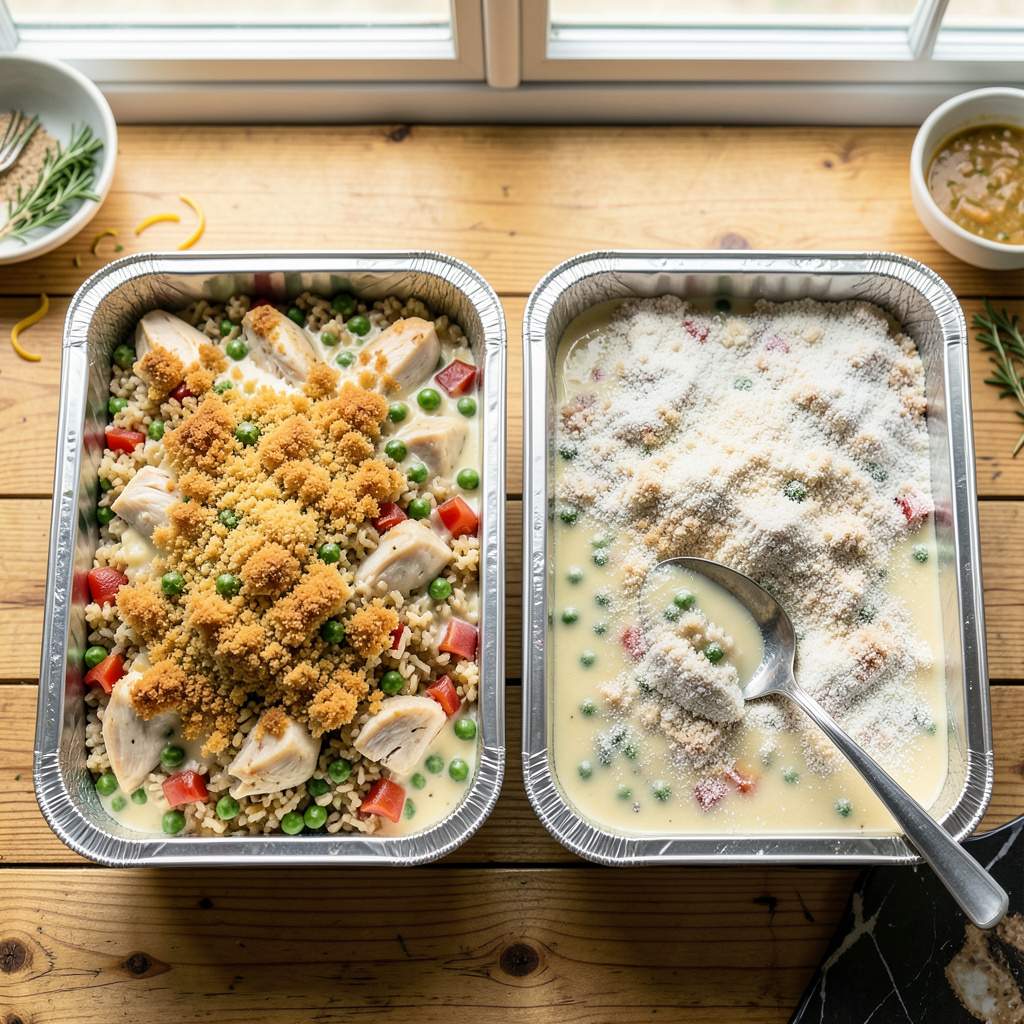
Meal prepping casseroles in aluminum pans changed how I approach busy weeks—no more last-minute dinner stress. After years of testing methods in professional kitchens, I’ve perfected a system that preserves texture and flavor while preventing freezer burn. The right technique means your casserole emerges from the freezer tasting just as good as the day you made it.
Aluminum pans conduct heat efficiently, but they require specific handling to avoid metallic tastes with acidic ingredients. My method addresses this while ensuring even freezing and reheating. Whether you’re prepping lasagna, breakfast bakes, or creamy chicken casseroles, the same principles apply for consistent results every time.
What sets this approach apart is the double-layer wrapping technique I developed during my restaurant days. It creates an airtight seal that locks in moisture and prevents ice crystals from forming. You’ll also learn exactly when to freeze before or after baking—critical for maintaining the right texture upon reheating.
From proper cooling times to safe thawing methods, I’ll cover every step so your make-ahead meals stay restaurant-quality. This isn’t just about convenience—it’s about delivering the same delicious results whether you’re cooking tonight or next month.
📚 In This Guide
- What You’ll Need
- Instructions
- Tips and Common Mistakes
What Youll Need
- ● Aluminum casserole pans – 1-2 disposable pans (9×13″ or 8×8″ standard sizes, heavy-duty preferred)
- ● Plastic wrap or aluminum foil – 1 roll (for sealing; heavy-duty foil recommended)
- ○ Freezer-safe plastic bags – 1-2 gallon-sized (optional, for extra protection)
- ● Permanent marker – 1 (for labeling dates/contents)
- ○ Masking tape or freezer labels – 1 roll (optional, for easy labeling)
- ● Cooling rack – 1 (to cool casserole before freezing)
- ○ Rubber bands or twine – 2-3 (optional, to secure foil/wrap)
- ○ Cooking spray or parchment paper – as needed (optional, for easy removal)
Step-by-Step Instructions for Freezing Casseroles in Aluminum Pans
This method ensures your casseroles stay fresh and reheat beautifully every time.
Prepare Your Casserole for Freezing
Begin by fully assembling your casserole in the aluminum pan, just as you would if baking it immediately. I recommend using heavy-duty aluminum pans that are specifically labeled as freezer-safe—they’re thicker and less likely to warp during freezing or baking.
Let the casserole cool completely at room temperature, which typically takes about 1 hour for most recipes. Covering it while still warm creates condensation that leads to soggy textures, so be patient. You’ll know it’s ready when the center is no longer warm to the touch.
Wrap and Seal for Maximum Protection
Once cooled, cover the pan tightly with plastic wrap, pressing it directly onto the casserole’s surface to minimize air exposure. This direct contact prevents freezer burn and maintains the dish’s moisture content during storage.
Follow this with a layer of heavy-duty aluminum foil, sealing all edges tightly. For extra protection, I like to wrap the entire pan in a second layer of foil, creating a complete barrier against freezer odors and temperature fluctuations. Label the package with the dish name and date using permanent marker.
Freeze Using the Right Technique
Place the wrapped casserole on a flat surface in your freezer where it won’t be disturbed. For the first 24 hours, keep it in the coldest part of your freezer—usually the back or bottom shelf. This rapid freezing creates smaller ice crystals, which preserves the casserole’s texture better.
After the initial freeze, you can stack the casserole with other items if space is limited. Most casseroles maintain optimal quality for 2-3 months in the freezer, though they’re technically safe to eat for much longer. The quality begins to decline after this window as ice crystals grow larger.
Thaw and Reheat Properly
When ready to use, transfer the frozen casserole to your refrigerator and allow it to thaw overnight, or for at least 12 hours. This gradual thawing prevents texture issues that can occur with microwave or countertop thawing methods.
To reheat, preheat your oven to 350°F. Remove all wrapping and cover the casserole loosely with fresh foil to prevent excessive browning. Bake for 30-45 minutes until heated through—a knife inserted in the center should feel hot to the touch. For crispy toppings, remove the foil for the last 10 minutes of baking.
Check for Doneness and Serve
Verify the casserole is properly heated by checking that the internal temperature reaches 165°F in the thickest part. You should see bubbling around the edges and any cheese topping should be fully melted and golden.
Let the casserole rest for 5-10 minutes after removing from the oven. This brief rest allows the ingredients to settle and makes serving easier. The texture should be nearly identical to when it was first made, with no icy spots or separated components if you’ve followed these steps carefully.
Tips and Common Mistakes
Mastering this make-ahead technique comes down to understanding the science behind each step.
Critical Cooling Period: The 1-hour cooling time in Step 1 isn’t arbitrary—it’s essential for preventing condensation that would create ice crystals during freezing. I’ve found that placing the pan on a wire rack speeds up this process while maintaining even airflow. If you rush this step, you’ll end up with a watery texture after thawing, no matter how well you wrap it.
Freezing Technique: During the initial 24-hour freeze in Step 3, resist the temptation to stack items too soon. That first day of undisturbed freezing in the coldest part of your freezer creates the smallest ice crystals possible. I learned this the hard way when my early attempts developed that unpleasant grainy texture—now I always clear space in advance for this critical window.
Reheating Precision: When baking at 350°F in Step 4, the 30-45 minute range accounts for different casserole depths and oven variations. Here’s what I’ve noticed: shallow casseroles (2 inches deep) typically hit 165°F at the 30-minute mark, while deeper dishes (3+ inches) need the full 45 minutes. Always check multiple spots with your thermometer—edges heat faster than the center.
Equipment Matters: Not all aluminum pans perform equally. For Step 1, I recommend investing in commercial-grade pans labeled “freezer-to-oven safe” with reinforced corners. The thicker gauge metal prevents warping during temperature changes and distributes heat more evenly when reheating. I keep a stack of these specifically for make-ahead meals.
Pro Tips for Freeze Casseroles In Aluminum Pans
- Mastering this make-ahead technique comes down to understanding the science behind each step.
- Critical Cooling Period: The 1-hour cooling time in Step 1 isn’t arbitrary—it’s essential for preventing condensation…
- Freezing Technique: During the initial 24-hour freeze in Step 3, resist the temptation to stack items too soon. That …
Frequently Asked Questions
Can I freeze a casserole in an aluminum pan without covering it?
Nope! Always cover your casserole with airtight plastic wrap, aluminum foil, or a lid to prevent freezer burn. Uncovered casseroles dry out fast and absorb fridge odors. For extra protection, wrap the entire pan in foil after covering the dish. Pro tip: Press plastic wrap directly onto the casserole’s surface to minimize air gaps!
How long can I freeze a casserole in an aluminum pan?
Most casseroles stay fresh for 2–3 months in the freezer. After that, texture and flavor decline (though they’re still safe to eat if frozen at 0°F or below). Label pans with the date—lasagna, tuna noodle, or breakfast bakes with dairy or eggs are best used within 2 months for peak quality.
Do I need to thaw a frozen casserole before baking?
It depends! Thaw overnight in the fridge for even baking (add 10–15 mins to cook time). Baking from frozen? Increase time by 50–100% (e.g., 60 mins → 90–120 mins) and cover with foil to prevent burning. Always check the internal temp hits 165°F for safety!
Can I use glass or ceramic pans instead of aluminum for freezing?
Yes! Glass/ceramic pans (like Pyrex) are freezer-safe but risk cracking with extreme temp changes. Let casseroles cool completely before freezing, and avoid transferring straight from freezer to hot oven. Aluminum pans win for portability and disposability—plus, they heat faster!
Why did my casserole turn watery after freezing?
Two common culprits: Overfreezing (beyond 3 months) or high-moisture ingredients (like zucchini or tomatoes). To fix: Drain excess liquid after thawing, or mix in a slurry (1 tbsp cornstarch + 1 tbsp water) before baking. For creamy casseroles, use full-fat dairy—it freezes better than low-fat!
Freezing casseroles in aluminum pans is a game-changer for busy cooks! With the right prep—like choosing sturdy pans, wrapping tightly, and labeling clearly—you can enjoy homemade meals without the last-minute stress. 🏆 Now that you’ve mastered the method, why not test it out? Pick your favorite casserole recipe, prep a double batch, and freeze one for later. Your future self will thank you!