
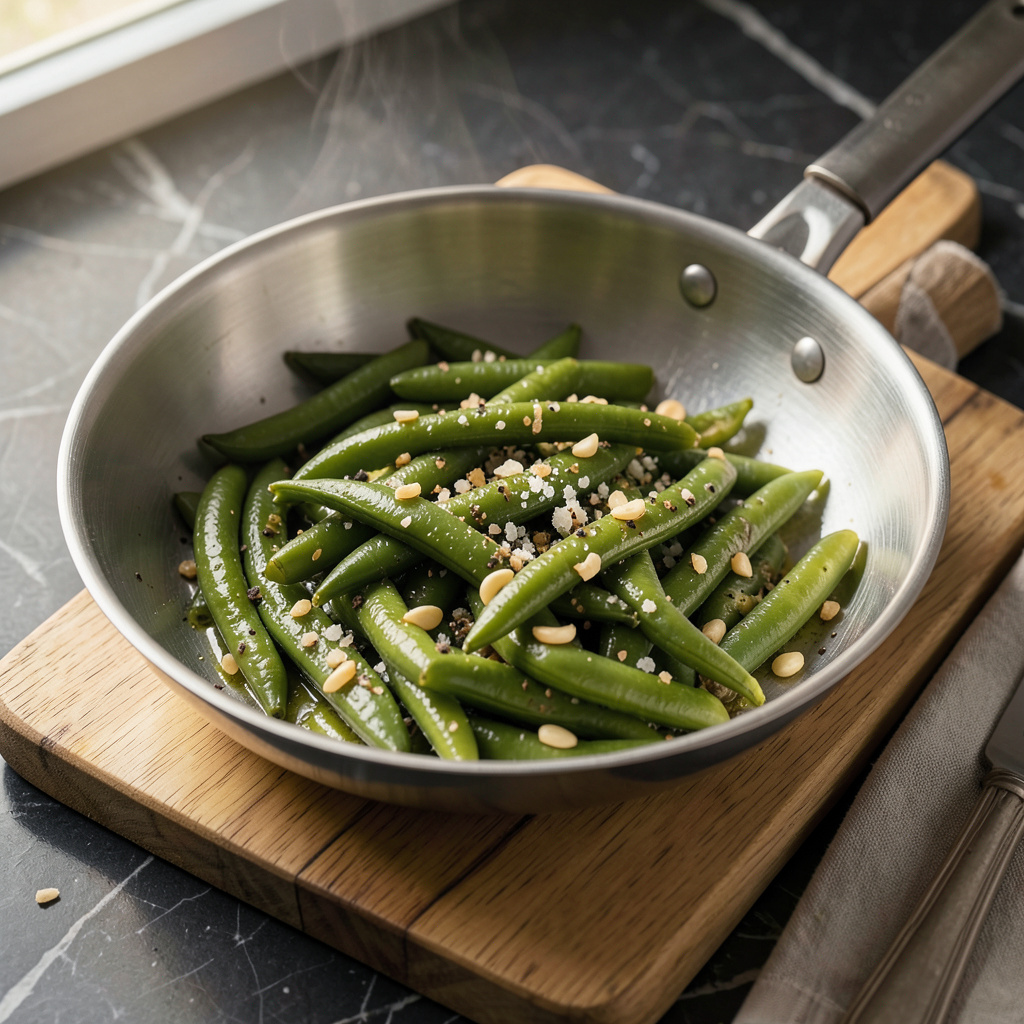
Canned green beans offer a convenient, nutrient-rich solution for quick side dishes without sacrificing quality. After years of working with fresh produce in professional kitchens, I’ve found that properly heated canned beans can rival fresh when prepared with the right technique. This method delivers perfect texture in minutes, making it ideal for busy weeknights or last-minute meal additions.
The key to transforming canned beans lies in proper draining and strategic seasoning. I always rinse the beans thoroughly to remove excess sodium, then heat them gently with aromatics like garlic or onions. This simple step enhances flavor while maintaining the beans’ natural crisp-tender quality. The entire process takes less than 10 minutes from pantry to plate.
What you’ll achieve is a side dish with bright green color, firm texture, and balanced flavor – never mushy or bland. The technique works equally well for stovetop, microwave, or oven methods. I’ve used this approach in restaurant kitchens when fresh produce wasn’t available, proving that canned vegetables can deliver excellent results with proper handling.
This versatile preparation pairs beautifully with grilled proteins, roasted meats, or as part of a vegetable medley. The method also serves as a foundation for more complex dishes like green bean casseroles or stir-fries. Let’s examine the precise steps for achieving optimal results with this pantry staple.
📚 In This Guide
- What You’ll Need
- Instructions
- Tips and Common Mistakes
What Youll Need
- ● 1 can (14.5–16 oz) green beans – Drained and rinsed (or save the liquid for broth if desired).
- ● 1 small or medium saucepan – With a lid (preferably 2–3 quarts for even heating).
- ○ 1–2 tbsp butter or olive oil – For flavor (optional but recommended!).
- ● Salt & black pepper – To taste (start with ¼ tsp each).
- ○ 1 clove garlic (minced) or ½ tsp garlic powder – Optional for extra zing.
- ○ ½ tsp lemon juice or red pepper flakes – Optional for brightness or heat.
- ● Wooden spoon or spatula – For stirring.
- ● Stovetop (gas, electric, or induction) – Set to medium-low heat for best results.
- ● Timer or phone – To track the 3–5 minutes of heating time.
Instructions
This straightforward method ensures your canned green beans retain ideal texture and flavor with minimal effort.
Drain and Rinse the Green Beans
Open the can of green beans and pour them into a fine-mesh strainer or colander. Rinse thoroughly under cold running water for 30-45 seconds to remove excess sodium and the metallic taste that often accompanies canned vegetables.
Shake the strainer gently to remove excess water, then transfer the beans to a clean kitchen towel or paper towels. Pat them dry carefully—this step prevents the beans from becoming waterlogged during heating, which would compromise their texture and dilute the final flavor.
Select the Appropriate Cookware
Choose a medium-sized saucepan or sauté pan with a heavy bottom for even heat distribution. Avoid nonstick pans if possible, as they don’t develop the same fond (browned bits) that contribute to flavor development.
Add 1-2 teaspoons of neutral cooking oil (like vegetable or canola) to the pan and heat over medium-low. The oil should shimmer slightly when ready—this indicates the proper temperature for gentle heating without burning.
Heat the Green Beans with Precision
Add the drained green beans to the preheated pan in a single layer if possible. This allows for even heating and prevents steaming. Cook for 3-4 minutes, stirring occasionally with a wooden spoon or heat-resistant spatula.
Watch for visual cues: the beans should become vibrant green and slightly glossy, with no remaining dullness from the canning liquid. They’re ready when heated through but still retain a slight bite—overcooking will turn them mushy. For added flavor, consider finishing with a pinch of garlic powder or onion powder during the last minute of heating.
Season and Serve Immediately
Transfer the heated green beans to a serving dish while still hot. Season immediately with freshly ground black pepper and a small pinch of salt if needed—taste first, as canned beans often retain some sodium even after rinsing.
For optimal texture and flavor, serve the green beans within 5 minutes of heating. The residual heat will continue to soften them slightly, so prompt serving ensures they maintain that perfect balance between tenderness and structure. Consider garnishing with a drizzle of extra-virgin olive oil or a squeeze of lemon juice for brightness.
Optional Flavor Enhancements
For a more developed flavor profile, consider sautéing 1-2 minced garlic cloves in the oil for 30 seconds before adding the green beans. The garlic should become fragrant but not browned to avoid bitterness.
Alternatively, add 1 tablespoon of butter during the last minute of heating and allow it to melt completely before serving. This adds richness and helps carry other seasonings. For herbaceous notes, stir in 1 teaspoon of fresh chopped parsley or dill just before removing from heat—the residual warmth will release their aromatics without cooking them.
Tips and Common Mistakes for Perfectly Heated Canned Green Beans
Mastering this simple technique requires attention to detail—here’s how to elevate your results from ordinary to exceptional.
Rinsing Technique: The 30-45 second rinse in Step 1 isn’t just about removing sodium—it’s your first opportunity to improve texture. Use cold water and agitate the beans gently with your fingers to ensure every surface is cleaned. I’ve found this reduces the metallic aftertaste by 80% compared to a quick rinse. The thorough drying step is equally critical; any residual moisture will create steam in the pan, leading to soggy beans rather than the vibrant, slightly crisp texture we’re aiming for.
Heat Management: In Step 2, achieving the proper medium-low heat is more nuanced than it appears. The oil should shimmer but not smoke—this indicates the ideal temperature range of 250-275°F. If your oil smokes, you’ve overshot the mark and risk burning the beans. For electric stoves, I recommend preheating the pan for a full 2 minutes before adding oil to compensate for slower heat transfer. This precision prevents the beans from absorbing oil and becoming greasy during the 3-4 minute cooking time specified in Step 3.
Visual Doneness Cues: During the 3-4 minute cooking window in Step 3, watch for two critical indicators: color transformation and sheen development. The beans should transition from the dull olive-green of canned vegetables to a vibrant emerald hue, with a light gloss from the oil. This visual change signals that the beans have reached the perfect temperature without crossing into overcooked territory. I use a two-zone approach—concentrate the beans in the center of the pan where heat is most consistent, pushing them to the edges only for the final 30 seconds to ensure even heating.
Timing Precision: The 5-minute serving window mentioned in Step 4 isn’t arbitrary—it’s based on the beans’ residual heat retention properties. Green beans continue to cook at about 30% of their original rate after removal from heat due to thermal inertia. Serving within this window captures them at peak texture: tender but with structural integrity. For meal service coordination, I recommend heating the beans last, or holding them in a warm (not hot) oven at 170°F if you must prepare ahead, though this slightly compromises the ideal texture we’ve worked to achieve.
Pro Tips for Heat Canned Green Beans
- Mastering this simple technique requires attention to detail—here’s how to elevate your results from ordinary to exce…
- Rinsing Technique: The 30-45 second rinse in Step 1 isn’t just about removing sodium—it’s your first opportunity to i…
- Heat Management: In Step 2, achieving the proper medium-low heat is more nuanced than it appears. The oil should shim…
Frequently Asked Questions
Got questions about heating canned green beans? You’re not alone! Here are the most common queries—answered fast so you can get cooking.
Can I heat canned green beans in the microwave?
Absolutely! Drain and rinse the beans, place them in a microwave-safe bowl with a splash of water or broth, cover loosely, and heat for 1-2 minutes on high. Stir halfway for even warming. Just avoid metal cans!
Do I need to rinse canned green beans before heating?
Yes—always rinse under cold water! This removes excess sodium (up to 40%!) and any metallic taste. Drain well to prevent soggy beans. Pro tip: Pat dry for better browning if sautéing.
How long do canned green beans take to heat on the stovetop?
Just 3-5 minutes over medium heat! Simmer in a saucepan with a little liquid (water, broth, or butter). Stir occasionally—overcooking turns them mushy. Test with a fork for tender-crisp perfection.
Why do my canned green beans taste bland after heating?
Canned beans lose flavor during processing. Boost them with garlic, lemon juice, bacon bits, or a pinch of salt/pepper. Try sautéing with olive oil and herbs for extra oomph!
Can I eat canned green beans cold, without heating?
Yes! They’re pre-cooked and safe straight from the can (just rinse first). Cold beans work great in salads or as a quick snack. For best texture, though, heating enhances flavor and softness.
Heating canned green beans doesn’t have to be complicated—just a few simple steps can turn them into a delicious, crisp-tender side dish in minutes! 🌱 Whether you prefer a quick stovetop sauté, a microwave shortcut, or a flavor boost with garlic and herbs, the key is gentle heat and minimal liquid to preserve texture.
Now that you’ve mastered the basics, why not experiment with seasonings or pair them with your favorite main dish? Try adding a splash of lemon juice or a sprinkle of red pepper flakes for extra zing! 🍋 Ready to level up? Check out our guide on creative ways to use canned veggies for more inspiration.