
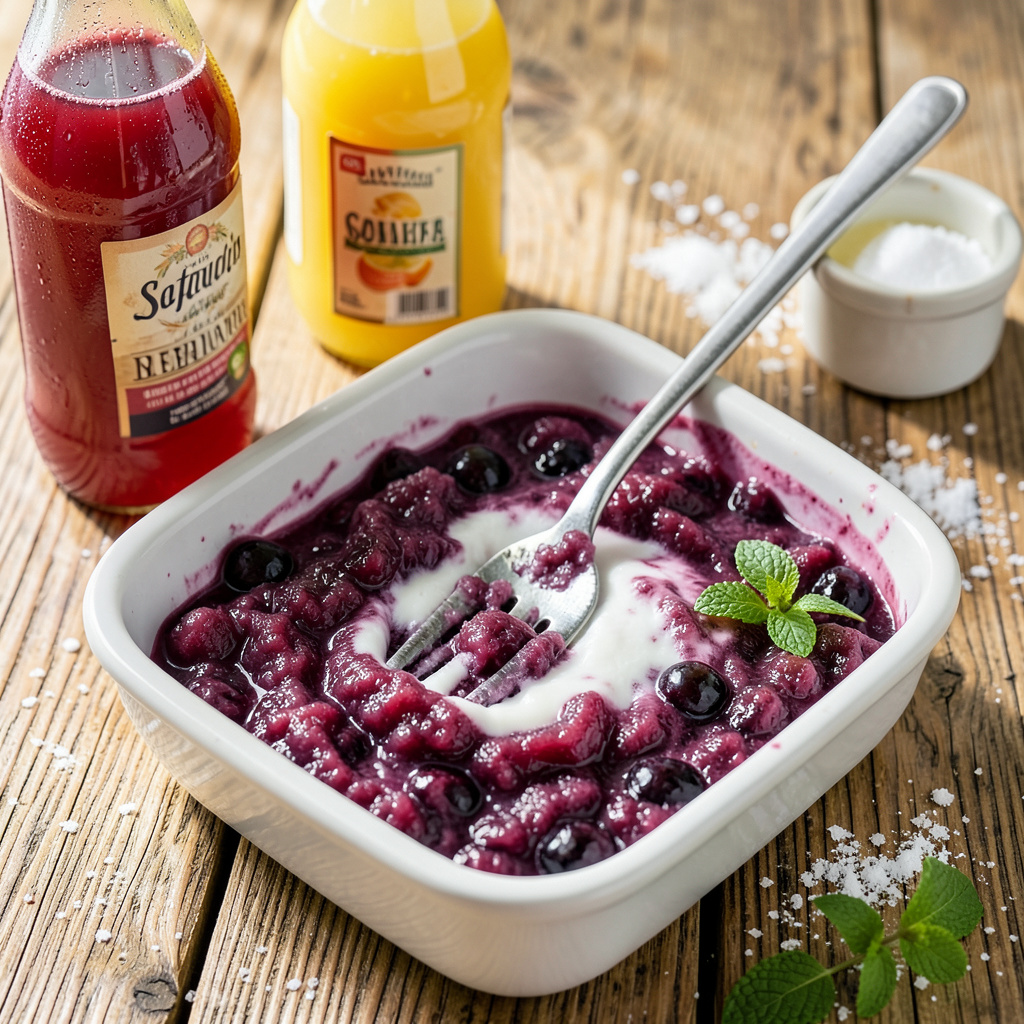
Let me tell you, making a slushie without a blender is way easier than you’d think—no fancy equipment needed. I figured this out one sweltering Georgia afternoon when my blender bit the dust mid-craving. Turns out, all you need is some ice, your favorite juice, and a little elbow grease.
Here’s the thing—this method works because we’re using the freezer to our advantage. You’ll crush the ice manually (a rolling pin and Ziploc bag work perfectly), then mix it with your liquid of choice. The key is getting the ice-to-liquid ratio just right so you end up with that perfect slushy texture, not a watery mess.
I’m talking about a 5-minute frozen treat that’s smoother than you’d expect from no-blender methods. Whether you’re craving classic cherry, tropical mango, or creamy strawberry, this technique delivers every time. And the best part? You can make it exactly how you like it—sweeter, tangier, or even boozy for the adults.
No special skills required, just simple ingredients and a willingness to smash some ice. The result is that nostalgic slushie texture you love, without the hassle of cleaning a blender. Let’s get to it—your frozen drink is minutes away.
📚 In This Guide
- What You’ll Need
- Instructions
- Tips and Common Mistakes
What Youll Need
- ● 1 cup (8 oz) of your favorite juice, soda, or flavored drink (chilled for best results 🥶)
- ● 1 cup (8 oz) of crushed ice (or small ice cubes—see tips below!)
- ● 1 resealable plastic bag (quart-sized, sturdy, and leak-proof—double-bag if needed!)
- ● 1 larger plastic bag or bowl (gallon-sized bag or deep bowl for the “ice bath” method)
- ● 2 cups of rock salt or kosher salt (for lowering the freezing point—key for slushie magic! ✨)
- ○ 1-2 tablespoons of sugar or sweetener (optional, adjust to taste)
- ● Spoon or spatula (for mixing and scraping)
- ● Timer (your phone works—5 minutes is all you need! ⏳)
- ○ Gloves or towel (optional, to protect hands from the cold)
- ○ Fun extras: fresh fruit chunks, sprinkles, or syrup (optional, for custom flavors! 🍓🍍)
Instructions
Here’s the foolproof method to make perfect slushies in minutes—no fancy equipment needed.
Choose and Prep Your Base Ingredients
Start with 12 ounces of your favorite juice or soda—cold but not frozen. I like using fruit juices like orange, grape, or cranberry for vibrant flavors, but you can also use lemon-lime soda for a classic slushie taste. Pour the liquid into a shallow, freezer-safe container like a baking dish or metal tray.
The shallow container maximizes surface area, which speeds up freezing. If you’re using a canned soda, let it go flat first by leaving it open for 10 minutes—this prevents fizz overflow when freezing. For extra flavor, you can stir in 1-2 teaspoons of sugar or honey if your juice isn’t sweet enough.
Freeze in Thin Layers for Quick Results
Place the container in the freezer, making sure it sits flat. Set a timer for 30 minutes—this is the sweet spot where the edges start to freeze but the center remains slushy. Don’t walk away; you’ll need to check it at this point.
After 30 minutes, use a fork to scrape and break up any frozen portions. The mixture should look like a cross between liquid and ice crystals. If it’s still too soupy, return it to the freezer and check every 5-10 minutes until you achieve that perfect slushie texture. The goal is a consistency similar to a snow cone—soft enough to scrape but firm enough to hold its shape.
Scrape and Fluff for Perfect Texture
Once you’ve got a partially frozen mixture, use your fork to vigorously scrape and fluff the entire contents. Work quickly to break up all the ice crystals and incorporate any remaining liquid. This step is crucial—it creates that signature slushie texture we all love.
If the mixture seems too icy, let it sit at room temperature for 2-3 minutes before scraping again. For a smoother texture, you can repeat the freeze-scrape-fluff process one more time. I’ve found that two cycles (about 1 hour total) gives the best balance between speed and texture, but you can stop earlier if you prefer a more liquid consistency.
Serve Immediately for Best Results
Scoop your homemade slushie into chilled glasses using a large spoon or ice cream scoop. The mixture will be soft and fluffy at first but will firm up slightly as it sits. For the classic slushie experience, serve it right away while it’s at peak texture.
If you need to store it, transfer the slushie to an airtight container and freeze for up to 2 hours. When ready to serve, let it sit at room temperature for 5 minutes then scrape and fluff again with a fork. The texture won’t be quite as perfect as fresh, but it’ll still be delicious. Add fun straws or colorful sprinkles to make it feel like a treat from your favorite convenience store!
Tips and Common Mistakes
Making slushies without a blender is easier than you think—here’s what I’ve learned from perfecting this technique.
Container Choice: In Step 1, using a metal baking tray instead of plastic speeds up freezing because metal conducts cold better. I’ve found that a standard 9×13-inch baking dish gives the perfect thin layer for even freezing in the 30-minute window. Avoid glass containers—they insulate too well and slow down the process.
Timing Secret: That 30-minute mark in Step 2 is crucial, but don’t just set it and forget it. After 20 minutes, start checking every 5 minutes—freezer temperatures vary, and you want to catch it when the edges are just starting to freeze but the center is still liquid. This is when you’ll get that perfect slushie texture after scraping.
Texture Technique: When you’re scraping in Step 3, use a sturdy metal fork rather than a spoon. The tines break up ice crystals more effectively, creating that signature fluffy texture. Work quickly but thoroughly—this is what separates a grainy icy drink from a smooth, professional-quality slushie.
Serving Strategy: For the best experience mentioned in Step 4, chill your serving glasses in the freezer for 10 minutes before scooping. This keeps your slushie from melting too quickly, especially if you’re serving outdoors. The contrast between the icy drink and cold glass makes that first sip even more refreshing.
Pro Tips for Make A Slushie At Home Without A Blender
- Making slushies without a blender is easier than you think—here’s what I’ve learned from perfecting this technique.
- Container Choice: In Step 1, using a metal baking tray instead of plastic speeds up freezing because metal conducts c…
- Timing Secret: That 30-minute mark in Step 2 is crucial, but don’t just set it and forget it. After 20 minutes, start…
Frequently Asked Questions
Can I make a slushie without ice cubes?
Absolutely! Use frozen fruit (like berries or mango) or freeze juice in an ice tray for 4+ hours. Crushed frozen fruit works even better than ice—it adds natural sweetness and a smoother texture. Just mash it with your liquid of choice!
How long does it take to make a slushie without a blender?
Most methods take 5–10 minutes, depending on your technique. The “salt + ice bag” trick (shaking for 3–5 minutes) is fastest, while freezing juice in a tray requires 4+ hours of prep. Patience pays off with a creamier texture!
What can I use instead of salt to lower the freezing point?
Salt is ideal, but sugar or rubbing alcohol (70%+ isopropyl) work too. Mix 1 tbsp sugar per cup of ice, or add 1 tsp alcohol to the bag (keep it away from kids). Alcohol evaporates quickly, so use it sparingly!
Why is my slushie too watery or icy?
Watery? Add more ice or freeze your liquid longer. Too icy? Let it sit for 1–2 minutes at room temp or stir in 1 tsp of honey/simple syrup. Pro tip: Use cold (not room-temp) juice for faster, smoother results!
Can I make a slushie with soda or sparkling water?
Yes! But release the fizz first—stir the soda gently or let it sit open for 10 minutes to avoid a messy explosion. Sparkling water works great with fruit juice (try 50/50 ratio) for a fizzy twist!
Who knew making a blender-free slushie could be this easy? 🎉 With just a few simple ingredients and a little patience, you’ve got a refreshing, icy treat ready in minutes—no fancy equipment required. Whether you’re cooling off on a hot day or whipping up a fun snack for the kids, this hack is a game-changer.
Now that you’ve mastered the basics, why not get creative? Try mixing in fresh fruit, a splash of coconut water, or even a scoop of yogurt for a creamy twist. Your perfect slushie combo is waiting—go experiment! ❄️🍹