
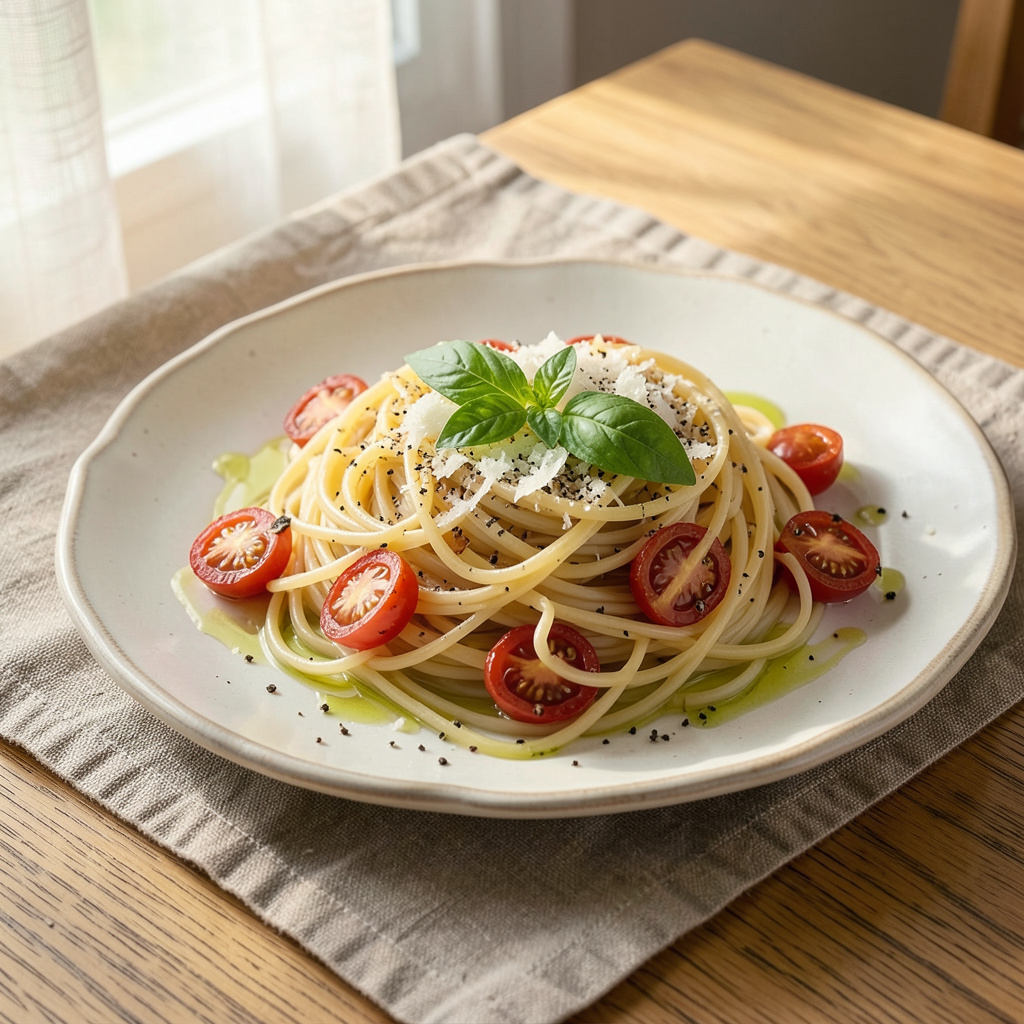
Angel hair pasta’s delicate strands can transform from elegant to frustratingly sticky in seconds—unless you know the precise technique. After years of testing ratios and timing in professional kitchens, I’ve perfected a method that guarantees perfectly separated, silky strands every time. The solution lies in understanding starch control and proper water chemistry.
Most home cooks overlook two critical factors: water volume and salt concentration. Using 4 quarts of water per 8 ounces of pasta provides enough space for strands to move freely, while 2 tablespoons of salt per gallon alters the boiling point to prevent sticking. These aren’t arbitrary numbers—they’re based on the science of starch dispersion and protein coagulation.
The cooking process itself requires active management. Constant gentle stirring during the first 90 seconds prevents initial clumping, while precise timing (typically 3-4 minutes for al dente) ensures the pasta doesn’t over-soften and become gummy. What emerges from the pot are individual strands that glisten rather than clump—a textbook example of proper pasta preparation.
Mastering this technique opens possibilities for simple yet impressive dishes. Toss with garlic-infused olive oil and chili flakes for aglio e olio, or combine with fresh cherry tomatoes and basil for a light summer meal. The foundation of great pasta dishes begins with proper cooking—everything else builds from there.
📚 In This Guide
- What You’ll Need
- Instructions
- Tips and Common Mistakes
What Youll Need
- ● Angel hair pasta: 8 oz (225g) per 4 servings (check package for exact cooking time)
- ● Large pot: 6-8 quart capacity (wide base preferred for even boiling)
- ● Water: 4-6 quarts (1 gallon per pound of pasta rule)
- ● Salt: 1-2 tbsp (adds flavor and helps prevent sticking)
- ○ Olive oil: 1-2 tsp (optional, for extra slip)
- ● Tongs or pasta fork: (for gentle stirring without breaking strands)
- ● Colander: (for draining—stainless steel preferred)
- ● Timer: (angel hair cooks in 2-4 minutes—don’t overcook!)
- ● Pasta sauce: 1.5-2 cups (ready to toss immediately after draining)
- ○ Reserved pasta water: ½ cup (optional, for adjusting sauce consistency)
Instructions for Perfectly Cooked Angel Hair Pasta
Mastering this delicate pasta requires precise technique and careful attention to timing.
Select the Right Pot and Water Ratio
Begin by choosing a large pot with ample capacity—at least 4 quarts for 4 servings of angel hair. The pasta needs space to move freely during cooking to prevent clumping. Fill the pot with 3-4 quarts of cold water, ensuring there’s enough volume to fully submerge the pasta once it expands.
I recommend using 1 quart of water per ounce of pasta as a general rule. This generous water-to-pasta ratio maintains proper temperature and starch dilution, both critical for preventing sticking. The water should be deep enough that the pasta can float and swirl without touching the bottom or sides of the pot.
Achieve and Maintain a Rolling Boil
Bring the water to a vigorous, rolling boil over high heat. You’ll know it’s ready when you see large, steady bubbles breaking the surface continuously. Add 1-2 tablespoons of salt to the boiling water—this seasons the pasta from within and enhances its natural flavor.
The key here is maintaining the boil throughout cooking. When you add the angel hair, the water temperature will drop significantly. I always wait until the water returns to a full boil before starting to time the cooking process. This ensures even cooking and prevents the pasta from becoming gummy or sticking together during the initial temperature recovery phase.
Cook with Constant Agitation
Add the angel hair pasta gradually rather than dumping it all at once. As you add it, immediately begin stirring with a long-handled wooden spoon or pasta fork. Continue stirring constantly for the first 30-45 seconds of cooking—this is when the pasta is most vulnerable to sticking.
After the initial stirring period, stir the pasta every 30 seconds throughout the cooking process. Angel hair cooks remarkably quickly—typically in 3-5 minutes—so vigilance is essential. The pasta should move freely in the water; if you notice any strands adhering to each other or the pot, increase your stirring frequency immediately.
Test for Doneness and Drain Immediately
Begin testing the pasta at the 3-minute mark by fishing out a strand and tasting it. Angel hair should be cooked until just al dente—tender but with a slight resistance when bitten. Unlike heartier pastas, angel hair transitions from undercooked to overcooked in seconds, so timing is critical.
Once perfectly cooked, drain the pasta immediately in a colander. Never let it sit in the cooking water after removing from heat, as the residual heat will continue cooking the pasta and cause it to stick together. I recommend having your sauce ready before cooking the pasta, as angel hair waits for no one—it’s best served immediately after draining.
Finish with Proper Sauce Incorporation
Transfer the drained pasta directly to your prepared sauce rather than returning it to the pot. Toss gently but thoroughly to coat each strand evenly. The sauce should be warm and slightly loose when you add the pasta, as angel hair absorbs liquid quickly.
If serving without sauce, toss the drained pasta with a small amount of olive oil or butter immediately to create a protective barrier against sticking. Use just enough to lightly coat—about 1 teaspoon per serving—and toss gently to avoid breaking the delicate strands. Serve immediately for the best texture and presentation.
Tips and Common Mistakes
The delicate nature of angel hair pasta demands precision—these professional techniques will ensure perfect results every time.
Water Ratio Precision: The 1 quart of water per ounce of pasta ratio in Step 1 isn’t arbitrary—it’s essential for maintaining proper starch dilution. When pasta releases starch into water that’s too crowded, it creates a sticky matrix that causes strands to adhere. I use a 4-quart pot as the absolute minimum for 4 servings, but prefer 5 quarts when possible. The extra space allows for better water circulation, which prevents the pasta from settling and sticking to the pot bottom during those critical first 30-45 seconds of cooking.
Boil Recovery Technique: In Step 2, when you add angel hair to boiling water, the temperature drop is more dramatic than with denser pastas due to its high surface area. I’ve found that covering the pot briefly (just 10-15 seconds) after adding the pasta helps restore the boil faster. Remove the lid immediately once you see steam escaping vigorously—this prevents the water from boiling over while accelerating the return to a full rolling boil, which is crucial for even cooking.
Stirring Cadence Mastery: The 30-second stirring intervals mentioned in Step 3 are non-negotiable for angel hair. I use a timer and employ what I call the “figure-eight” stirring technique—moving the spoon in continuous infinity loops through the water. This creates a gentle vortex that keeps all strands in motion. Pay special attention to the pot’s edges where pasta tends to collect; your spoon should scrape along the bottom with each pass to dislodge any strands attempting to adhere.
Post-Drain Protocol: Step 5’s immediate saucing is critical because angel hair’s high starch content makes it particularly prone to post-cooking adhesion. When draining, I shake the colander vigorously for 3-5 seconds to remove excess surface starch, then transfer directly to the sauce. If serving plain, the 1 teaspoon of olive oil per serving should be warmed slightly (rub between palms) before tossing—this creates a more effective protective barrier than cold oil.
Pro Tips for Make Angel Hair Pasta Not Stick
- The delicate nature of angel hair pasta demands precision—these professional techniques will ensure perfect results e…
- Water Ratio Precision: The 1 quart of water per ounce of pasta ratio in Step 1 isn’t arbitrary—it’s essential for mai…
- Boil Recovery Technique: In Step 2, when you add angel hair to boiling water, the temperature drop is more dramatic t…
Frequently Asked Questions
Why does angel hair pasta stick more than other pasta shapes?
Angel hair’s ultra-thin strands cook fast (2-4 minutes!) and release starch quickly, making them prone to clumping. Unlike thicker pastas, they lack structure to resist sticking—especially if under-stirred or overcooked. Pro tip: Use plenty of water (4-6 quarts per pound) to dilute starch!
Can I add oil to the water to prevent sticking?
Nope! Oil floats on water and won’t coat the pasta. Instead, it can make sauces slide off. Stick to stirring frequently (every 30 seconds) and using a wide pot for even cooking. Save oil for tossing after draining if needed.
What’s the best way to reheat angel hair without it turning into a gluey mess?
Reheat gently! Toss pasta with a splash of water or broth in a skillet over low heat ( 1-2 mins), stirring constantly. Microwaving? Cover with a damp paper towel and use 20-second bursts. Avoid overcooking—it’s already fragile!
Is rinsing angel hair pasta after cooking a good idea?
Only if you must! Rinsing washes away starch (which helps sauce cling) but can prevent sticking if you’re making a cold dish. For hot meals, skip rinsing—just drain well and toss with sauce immediately.
What’s a foolproof alternative if my pasta still sticks?
Try the “pasta water trick”: Reserve ½ cup starchy cooking water before draining. If strands clump, reheat pasta with a splash of this water + a pat of butter (or olive oil), tossing vigorously. Works like magic! Bonus: It boosts sauce creaminess too.
Say goodbye to clumpy, sticky angel hair pasta for good! 🎉 With the right water-to-pasta ratio, a generous salt boost, and a few simple tricks—like stirring early and often—you’ll achieve perfectly silky, separate strands every time. Whether you’re tossing it in a light garlic sauce or pairing it with fresh seafood, your pasta will finally shine like a restaurant-quality dish.
Ready to put your new skills to the test? Grab a box of angel hair, fire up the stove, and try the technique tonight—your taste buds will thank you! 🍝✨