
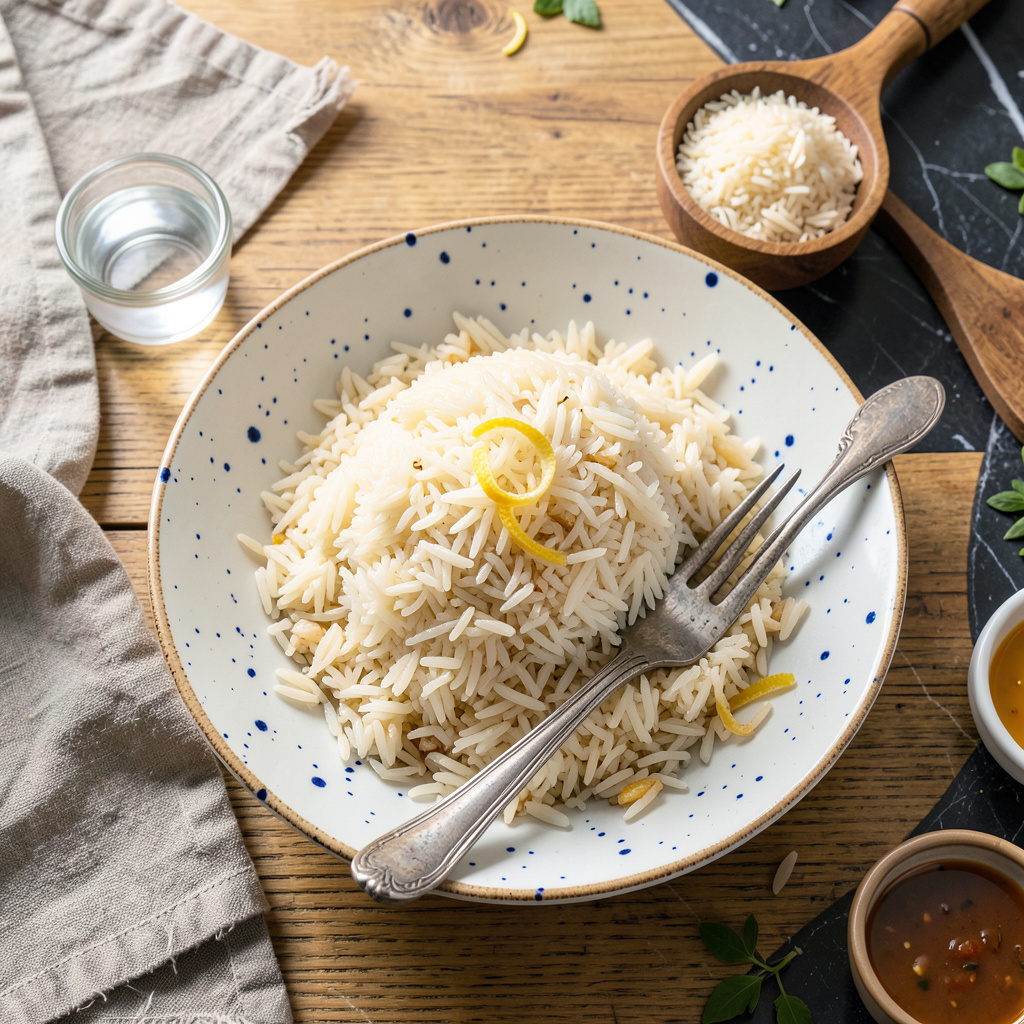
We’ve all been there—you lift the lid expecting perfect rice, only to find a pot of stubborn, undercooked grains that could double as birdseed. Honestly, I’ve ruined more batches of rice than I’d like to admit, especially during my early days cooking for 500 people at The Smoky Pig. But here’s the thing: hard rice isn’t ruined rice. With the right technique, you can rescue it into something fluffy and perfect in under 15 minutes.
The fix is simpler than you think. Whether your rice is undercooked from the start or dried out from sitting too long, the solution comes down to three things: moisture, heat, and patience. I use a foolproof steam method that works for white, brown, or even that finicky basmati—no special equipment needed. The key is adding just enough liquid (2 tablespoons per cup of rice) and letting physics do the rest.
What you’ll end up with is rice that’s tender, separate, and ready to absorb sauces or stand alone. No more crunchy centers or dry, sticky clumps. This isn’t just a quick fix—it’s the same technique I’ve used to save rice in professional kitchens when the dinner rush hit harder than expected. The difference between hard rice and perfect rice often comes down to 5 extra minutes and one simple trick.
Best part? You’ll also learn how to prevent this problem next time. Because once you nail the water ratio and resting time (yes, resting matters), you’ll never serve undercooked rice again. Let’s turn that pot of disappointment into something worth serving.
📚 In This Guide
- What You’ll Need
- Instructions
- Tips and Common Mistakes
What Youll Need
- ● Hard rice – 1 to 4 cups (leftover or freshly cooked but too firm 🍚)
- ● Water or broth – ¼ to ½ cup per cup of rice (adjust for desired softness)
- ● Heat-safe bowl or pot – With a tight-fitting lid (microwave-safe if reheating in microwave)
- ● Fork or rice paddle – For fluffing (avoid spoons to prevent mushiness!)
- ● Stovetop or microwave – Either works, but stovetop gives more control 🔥
- ● Butter or oil – 1 tsp to prevent sticking and add richness
- ● Steamer basket – For even gentler reheating (great for delicate grains like basmati)
- ● Lemon juice or vinegar – ½ tsp to revive stale rice flavor ✨
- ● Clean kitchen towel – For covering the bowl to trap steam (if lid isn’t snug)
Instructions for Reviving Hard Rice to Perfect Tenderness
You’re just minutes away from transforming that disappointing rice into fluffy, tender perfection—let’s fix this!
Assess and Prepare the Hard Rice
First, transfer your hard rice to a microwave-safe bowl or container with a lid. If the rice is clumped together, gently break it apart with a fork or your fingers. You want to separate the grains as much as possible—this helps the moisture distribute evenly during the revival process.
Take a moment to check how dry the rice actually is. If it feels completely desiccated or crunchy, you’ll need slightly more liquid. If it’s just firm but not bone-dry, you’re in great shape for a quick fix. Either way, we’re about to work some magic!
Add the Perfect Amount of Moisture
For every cup of cooked hard rice, sprinkle 1-2 tablespoons of water evenly over the surface. I like to use my fingers to lightly toss the rice after adding the water, making sure every grain gets a little moisture. The water doesn’t need to pool at the bottom—just enough to create steam when heated.
Here’s the thing—you can always add more water later if needed, but you can’t take it out if you add too much. Start conservative. If your rice is extremely dry, you might need up to 3 tablespoons per cup, but begin with less. Trust me, this measured approach prevents mushy results.
Steam to Perfect Tenderness
Cover the bowl tightly with a microwave-safe lid or damp paper towel. This creates a steam chamber that will gently rehydrate the rice without making it soggy. Microwave on medium power (50%) for 1-2 minutes—this gentle heat allows the moisture to penetrate evenly.
After the first minute, pause and check the rice. You’re looking for the grains to become pliable when pressed between your fingers. If it’s still too firm, give it another 30-60 seconds. Real talk: this step might take a couple tries to get just right, but you’ll see (and feel!) the difference as it softens.
Rest and Fluff for Ideal Texture
Once the rice reaches your desired tenderness, remove it from the microwave but keep it covered. Let it rest for 2-3 minutes—this allows the steam to finish its work and the grains to relax. You’ll notice the texture becomes even more uniform during this rest.
Finally, uncover the rice and fluff it gently with a fork. This separates any grains that might have stuck together and redistributes the moisture. Your once-hard rice should now be tender, with each grain distinct yet perfectly soft. If any sections still feel firm, simply repeat the process with a tiny bit more water.
Optional Seasoning Refresh (Highly Recommended!)
Now that your rice texture is perfect, taste it. If the flavors seem muted (which can happen during the rehydration process), sprinkle with a pinch of salt or a drizzle of your cooking liquid. For white rice, I love adding a tiny pat of butter and fluffing it in—this brings back that fresh-cooked richness.
If you’re serving this as part of a dish, now’s the time to fold in any sauces or seasonings. The slightly warm rice will absorb flavors beautifully. Your rescued rice is now ready to shine—whether as a simple side or the base for your favorite rice bowl!
Tips and Common Mistakes for Perfectly Revived Rice
Here’s what I’ve learned from rescuing countless batches of hard rice—these small details make all the difference between mediocre and magnificent!
Moisture Mastery: In Step 2, when adding that 1-2 tablespoons of water per cup, here’s the secret: use warm (not cold) water. It creates steam faster during the 1-2 minute microwave time in Step 3, leading to more even rehydration. I keep a small pitcher of warm water nearby so I can adjust the temperature instantly if needed.
The Technique That Changed Everything: During Step 3’s microwaving, don’t just set it and forget it! Pause after the first 30 seconds to give the bowl a quick shake—this redistributes any moisture that might be pooling. Then continue with the remaining time. This simple move prevents those dreaded soggy bottom layers while ensuring every grain gets equal treatment.
Resting Revelation: That 2-3 minute rest in Step 4 isn’t just downtime—it’s when the magic happens! The residual steam continues working during this period, gently softening any stubborn grains. I like to place a clean kitchen towel over the covered bowl during this rest to trap extra warmth and humidity. You’ll be amazed at how much more tender the rice becomes in just those few minutes.
Texture Test: Here’s what nobody tells you about checking doneness: press a grain between your thumb and forefinger. Perfectly revived rice should yield slightly but still hold its shape—like a ripe avocado. If it crumbles, it needs more steam time. If it squishes flat, you’ve overdone it. This tactile test is more reliable than visual cues alone.
Pro Tips for Make Hard Rice Soft
- Here’s what I’ve learned from rescuing countless batches of hard rice—these small details make all the difference bet…
- Moisture Mastery: In Step 2, when adding that 1-2 tablespoons of water per cup, here’s the secret: use warm (not cold…
- The Technique That Changed Everything: During Step 3’s microwaving, don’t just set it and forget it! Pause after the …
Frequently Asked Questions
Here are the most common questions about reviving hard rice—answered quickly and clearly!
1. How long does it take to soften hard rice?
The time depends on your method! Steaming takes 10–15 minutes, while simmering in water or broth can take 5–10 minutes. For the microwave, expect 1–2 minutes per cup with a damp paper towel. Patience is key—don’t rush it!
2. Can I fix hard rice without adding more water?
Yes! Try steaming (place rice in a colander over boiling water) or microwaving with a damp towel to add moisture without soaking. If it’s severely dry, a splash of water or broth may still be needed.
3. Why did my rice turn out hard in the first place?
Common culprits: too little water, high heat, or uncovered cooking. Rice needs a 1:2 rice-to-water ratio (adjust for brown rice) and gentle heat. Lifting the lid mid-cook lets steam escape—don’t peek!
4. Can I use a rice cooker to fix hard rice?
Absolutely! Add 2–3 tbsp of water per cup, fluff the rice, and use the “reheat” or “steam” function. If your cooker lacks these, try the “keep warm” setting for 10–15 minutes. Easy fix!
5. What if my rice is still crunchy after trying these methods?
If it’s undercooked, add more liquid and simmer longer. For burnt or overly dry rice, repurpose it into fried rice, rice pudding, or croquettes—waste not! Recipes love a second chance.
Who knew saving overcooked or dried-out rice could be this simple? 🎉 Whether you used the steaming, microwaving, or broth-soaking method, the key is patience and a little moisture. Next time your rice turns out tough, don’t toss it—revive it with these easy tricks!
Now that you’ve mastered the fix, why not experiment? Try using your newly softened rice in fried rice, rice pudding, or stuffed peppers for a delicious second act. Happy cooking! 🍚✨