
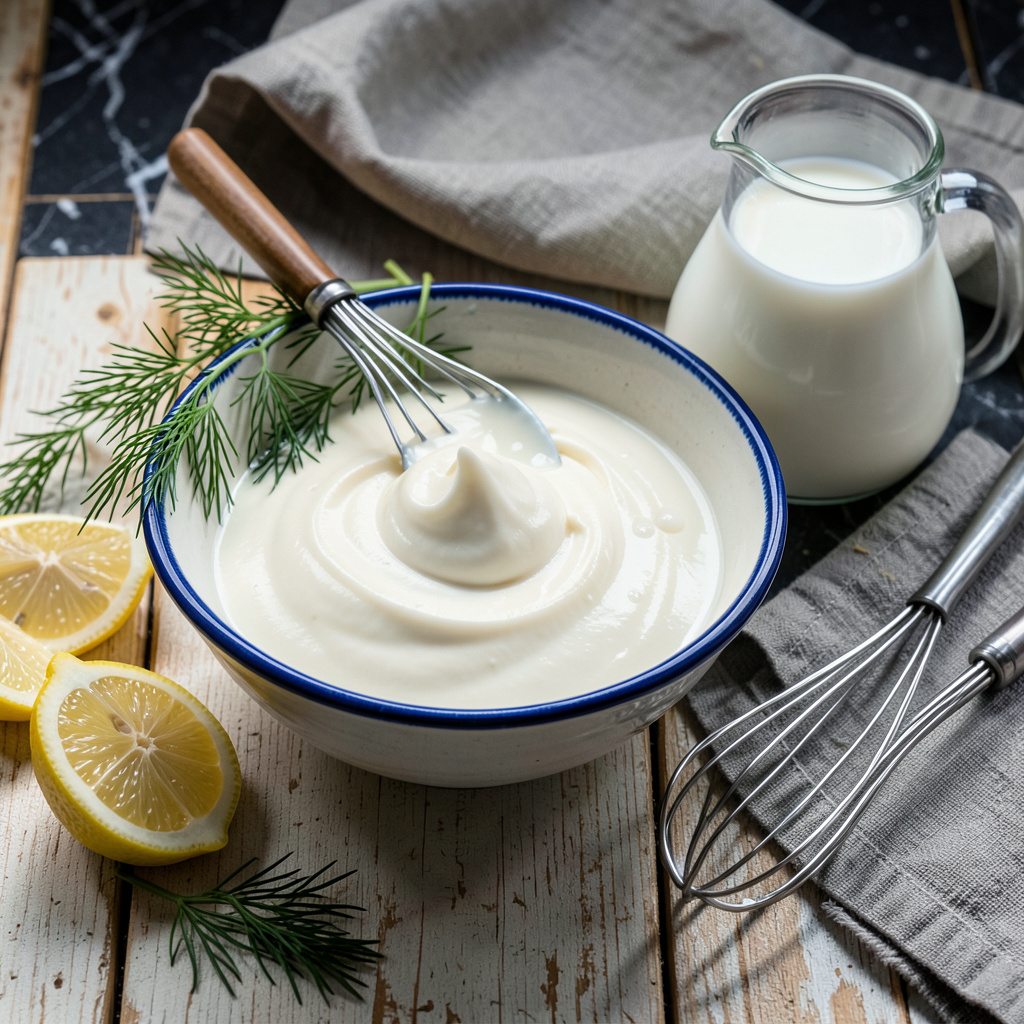
Ever tried drizzling sour cream only to have it blob unceremoniously on your plate? I’ve been there more times than I’d care to admit. The secret to achieving that smooth, pourable consistency isn’t complicated—it’s all about knowing exactly what to add and how much. After years of tweaking this in professional kitchens, I can tell you it’s easier than you think.
What works best is using simple liquids you already have in your fridge. Milk, buttermilk, or even lemon juice can transform thick sour cream into a silky sauce without sacrificing flavor. The trick is adding just enough—start with a teaspoon at a time and stir well. I learned this the hard way during my first week at The Smoky Pig when I nearly ruined a batch of pulled pork by over-thinning the topping.
You’ll want to consider your end goal. For drizzling over tacos or baked potatoes, aim for a consistency like heavy cream. If you’re making a dip, keep it slightly thicker so it clings to chips. The beauty is you can adjust as you go—no fancy equipment needed, just a spoon and a little patience.
This technique has saved me in countless situations, from last-minute party dips to plating competition-worthy dishes. Once you master this simple adjustment, you’ll never struggle with lumpy sour cream again. Here’s exactly how to do it right.
📚 In This Guide
- What You’ll Need
- Instructions
- Tips and Common Mistakes
What Youll Need
- ● Sour cream – 1 cup (full-fat or reduced-fat, depending on preference 😉).
- ● Thinning liquid – 1-3 tbsp (use one of these): Whole milk or buttermilk (for creamy richness).
- ● Water (neutral option).
- ● Lemon juice or vinegar (adds tang, use sparingly).
- ● Mixing bowl – Small to medium-sized (non-reactive like glass or stainless steel).
- ● Whisk or fork – For smooth blending.
- ● Measuring spoons – To add liquid gradually.
- ● Strainer – If your sour cream is lumpy.
- ● Electric mixer – For ultra-smooth results.
- ● Air-tight container – To store leftovers (keeps up to 1 week in the fridge ❄️).
Instructions
Here’s the simple method I use to achieve that ideal drizzling consistency every single time.
Assess Your Sour Cream’s Current Texture
Start by giving your sour cream a good stir with a spoon or small whisk. This breaks up any lumps and gives you a true sense of its current thickness. Pay attention to how it moves—does it hold its shape when you scoop it, or does it slowly level out?
I like to do the “ribbon test”: lift some sour cream on your spoon and let it drip back into the container. If it falls in thick clumps instead of a smooth stream, it definitely needs thinning. This quick check helps you determine just how much liquid you’ll need to add later.
Choose Your Thinning Liquid
For most applications, I recommend using whole milk as your thinning agent. It maintains the creamy flavor while gently loosening the texture. If you’re making a savory sauce or topping, buttermilk works beautifully—it adds a nice tang that complements the sour cream’s natural flavor.
In a pinch, you can use water, but I find it dilutes the flavor more than dairy options. Whatever liquid you choose, make sure it’s cold—this prevents the sour cream from breaking or becoming grainy. Start with just 1 teaspoon of liquid; you can always add more, but you can’t take it out once it’s in.
Gradually Incorporate the Liquid
Add your chosen liquid to the sour cream 1 teaspoon at a time, whisking vigorously after each addition. I use a small wire whisk for this because it incorporates air and helps create a smoother consistency. Watch how the sour cream changes—it should become glossier and more fluid with each addition.
After every 2-3 teaspoons of liquid, stop and test the consistency again with your spoon. You’re looking for a texture that coats the back of a spoon but still drizzles easily. Remember that sour cream will thicken slightly as it sits, so aim for just a touch thinner than your final desired consistency.
Test and Adjust the Final Consistency
Once you’re close to your desired texture, do a final drizzle test. Lift your spoon about 6 inches above the bowl and let the thinned sour cream flow back in. It should create a smooth, steady stream that holds its shape briefly before melting into the rest of the mixture.
If it’s still too thick, add another ½ teaspoon of liquid and whisk again. For baked potato toppings or tacos, you want it to cling slightly but still pour. For salad dressings or sauces, it should be thin enough to whisk easily into other ingredients. The perfect consistency depends on your specific use, so adjust accordingly.
Use or Store Your Thinned Sour Cream
Your thinned sour cream is now ready to use immediately. I find it works best when used right away, as the consistency is exactly what you’ve tested. If you need to store it, transfer to an airtight container and refrigerate for up to 3 days.
Before using stored thinned sour cream, give it a quick whisk—it may separate slightly or thicken up in the fridge. If it’s thicker than you’d like after storage, simply whisk in another ½ to 1 teaspoon of cold milk to restore the perfect drizzling consistency. This method gives you complete control over the texture every time you use it.
Tips and Common Mistakes
Mastering the perfect drizzling consistency takes practice, but these key insights will help you avoid common pitfalls.
Liquid Temperature Matters: Always use cold liquid when thinning your sour cream. Room temperature or warm liquids can cause the fats to separate, leading to a grainy texture. I learned this the hard way after ruining a batch with lukewarm milk—cold is non-negotiable for smooth results.
The Whisking Technique: In Step 3, use a small wire whisk rather than a spoon or fork. The whisk incorporates air while blending, creating a lighter, silkier texture. I’ve found that circular motions work better than back-and-forth stirring for even distribution of the liquid.
Consistency Test Nuances: When performing the 6-inch drizzle test in Step 4, pay attention to how the stream breaks. The perfect consistency should create a continuous ribbon that briefly holds its shape before dissolving. If it breaks into dots immediately, it’s still too thick.
Storage Considerations: If storing your thinned sour cream, use a shallow, wide-mouth container rather than a deep one. This allows for easier whisking when you’re ready to use it again, and helps prevent separation. The 3-day storage window is reliable, but I’ve noticed the texture remains most consistent when used within 48 hours.
Pro Tips for Make Sour Cream Thinner
- Mastering the perfect drizzling consistency takes practice, but these key insights will help you avoid common pitfalls.
- Liquid Temperature Matters: Always use cold liquid when thinning your sour cream. Room temperature or warm liquids ca…
- The Whisking Technique: In Step 3, use a small wire whisk rather than a spoon or fork. The whisk incorporates air whi…
Frequently Asked Questions
Can I thin sour cream with water, or will it make it taste weird?
Water works in a pinch, but it can dilute the tangy flavor. For best results, use whole milk, buttermilk, or lemon juice instead—they blend seamlessly while keeping the taste rich. Start with 1 tsp at a time to avoid over-thinning!
How long does thinned sour cream last in the fridge?
Once thinned, it stays fresh for 5–7 days in an airtight container. If you used dairy (like milk), it may spoil slightly faster—sniff test before using! For longer storage, freeze in ice cube trays (up to 3 months).
What’s the fastest way to thin sour cream for a recipe?
For instant results, whisk in 1–2 tsp of lemon juice or vinegar—the acid breaks down the cream quickly. Heat also helps: warm it gently (10–15 sec in microwave) before adding liquid for smoother blending.
My thinned sour cream is lumpy—how do I fix it?
Lumps happen if the liquid isn’t fully incorporated. Fix it by:
- Whisking vigorously with a fork.
- Blending with a hand mixer for 10 seconds.
- Straining through a fine-mesh sieve for ultra-smooth texture.
Are there dairy-free alternatives to thin vegan sour cream?
Use unsweetened almond milk, coconut cream, or apple cider vinegar (½ tsp at a time). For cashew-based sour cream, a splash of water or lemon juice works well—just adjust slowly to avoid separation.
Thinning sour cream doesn’t have to be tricky—just a splash of milk, buttermilk, or lemon juice can transform it into a smooth, drizzle-worthy texture in seconds! 🎉 Whether you’re topping tacos, swirling into soups, or crafting creamy dressings, the right consistency makes all the difference. Now that you’ve got the know-how, grab a spoon and experiment with your favorite liquids to find your perfect match. Ready to put your new skills to the test? Try thinning a batch for your next meal—your dishes will thank you! 😉