
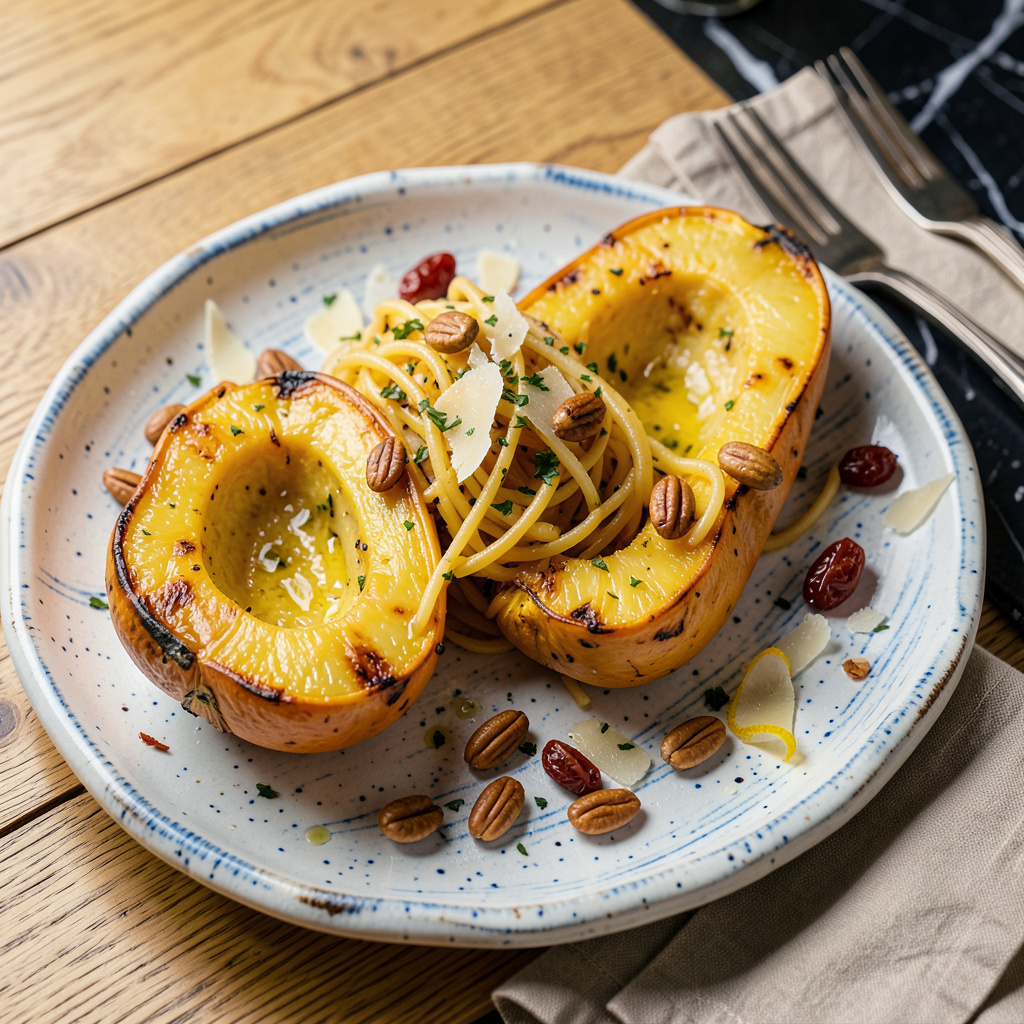
I’ve lost count of how many times I’ve pulled a pan of spaghetti squash from the oven only to find a watery, sad mess instead of those perfect, al dente strands we’re all after. After years of testing (and more than a few disappointments), I finally cracked the code to getting that ideal texture—no fancy equipment required, just a few key techniques that make all the difference.
The game-changer starts before the squash even hits the oven. Salting the cut sides and letting it sit for 15 minutes pulls out excess moisture, while roasting at 400°F (not lower) ensures proper caramelization. I also swear by placing the squash cut-side down on the baking sheet—this traps steam initially, then lets it escape through the skin instead of pooling in your strands.
But here’s where most people go wrong: stopping at the oven. After roasting, I always transfer the strands to a clean kitchen towel and squeeze out any remaining liquid before using. This extra step might seem tedious, but it’s what separates soggy squash from that perfect, noodle-like texture we’re chasing. Trust me, it’s worth the 30 seconds.
Once you’ve mastered this method, the possibilities are endless. Toss those perfect strands with garlic and herbs for a simple side, or use them as a base for vegan “pasta” dishes. My personal favorite? A quick sauté with olive oil, cherry tomatoes, and fresh basil—it’s my go-to when I want something light but satisfying. The texture holds up beautifully, no watery mess in sight.
📚 In This Guide
- What You’ll Need
- Instructions
- Tips and Common Mistakes
What Youll Need
- ● 1 medium spaghetti squash (about 3–4 lbs) – fresh and firm to the touch 🌿
- ● Sharp chef’s knife (8–10 inches) – for safe, clean cuts
- ● Large cutting board – sturdy and non-slip
- ● Spoon or ice cream scoop – to remove seeds efficiently
- ● Baking sheet (half-sheet pan, 18×13 inches) – lined with parchment paper or aluminum foil
- ○ Olive oil or avocado oil (1–2 tbsp) – for roasting (optional but recommended)
- ● Salt (½ tsp, or to taste) – enhances flavor and helps draw out moisture
- ○ Black pepper (¼ tsp, optional) – for seasoning
- ● Fork – to shred the squash post-cooking
- ● Paper towels or clean kitchen towel – to pat dry excess moisture
- ○ Colander (optional) – for draining if using the boiling or microwaving method
- ● Oven (preheated to 400°F) – for roasting (primary method)
- ○ Microwave-safe dish (optional) – if microwaving for a quicker cook
- ○ Large pot (optional) – if boiling as an alternative method
- ● Tongs or heat-resistant gloves – for handling hot squash safely
Step-by-Step Instructions for Perfectly Textured Spaghetti Squash
This foolproof method transforms watery spaghetti squash into strands with ideal texture—every single time.
Choose and Prepare the Right Squash
Start by selecting a firm spaghetti squash that feels heavy for its size. I always look for one with smooth, unblemished skin and a deep yellow color—these are signs of ripeness and lower water content. Avoid any squash with soft spots or green patches, as they tend to be more watery.
Wash the squash thoroughly under cool water to remove any dirt or debris. I like to use a vegetable brush for this step, especially around the stem area where dirt can hide. Pat it completely dry with a clean kitchen towel—this prevents steam from forming when you cut into it, which can make the strands soggy before you even start cooking.
Cut and Seed with Precision
Place the squash on a stable cutting board and carefully slice it in half lengthwise using a sharp chef’s knife. Here’s the thing—this can be tricky, so don’t rush it. If the squash is particularly hard, I sometimes microwave it for 2-3 minutes first to soften it slightly. The cut surface should be smooth and even.
Use a spoon to scoop out all the seeds and stringy pulp from the center. I’ve found that an ice cream scoop works exceptionally well for this task. Remove every bit of the seedy membrane—any remaining pieces will add unwanted moisture to your final dish. The cleaner the cavity, the better your squash strands will turn out.
Roast at High Heat for Optimal Texture
Preheat your oven to 400°F—this higher temperature is crucial for driving off excess moisture while creating perfect strands. Place the squash halves cut-side down on a rimmed baking sheet lined with parchment paper. The parchment prevents sticking while allowing moisture to escape, and the rimmed sheet catches any liquid that releases.
Roast for 35-45 minutes until the flesh is tender when pierced with a fork and the edges start to caramelize slightly. You’ll know it’s done when the skin gives way easily under pressure and the strands pull apart cleanly when scraped with a fork. Don’t be tempted to cover the squash with foil—this traps steam and makes the squash watery.
Drain and Fluff the Strands
Remove the squash from the oven and let it cool for 5-10 minutes—just enough time to handle it safely but while it’s still warm. Use a fork to scrape out the strands into a colander placed over a bowl. I always use a large-holed colander to allow maximum drainage while keeping the strands intact.
Let the strands drain for 5 minutes, then transfer them to a clean kitchen towel. Gently press the towel over the squash to absorb any remaining moisture. This double-draining technique makes a world of difference in the final texture. The strands should look separate and slightly glossy, not clumped together or sitting in liquid.
Finish with Heat for Restaurant-Quality Results
Here’s the secret weapon: transfer the drained strands to a dry skillet over medium-high heat. Cook for 3-5 minutes, stirring constantly, until any residual moisture evaporates and the strands become slightly translucent. You’ll hear a gentle sizzling sound when they’re ready.
This final step transforms good spaghetti squash into extraordinary spaghetti squash. The heat concentrates the natural sweetness while giving the strands a delicate bite. Season with salt and pepper to taste, and serve immediately while still warm. The texture should be tender but with a slight resistance—never mushy or waterlogged.
Tips and Common Mistakes for Perfectly Textured Spaghetti Squash
These game-changing techniques will elevate your spaghetti squash from soggy to spectacular—trust me, they make all the difference!
Selection Secret: In Step 1, choosing the right squash is half the battle! Look for one that feels heavy for its size with deep yellow color—this indicates lower water content. I’ve found that squash with a slightly dull (not shiny) skin actually has better texture after cooking. Avoid any with green patches, as they’re less mature and contain more moisture.
Heat Control: The 400°F roasting temperature in Step 3 isn’t arbitrary—it’s the sweet spot for driving off moisture while caramelizing the edges. If your oven runs hot, check at 30 minutes; if it runs cool, you might need the full 45 minutes. The squash is done when a fork pierces the flesh easily and the edges turn golden-brown.
Draining Technique: Don’t rush the 5-minute draining in Step 4! I like to gently toss the strands in the colander halfway through to expose all surfaces to air. Then, when transferring to the towel, don’t squeeze—just press gently. This removes moisture without crushing the delicate strands. The difference between good and great squash happens right here!
Final Touch: That 3-5 minutes in the skillet during Step 5 is magic! Listen for the sizzle—it should sound like bacon cooking, not a loud fry. Stir constantly and watch for the strands to become slightly translucent at the edges. This is when the flavor concentrates and the texture becomes perfectly al dente.
Pro Tips for Make Spaghetti Squash Less Watery
- These game-changing techniques will elevate your spaghetti squash from soggy to spectacular—trust me, they make all t…
- Selection Secret: In Step 1, choosing the right squash is half the battle! Look for one that feels heavy for its size…
- Heat Control: The 400°F roasting temperature in Step 3 isn’t arbitrary—it’s the sweet spot for driving off moisture w…
Frequently Asked Questions
Can I use a microwave to cook spaghetti squash without making it watery?
Yes, but it requires extra steps! Microwaving speeds up cooking but traps steam, making squash soggy. To fix this, pierce the squash, microwave in 5-minute bursts, then let it rest 10 minutes. Finish by roasting (400°F for 10–15 mins) to evaporate excess moisture. Pro tip: Pat dry with a towel post-microwave!
How long should I roast spaghetti squash to avoid a watery texture?
Roast at 400°F for 30–45 minutes (cut-side down) for firm, noodle-like strands. Overcooking = mush! Check doneness by piercing with a fork—it should glide in but not feel soft. Smaller squash may need less time; larger ones up to 50 mins. Always drain upside-down post-roasting!
What’s the best way to drain water from spaghetti squash after cooking?
After roasting, flip the squash halves cut-side down on a wire rack or colander for 10–15 minutes. Press gently with a paper towel to absorb surface moisture. For extra-dry strands, spread them on a baking sheet and broil 2–3 minutes (watch closely!). Avoid squeezing—it turns strands to mush.
Can I freeze spaghetti squash without it getting watery when reheated?
Yes, but texture changes. Blanch strands (2 mins in boiling water, then ice bath), drain thoroughly, and pat dry. Freeze in a single layer, then transfer to bags. Reheat by sautéing (not microwaving) to restore texture. Expect slightly softer strands—best for soups or casseroles post-freeze.
Are there spaghetti squash varieties that are naturally less watery?
All spaghetti squash have similar moisture content, but smaller, younger squash (3–4 lbs) tend to be less watery than giant ones. Look for firm, heavy-for-their-size squash with dull (not shiny) skin. Storage matters too—keep in a cool, dry place (not the fridge) until ready to use!
Say goodbye to soggy spaghetti squash for good! 🎉 By roasting cut-side down, salt-drawing moisture, or sautéing post-cook, you’ll lock in that perfect al dente texture every time. A little patience and the right technique turn this humble veggie into a restaurant-worthy dish—no watery strands in sight.
Ready to put your new skills to the test? Grab a squash and try one of these methods tonight—your taste buds (and meal prep game) will thank you! Tag us in your creations or share your favorite topping combo below. 👇