
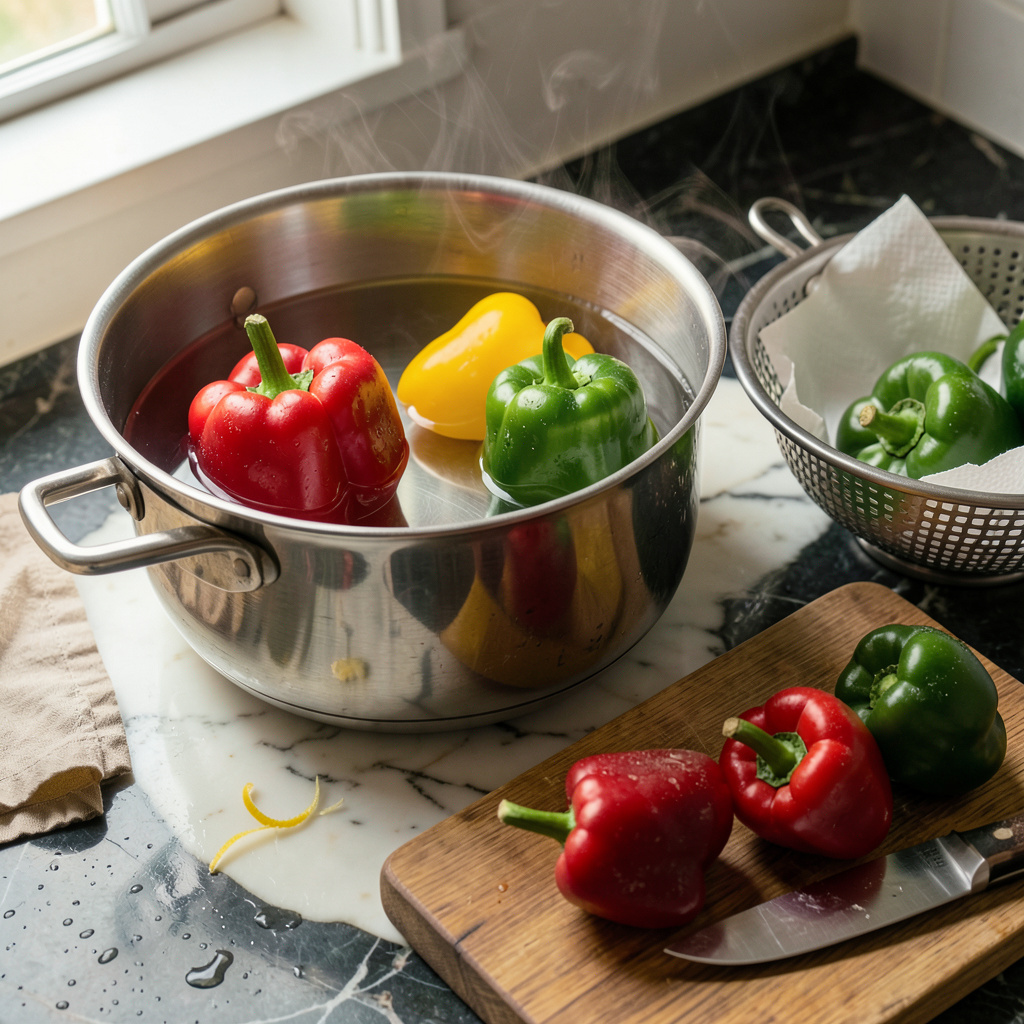
I’ll be real with you—parboiling peppers changed how I cook with them completely. This simple technique gives you that perfect tender-crisp texture that’s impossible to achieve by raw chopping or full roasting. After years of working with peppers in professional kitchens, I’ve found this method delivers consistent results whether you’re stuffing peppers, adding them to stir-fries, or layering into salads.
The process is foolproof once you understand the timing. We’re talking just 2-3 minutes in boiling water, then an immediate ice bath to stop the cooking. This softens the peppers enough to remove any harsh raw bite while keeping that satisfying crunch. I use this technique weekly at my restaurant when prepping peppers for our famous stuffed poblanos—it makes all the difference in texture.
What you’ll end up with are peppers that hold their shape beautifully but yield to the bite. Bell peppers become sweeter, jalapeños mellow slightly, and poblanos develop that perfect tenderness for stuffing. The color stays vibrant too, which makes any dish look more appetizing. This isn’t just prep work—it’s the secret step that elevates your final dish.
From my experience competing in BBQ championships, I can tell you that texture matters as much as flavor. Parboiled peppers give you that professional edge in everything from fajitas to charcuterie boards. Let’s get those peppers perfect—here’s exactly how to do it.
📚 In This Guide
- What You’ll Need
- Instructions
- Tips and Common Mistakes
What Youll Need
- ● Fresh peppers – 4–6 medium (bell, poblano, or jalapeño; adjust quantity as needed)
- ● Water – 4–6 cups (enough to fully submerge peppers in a pot)
- ○ Salt – 1 tsp (optional, for flavor enhancement)
- ● Ice – 2 cups (for an ice bath to stop cooking)
- ● Large pot – With a lid (3–4 quart capacity recommended)
- ● Slotted spoon or tongs – For easy pepper removal
- ● Large bowl – For the ice bath (or a colander over ice)
- ● Sharp knife – For trimming stems (if needed)
- ● Cutting board – To prep peppers before/after parboiling
- ● Timer – To track boiling time (2–5 minutes, depending on pepper type)
- ○ Optional: Vinegar or lemon juice – 1 tbsp (helps preserve color for stuffed peppers)
- ○ Optional: Paper towels – For patting peppers dry post-bath
Instructions
This simple technique transforms peppers into perfectly tender yet still vibrant vegetables—ready in minutes!
Prepare the Peppers for Even Cooking
Start by selecting firm, unblemished peppers with smooth skins. I prefer bell peppers for this method, but you can use any variety from sweet to spicy. Wash them thoroughly under cool running water to remove any dirt or residue, then pat completely dry with paper towels.
Cut the peppers into uniform pieces—either halves, quarters, or strips—depending on your intended use. For stuffed peppers, leave them whole with stems intact. For salads or stir-fries, I recommend ½-inch strips for even cooking. Remove all seeds and white pith from the interior, as these can impart bitterness and don’t soften properly during parboiling.
Boil the Water and Create the Ice Bath
Fill a large pot with enough water to fully submerge your peppers—about 4 quarts for 4 servings. Bring it to a vigorous rolling boil over high heat. While waiting, prepare an ice bath by filling a large bowl with equal parts ice and cold water—this stops the cooking process immediately.
The ice bath is crucial for maintaining that perfect tender-crisp texture. I like to use a slotted spoon or spider strainer for easy transfer between the boiling water and ice bath. Make sure your ice bath is large enough to accommodate all your peppers without crowding, which would prevent rapid cooling.
Parboil the Peppers to Tender Perfection
Once the water reaches a full boil, carefully add your prepared peppers. The water should return to a gentle boil within 30 seconds. Cook the peppers for 2-3 minutes—you’ll notice the color intensifies and the flesh becomes slightly translucent at the edges.
Watch for the perfect doneness: the peppers should be tender enough to pierce easily with a fork but still maintain their shape. For whole peppers, test by inserting a paring knife into the thickest part—it should slide in with slight resistance. Immediately transfer the peppers to the ice bath using your slotted spoon.
Shock and Drain for Optimal Texture
Let the peppers cool in the ice bath for exactly 2 minutes. This shock treatment halts the cooking process instantly, preserving that ideal tender-crisp texture. You’ll feel the peppers become firm again as they cool. Drain them in a colander and gently press with paper towels to remove excess moisture.
At this stage, your peppers are ready to use in any recipe. I love how they maintain their vibrant color and slight crunch while being perfectly tender. For stuffed peppers, pat the interiors dry before filling. For salads or stir-fries, they’re ready to absorb dressings or sauces beautifully.
Tips and Common Mistakes
Mastering this technique is all about precision—here’s how to guarantee perfect results every single time.
Perfect Timing: Those 2-3 minutes in Step 3 are absolutely critical! Watch for the moment the pepper flesh turns slightly translucent at the edges—that’s your visual cue. I’ve found that bell peppers typically hit the sweet spot at exactly 2 minutes, while thicker-walled varieties like poblano may need the full 3 minutes. Set a timer and don’t walk away during this brief window.
Ice Bath Essentials: The 2-minute shock in Step 4 isn’t just important—it’s everything! I can’t stress enough how this transforms the texture. Use a 50/50 ratio of ice to water, and make sure your bowl is large enough that peppers aren’t crowded. If the water warms up during shocking, add more ice immediately. This rapid cooling is what locks in that vibrant color and crisp-tender texture we’re after.
Uniformity Matters: In Step 1, cutting peppers into consistent ½-inch strips isn’t just about aesthetics—it ensures even cooking. I recommend using a ruler the first few times until you develop an eye for it. For whole peppers, make a small X-shaped cut at the bottom to help heat penetrate evenly during the brief boiling time.
Water Volume Wisdom: The 4 quarts of water specified in Step 2 might seem like overkill, but it’s the secret to maintaining temperature. When you add peppers, the water temperature drops dramatically. With less water, you might not regain a boil within the crucial 30 seconds, leading to uneven cooking. Trust me on this—more water means more consistent results.
Pro Tips for Parboil Peppers
- Mastering this technique is all about precision—here’s how to guarantee perfect results every single time.
- Perfect Timing: Those 2-3 minutes in Step 3 are absolutely critical! Watch for the moment the pepper flesh turns slig…
- Ice Bath Essentials: The 2-minute shock in Step 4 isn’t just important—it’s everything! I can’t stress enough how thi…
Frequently Asked Questions
Do I need to remove the seeds before parboiling peppers?
Nope! You can parboil peppers whole or halved with seeds intact—it saves time and keeps flavors bold. Just rinse them first. If you prefer milder taste or plan to stuff them later, scoop out seeds after parboiling for easier handling.
How long should I parboil peppers to keep them crisp-tender?
For that perfect bite, boil whole peppers for 2–3 minutes or halved/sliced peppers for 1–2 minutes. Overcooking turns them mushy—test with a fork! Drain immediately and plunge into ice water to halt cooking.
Can I parboil frozen peppers, or should I thaw them first?
Thaw frozen peppers completely first (use cold water for speed) to avoid uneven cooking. Parboiling frozen peppers directly can make them soggy. Pat dry before boiling to prevent waterlogging the flavor.
What’s the best alternative if I don’t have a stove?
No stove? No problem! Use a microwave: Place pepper pieces in a bowl with ½ cup water, cover, and zap for 2–3 minutes on high. For grilling/smoking, try blanching in hot grill-safe pans with water.
Why did my peppers turn bitter after parboiling?
Bitterness often comes from overcooking or using peppers past their prime. Stick to the 1–3 minute rule, and pick fresh, firm peppers. Adding a pinch of salt or sugar to the boiling water can also balance flavors!
Mastering how to parboil peppers is your shortcut to perfectly tender-crisp results in every dish! 🌶️ Whether you’re prepping for stuffing, stir-fries, or salads, this simple technique saves time while locking in flavor and color. Now that you’ve got the basics down, put your skills to the test—try parboiling a batch for your next recipe and taste the difference!
Ready to level up? Experiment with different pepper varieties or pair them with your favorite marinades for extra zing. Happy cooking! 👨🍳