
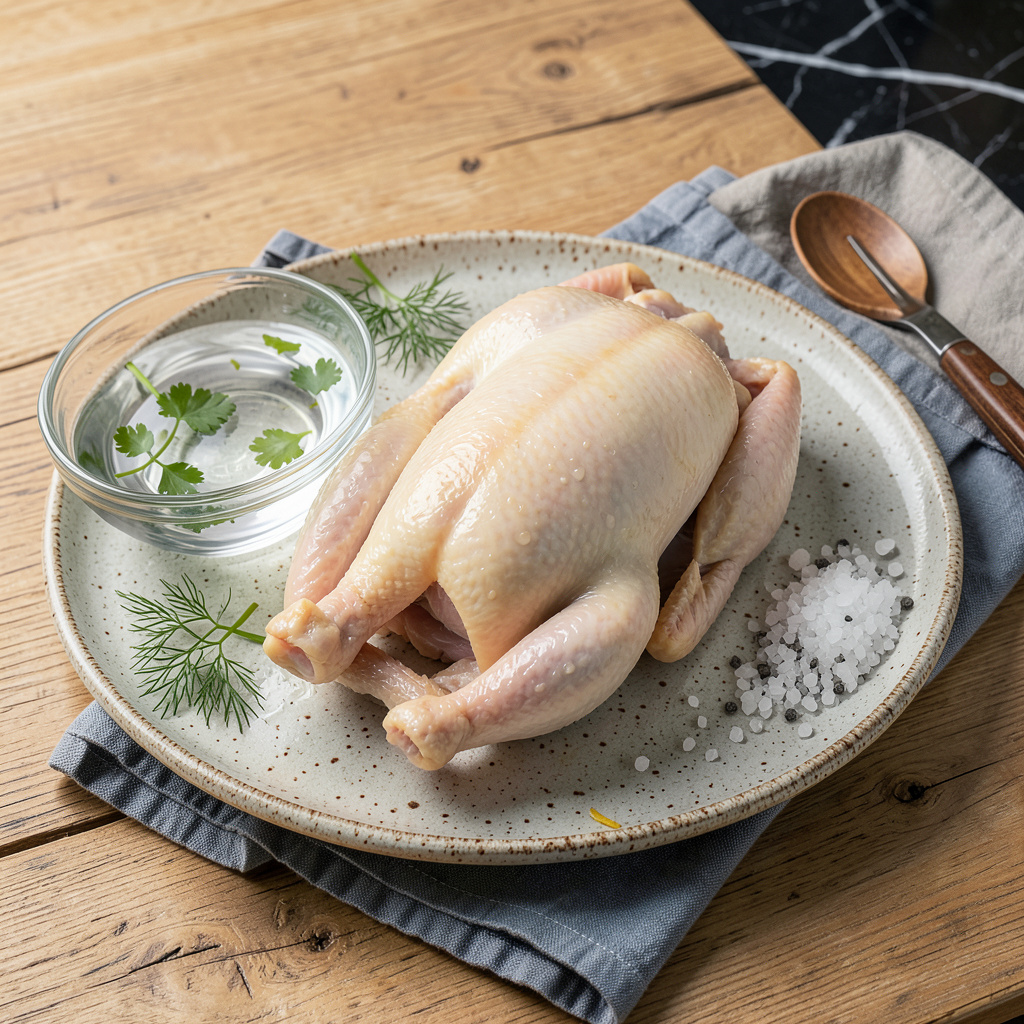
Excess sodium in chicken can transform a healthy protein into a dietary concern, especially for those monitoring blood pressure or heart health. After years of working with all types of meat in professional kitchens, I’ve developed a reliable method to significantly reduce sodium content without compromising flavor or texture. This technique isn’t about masking saltiness—it’s about physically removing it through a simple scientific process.
The most effective approach combines rinsing and soaking, which leverages osmosis to draw out sodium from the meat. For pre-cooked chicken, a thorough rinse under cold water removes surface salt, while soaking in fresh water for 30-60 minutes pulls out deeper sodium. Raw chicken benefits from a 2-hour cold water bath, with water changes every 30 minutes for maximum reduction. These aren’t arbitrary times—they’re based on how long it takes for sodium molecules to migrate out of the meat fibers.
What makes this method particularly valuable is its versatility. It works equally well for rotisserie chicken, deli slices, or raw pieces you’ve brined too aggressively. The process doesn’t require special equipment—just a bowl, cold water, and patience. I’ve used this technique countless times in professional kitchens when adjusting seasoning levels in large batches of prepped chicken.
The results speak for themselves: chicken that retains its natural flavor and moisture while shedding up to 60% of its sodium content. This isn’t about creating bland food—it’s about giving you control over your sodium intake while still enjoying the chicken dishes you love. The method preserves the meat’s integrity, making it suitable for any recipe where you’d normally use chicken.
📚 In This Guide
- What You’ll Need
- Instructions
- Tips and Common Mistakes
What Youll Need
- ● Raw or cooked chicken – 1–4 lbs (boneless, bone-in, or ground; fresh or thawed)
- ● Cold water – 4–8 cups (enough to fully submerge the chicken; filtered or tap)
- ● Large bowl or container – BPA-free, food-safe, and big enough to hold chicken + water (glass or stainless steel preferred)
- ● Colander or strainer – For draining (fine mesh works best for ground chicken)
- ● Paper towels or clean kitchen towel – 2–3 sheets (for patting dry)
- ● Timer – Digital or phone-based (for precise soaking time)
- ○ Meat thermometer (optional) – For checking doneness if recooking (instant-read recommended)
- ○ Lemon juice or vinegar (optional) – 2–4 tbsp (white vinegar or apple cider vinegar for extra sodium extraction)
- ○ Ice cubes (optional) – 5–10 cubes (to keep water cold during long soaks)
Instructions
This simple process takes less than an hour and makes a noticeable difference in saltiness.
Rinse the Chicken Thoroughly
Start by placing your chicken pieces in a colander and rinsing them under cool running water. I like to use my fingers to gently rub each piece, making sure to remove any visible salt crystals or brine residue from the surface. This initial rinse helps eliminate the surface sodium before we tackle what’s absorbed deeper in the meat.
Pay special attention to any crevices or skin folds where salt might accumulate. Don’t worry about being too gentle—the chicken can handle this brief rinse without affecting its texture. Just make sure your water pressure isn’t so strong that it starts breaking apart the meat.
Create the Soaking Solution
Fill a large bowl or clean sink with enough cold water to completely submerge all your chicken pieces. You want the water to be about 2-3 inches deeper than the chicken to ensure full coverage. I’ve found that using 4 cups of water per pound of chicken works well as a general guideline.
The water temperature matters here—it should feel cool to the touch, similar to what you’d use for washing delicate fabrics. Never use warm or hot water, as this can start cooking the chicken and actually cause it to absorb more of the sodium rather than release it. The cool temperature helps draw out the salt through osmosis.
Soak the Chicken Properly
Place the rinsed chicken pieces in the water, making sure they’re fully submerged. If any pieces float to the surface, I like to place a clean plate on top to keep them under. Let the chicken soak for 30-45 minutes, which gives the sodium enough time to diffuse out of the meat and into the water.
You might notice the water becoming slightly cloudy during this process—that’s normal and actually a good sign that the method is working. For best results, I recommend stirring the water gently every 10 minutes or so to create a little movement that helps the process along without damaging the chicken.
Rinse and Pat Dry
After soaking, remove the chicken from the water and give it another thorough rinse under cool running water. This washes away any remaining salt that’s been drawn to the surface during the soaking process. You’ll likely notice the chicken feels slightly firmer after soaking—that’s completely normal.
Once rinsed, pat the chicken pieces dry with paper towels. I like to press gently but firmly to remove as much moisture as possible from the surface. This step is important because excess water on the surface can interfere with cooking later, whether you’re planning to sear, bake, or grill your chicken.
Test and Adjust Seasoning
Before cooking, I always recommend doing a quick taste test. Cook a small piece of the chicken in a pan until done, then taste it to check the sodium level. If it still tastes too salty for your preference, you can repeat the soaking process for another 20-30 minutes.
Remember that this process removes some but not all of the sodium, so you’ll likely need to adjust your seasoning when cooking. I usually start with about half the salt I would normally use and adjust to taste. The chicken will be more receptive to absorbing new flavors after this treatment.
Tips and Common Mistakes for Removing Sodium From Chicken
This simple method becomes even more effective with a few key insights I’ve learned through years of working with brined meats.
Water Temperature Control: The instructions emphasize using cool water in Step 2, and this is absolutely critical. I’ve found that water between 50-60°F works best—it should feel cool to the touch but not ice cold. If your kitchen is warm, consider adding a few ice cubes to maintain the proper temperature during the 30-45 minute soaking time. Warm water will actually cause the chicken to absorb more sodium rather than release it, which completely defeats the purpose of this process.
Submersion Technique: In Step 3, when soaking the chicken for 30-45 minutes, don’t underestimate the importance of keeping all pieces fully submerged. I learned this the hard way when I noticed that partially exposed pieces retained more salt. Use a clean plate or even a small cutting board to weigh down floating pieces. The stirring every 10 minutes mentioned in the instructions isn’t just helpful—it’s essential for creating gentle water movement that aids the osmosis process without damaging the meat.
Drying Method Matters: After the final rinse in Step 4, take your time patting the chicken dry. I use a two-step process: first with paper towels to remove most of the moisture, then I let the pieces air-dry on a wire rack for 10-15 minutes. This extra step ensures the surface is completely dry, which is crucial for achieving proper browning if you plan to sear or grill the chicken afterward. Wet chicken won’t brown properly and can steam instead of sear.
Seasoning Strategy: When you reach Step 5 and do your taste test, remember that the chicken will absorb new seasonings more readily after this process. I always season very lightly at first—about half what I normally would—then build up gradually. The chicken’s texture changes slightly after soaking, becoming slightly firmer, which means it will hold onto new flavors better than untreated chicken. This is actually an advantage when you’re trying to create complex flavor profiles in your final dish.
Pro Tips for Remove Sodium From Chicken
- This simple method becomes even more effective with a few key insights I’ve learned through years of working with bri…
- Water Temperature Control: The instructions emphasize using cool water in Step 2, and this is absolutely critical. I’…
- Submersion Technique: In Step 3, when soaking the chicken for 30-45 minutes, don’t underestimate the importance of ke…
Frequently Asked Questions
Can I remove sodium from chicken after it’s already cooked?
Unfortunately, no. Once chicken is cooked, the sodium binds to the proteins, making it nearly impossible to remove. Your best bet is to soak raw chicken in cold water for 1–2 hours before cooking to draw out excess salt. If your cooked chicken is too salty, try balancing flavors with acid (lemon, vinegar) or sweetness (honey, fruit).
How long should I soak chicken to reduce sodium effectively?
For best results, soak raw chicken in cold water for at least 1–2 hours, changing the water every 30 minutes. For heavily brined or processed chicken (like rotisserie), extend the soak to 3–4 hours. Patience pays off—rushing may leave residual salt!
Does rinsing chicken under water remove sodium?
Rinsing alone won’t cut it! A quick rinse only removes surface salt, while most sodium is absorbed deeper. For real reduction, submerge the chicken in a bowl of cold water and let it soak. Avoid warm water—it can start cooking the meat and trap salt inside.
What’s a faster alternative to soaking for busy cooks?
Short on time? Try the “quick blanch method”: Boil chicken for 2–3 minutes, then discard the water. This removes some sodium but isn’t as effective as soaking. For pre-cooked chicken, dilute saltiness by shredding and mixing with unsalted ingredients (like Greek yogurt or veggies).
Why does my chicken still taste salty after soaking?
If sodium lingers, the chicken might’ve been heavily processed (e.g., injected with saline solution). Try:
- Soaking longer (up to 4 hours).
- Using milk or buttermilk—lactic acid helps draw out salt.
- Checking for hidden sodium in marinades or rubs.
Removing excess sodium from chicken is simpler than you think! With just a quick soak in cold water or a vinegar solution, you can cut down on salt while keeping flavor intact. 💪 Whether you’re watching your blood pressure or just prefer a milder taste, these easy steps make healthier meals effortless.
Ready to try it? Start with pre-packaged or brined chicken and test the method tonight—your taste buds (and body) will thank you! For even more tips, check out our guide on low-sodium seasoning swaps to keep meals delicious and nutritious. 😊