
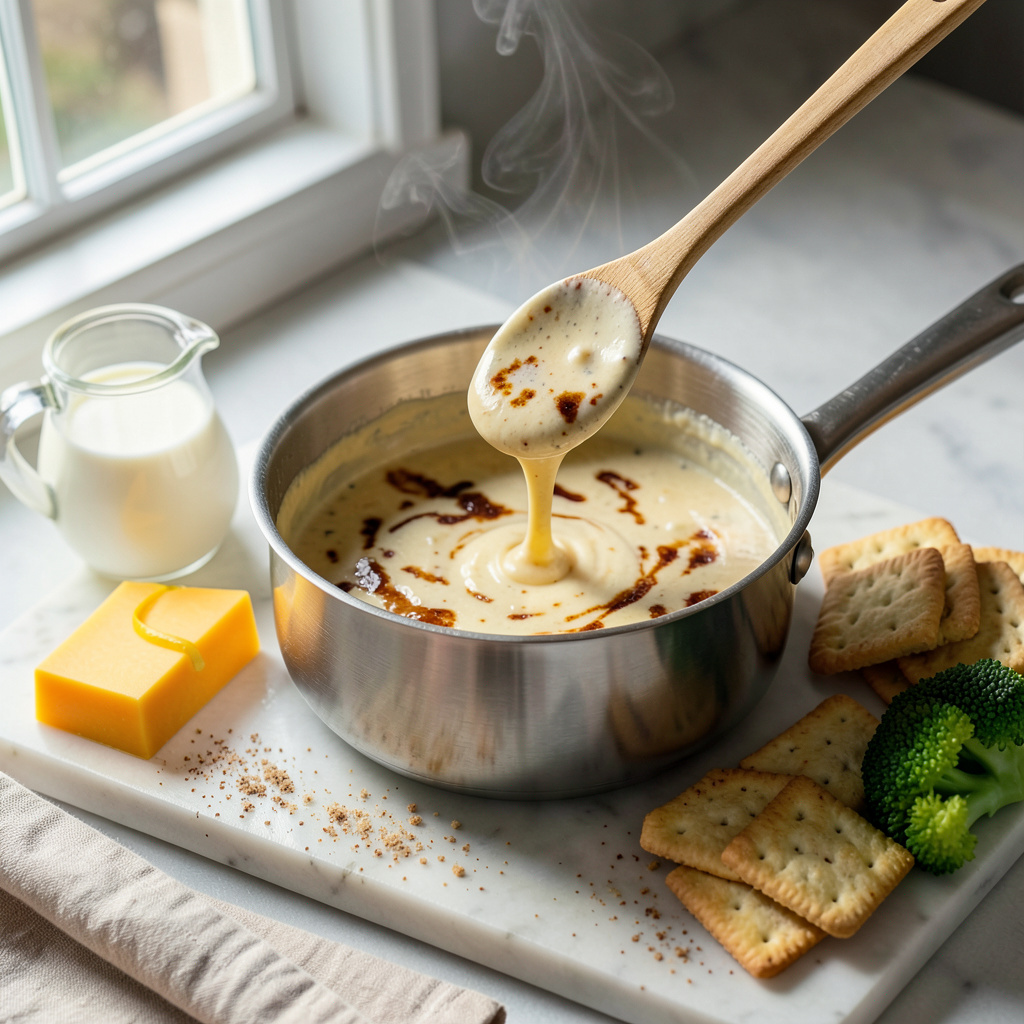
Ever ended up with cheese sauce so thick you could stand a spoon in it? I’ve been there more times than I’d like to admit—especially when making mac and cheese for a crowd. The good news is fixing it takes seconds once you know the right tricks. No fancy equipment needed, just a few simple adjustments to get that perfect, silky consistency.
Here’s the thing—thinning cheese sauce isn’t about dumping in liquid and hoping for the best. It’s about balance. Too much heat and your sauce breaks. Too much liquid and it turns soupy. I’ve found the sweet spot: warm (not hot) sauce plus small additions of liquid, stirred constantly. Milk works great, but broth or even a splash of white wine can add extra flavor while loosening things up.
The key ratio I swear by? Start with 1 tablespoon of liquid per cup of sauce, then go slow from there. This gives you control without risking a runny mess. And if you’re working with a vegan cheese sauce, plant-based milk or a touch of vegetable broth works just as well—just watch the temperature even more closely since those sauces can be trickier to stabilize.
What you’re left with is smooth, velvety cheese sauce that coats the back of a spoon perfectly. No lumps, no separation, just that ideal consistency that makes everything from nachos to broccoli taste better. Let’s get that sauce back on track.
📚 In This Guide
- What You’ll Need
- Instructions
- Tips and Common Mistakes
What Youll Need
- ● Pre-made cheese sauce – 1–2 cups (thick or clumpy sauce that needs thinning 🧀)
- ● Liquid of choice – ¼ to ½ cup (options below!): Whole milk or heavy cream (for richest results 🥛)
- ● Warm water or broth (for a lighter touch)
- ● Beer or white wine (for extra flavor depth 🍺)
- ● Tools: Small saucepan (non-stick preferred)
- ● Whisk or wooden spoon (for smooth stirring 🥄)
- ● Measuring cups/spoons (precision matters!)
- ○ Optional: Immersion blender (for ultra-silky texture)
- ● Prerequisites: Cheese sauce at room temp or slightly warmed (cold sauce resists thinning! ❄️)
- ● Low heat source (gentle warmth prevents splitting)
Instructions
Here’s how to transform thick cheese sauce into silky perfection—quick, easy, and foolproof.
Assess Your Sauce’s Current Consistency
Before making any adjustments, evaluate your cheese sauce’s thickness. Dip a spoon into the sauce and let it drip back into the pot. If it clings heavily to the spoon or falls in thick clumps, it definitely needs thinning. The ideal consistency should coat the back of a spoon but still run off smoothly when tilted.
Take note of the temperature too—cold cheese sauce always appears thicker than it will be when warmed. If your sauce has been refrigerated, you’ll need to gently reheat it before thinning. This prevents the cheese from breaking or becoming grainy when you add liquids.
Choose Your Thinning Liquid
For the smoothest results, warm milk is my go-to liquid for thinning cheese sauce. The milk fat blends seamlessly with the cheese, maintaining creaminess without watering down the flavor. Heat ¼ cup of milk until warm but not boiling—about 110°F works perfectly.
If you’re out of milk, other dairy options work well too. Heavy cream adds richness (use sparingly), while half-and-half offers a middle ground. For a lighter option, warm chicken or vegetable broth can thin the sauce without adding dairy, though the flavor profile will change slightly. Avoid cold liquids—they can cause the cheese to seize up.
Thin Gradually While Stirring Constantly
With your sauce over low heat, begin adding the warm liquid 1 tablespoon at a time. After each addition, stir vigorously with a whisk for 30 seconds, moving in small circles to fully incorporate the liquid. Watch how the sauce moves—it should become more fluid but still maintain its creamy texture.
The key here is patience. It’s easier to add more liquid than to fix a sauce that’s become too thin. Between additions, let the sauce heat for 10-15 seconds to see the true consistency. You’ll notice the sauce gradually becoming more pourable while still clinging slightly to your whisk.
Adjust Seasoning and Texture
After reaching your desired consistency, taste the sauce and adjust the seasoning. Thinning can sometimes dilute flavors, so you might need to add a pinch more salt or pepper. If the sauce feels slightly grainy after thinning, a splash of lemon juice or white wine can help smooth it out—the acid helps emulsify the fats.
For an extra-silky finish, remove the sauce from heat and stir in 1 tablespoon of cold butter at the very end. This final step, called “mounting,” gives the sauce a beautiful glossy sheen. The butter should melt completely from the residual heat, creating a velvety texture that’s perfect for dipping or drizzling.
Maintain the Perfect Consistency
If you’re not using the sauce immediately, keep it warm over very low heat, stirring occasionally. Cheese sauce continues to thicken as it cools, so you might need to add another 1-2 tablespoons of warm liquid if it sits for more than 15 minutes. A double boiler setup works wonderfully for maintaining temperature without risking scorching.
When reheating leftover thinned sauce, do it gently over medium-low heat while stirring constantly. Add a splash of liquid as needed—the sauce will thicken slightly upon refrigeration. The reheated sauce should return to its smooth, pourable consistency without separating or becoming greasy.
Tips and Common Mistakes
Mastering the perfect cheese sauce consistency is easier than you think—here’s what I’ve learned from years of making (and occasionally ruining) batches.
Temperature Control: The 110°F temperature for your milk in Step 2 is crucial. Too hot and you risk curdling the cheese, too cold and it won’t incorporate smoothly. I use an instant-read thermometer to check—it’s the only way to guarantee that perfect warm-but-not-hot temperature that blends seamlessly with your cheese sauce.
Patience Pays Off: In Step 3, those 30 seconds of vigorous stirring after each tablespoon addition make all the difference. I know it’s tempting to rush, but this is where the magic happens. The constant motion prevents the cheese from separating and ensures each addition fully emulsifies before you add more liquid.
Rescue Strategy: If your sauce becomes slightly grainy after thinning, don’t panic. The lemon juice or white wine mentioned in Step 4 works wonders—the acid helps rebind the fats and proteins. I’ve saved many batches this way, and you’ll be amazed how quickly it smooths out with just a teaspoon or two of acid.
Maintenance Tip: When keeping your sauce warm as described in Step 5, that 15-minute mark is your warning sign. Set a timer when you finish thinning, and at the 15-minute point, stir in that additional 1-2 tablespoons of warm liquid. This prevents the sauce from thickening beyond repair while you’re getting everything else ready to serve.
Pro Tips for Thin Cheese Sauce
- Mastering the perfect cheese sauce consistency is easier than you think—here’s what I’ve learned from years of making…
- Temperature Control: The 110°F temperature for your milk in Step 2 is crucial. Too hot and you risk curdling the chee…
- Patience Pays Off: In Step 3, those 30 seconds of vigorous stirring after each tablespoon addition make all the diffe…
Frequently Asked Questions
Got questions about perfecting your cheese sauce? Here are the most common ones—answered!
Can I thin cheese sauce after it’s already cooled?
Yes! Reheat it gently on low (or in 15-second microwave bursts) while whisking in warm liquid (milk, broth, or cream). Cold sauce may clump, so patience is key—avoid high heat to prevent graininess.
How long does it take to thin cheese sauce?
Just 2–5 minutes! Warm sauces thin faster—add liquid 1 tbsp at a time, whisking constantly. For cold sauce, allow 5–10 minutes with gentle heat. Rushing = risk of breaking!
What’s the best liquid to thin cheese sauce?
Warm milk or heavy cream adds richness without diluting flavor. For tang, try buttermilk; for depth, use chicken/vegetable broth. Avoid water—it makes sauce taste bland.
Why did my cheese sauce get grainy after thinning?
Overheating or adding cold liquid too fast causes fat to separate. Fix it by whisking in 1 tsp lemon juice or sodium citrate while reheating low and slow. Strain if needed!
Can I use an immersion blender to thin cheese sauce?
Absolutely! Blend on low while drizzling in warm liquid—this emulsifies smoothly. Pro tip: Tilt the blender slightly to create a vortex for even mixing. Avoid high speeds to prevent air bubbles.
Thinning cheese sauce doesn’t have to be stressful—just remember liquid, heat, and patience are your best friends! Whether you’re using milk, broth, or even a splash of pasta water, the key is to add gradually and stir like a pro. Now that you’ve mastered the technique, why not put it to the test? Whip up a batch of mac and cheese, nachos, or a creamy grilled cheese dip—your newly perfected sauce is ready to shine! 🧀✨