
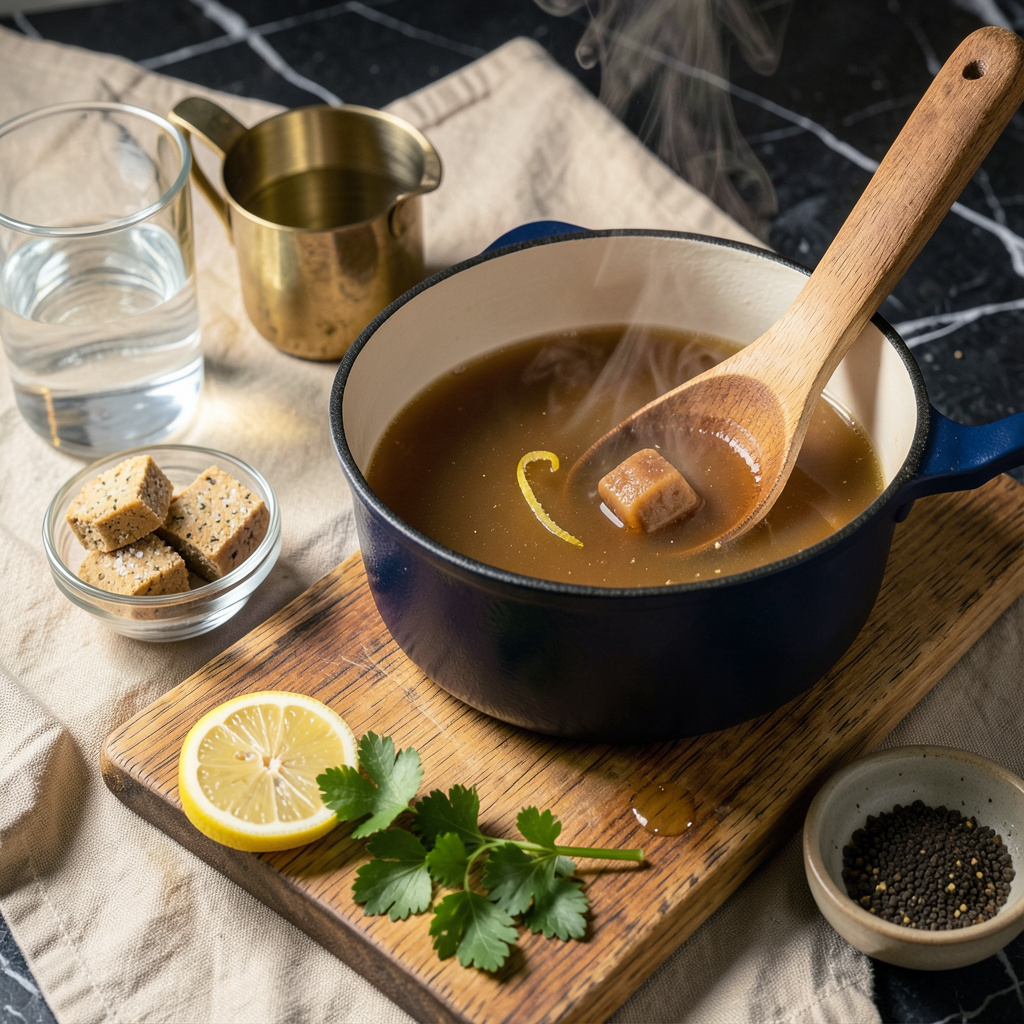
I’ll be real with you—sometimes you need rich beef broth fast, and that’s where bouillon cubes save the day. After years of making stock from scratch (and burning through entire afternoons doing it), I discovered this method delivers deep, savory flavor in about 20 minutes flat. No bones, no long simmering, just straightforward results when you’re in a pinch.
This isn’t about cutting corners—it’s about working smarter. The right ratio of cubes to water makes all the difference, and I’ve nailed it after testing every brand at my smokehouse. A few aromatics (onion, garlic, bay leaf) take it from basic to restaurant-worthy. The smell alone will have you questioning why you ever bought pre-made broth.
What you end up with is a versatile foundation for soups, sauces, or braises that tastes like it simmered all day. I use this exact method at The Smoky Pig when we’re slammed during lunch service—it’s become my not-so-secret weapon for keeping flavors bold without the 12-hour commitment.
Best part? You can tweak it endlessly—add mushroom stems for umami, char the veggies first for depth, or swap in vegetable bouillon for a meat-free version. Let’s get that pot on the stove.
📚 In This Guide
- What You’ll Need
- Instructions
- Tips and Common Mistakes
What Youll Need
- ● Beef bouillon cubes or granules – 2 cubes (or 2 tsp granules) per 1 cup of water (check package for exact ratios) 🍖
- ● Water – 4 cups (or as needed for desired broth quantity)
- ● Medium saucepan – 2-3 quart capacity (non-stick or stainless steel preferred)
- ● Wooden spoon or whisk – for stirring and dissolving bouillon
- ○ Fine-mesh strainer (optional, for a smoother broth)
- ○ Fat separator (optional, if reducing grease)
- ○ Aromatics (optional) – 1 small onion (quartered), 1 carrot (chopped), 1 celery stalk, 2 garlic cloves (smashed), or 1 bay leaf for extra depth
- ● Salt & pepper – to taste (adjust after tasting—bouillon is already salty!)
- ○ Cheesecloth (optional, for bundling aromatics)
- ● Air-tight container – for storing leftovers (glass or BPA-free plastic)
Instructions
Here’s how to transform simple bouillon cubes into rich, flavorful beef broth in just minutes.
Choose Your Bouillon and Water Ratio
Start by selecting high-quality beef bouillon cubes—this makes all the difference in flavor. I always use 1 cube per cup of water for standard strength broth, but you can adjust based on your taste preferences. If you prefer a more concentrated flavor, use 1 cube per ¾ cup water.
For this recipe, you’ll want to use hot water rather than cold. Hot water dissolves the bouillon more quickly and evenly, preventing any grainy texture in your finished broth. I recommend heating the water to about 180°F—just below boiling—before adding the cubes.
Dissolve the Bouillon Completely
Place your bouillon cubes in a heat-safe container or directly in your pot. Slowly pour the hot water over them while stirring gently. The cubes will begin to dissolve immediately, but don’t rush this step—let them break down completely for smooth, consistent flavor.
I like to use a whisk for this process, as it helps break up any stubborn pieces. You’ll know it’s fully dissolved when the liquid is uniformly colored and there are no visible cube remnants. This usually takes about 2-3 minutes of steady stirring.
Simmer for Depth of Flavor
Once dissolved, transfer your broth to a saucepan and bring it to a gentle simmer over medium-low heat. This step is crucial—simmering allows the flavors to meld and develop complexity. You’ll see small bubbles forming around the edges of the pot, but avoid letting it reach a full boil.
Let it simmer uncovered for 10-15 minutes. As it cooks, you’ll notice the aroma becoming richer and more robust. The surface may develop a light foam—this is normal and can be skimmed off if you prefer a clearer broth. Taste and adjust seasoning if needed before using.
Strain and Store for Later Use
After simmering, remove the broth from heat and let it cool slightly. If you want an extra-clear broth, pour it through a fine-mesh strainer to catch any undissolved particles. This step is optional but recommended for soups or dishes where appearance matters.
Your broth is now ready to use immediately, or you can store it. For short-term storage, keep it in the refrigerator for up to 5 days. For longer storage, freeze in airtight containers for up to 3 months. The flavor will intensify as it cools, so you may want to dilute with a little water when reheating.
Tips and Common Mistakes
Transforming bouillon cubes into restaurant-quality broth is all about mastering a few simple techniques. Here’s what I’ve learned from years of professional kitchen experience.
Water Temperature Matters: Heating your water to exactly 180°F—just below boiling—makes all the difference. This is the sweet spot where bouillon dissolves completely without breaking down its flavor compounds. I use an instant-read thermometer to check, but you can also look for tiny bubbles forming at the bottom of your pot before adding the cubes.
Dissolving Technique: In Step 2, don’t rush the 2-3 minutes of stirring. I’ve found that using a whisk in a figure-eight motion breaks up cubes most efficiently. Watch for the liquid to become uniformly colored with no visible cube remnants—this ensures smooth texture and even flavor distribution throughout your broth.
Simmering Strategy: During the 10-15 minute simmer in Step 3, maintain that gentle medium-low heat where you see small bubbles just around the edges. This slow simmer allows flavors to develop fully without reducing the liquid too much. Skim any foam that rises to the surface for a cleaner, more refined broth.
Storage Wisdom: When storing your finished broth, remember that flavors intensify as it cools. For refrigerator storage (up to 5 days), use glass containers to prevent absorbing odors. For freezing (up to 3 months), leave 1-inch headspace in containers as the liquid expands when frozen.
Pro Tips for Making Beef Broth With Bouillon Cubes
- Transforming bouillon cubes into restaurant-quality broth is all about mastering a few simple techniques. Here’s what…
- Water Temperature Matters: Heating your water to exactly 180°F—just below boiling—makes all the difference. This is t…
- Dissolving Technique: In Step 2, don’t rush the 2-3 minutes of stirring. I’ve found that using a whisk in a figure-ei…
Frequently Asked Questions
Can I use bouillon cubes instead of fresh beef bones for broth?
Bouillon cubes are a time-saving alternative to traditional bone broth. They dissolve quickly in hot water, delivering rich beef flavor without hours of simmering. Just note: homemade bone broth may have a deeper, more complex taste, while bouillon offers convenience and consistency. Pro tip: Use low-sodium cubes to control salt levels!
How long does it take to make beef broth with bouillon cubes?
Just 5–10 minutes! Boil water, dissolve the cubes (1 cube per 1–2 cups water), and simmer for 2–3 minutes to blend flavors. No long wait—perfect for quick soups, gravies, or deglaing pans. For extra depth, add aromatics like garlic or bay leaves while simmering.
What’s the best bouillon cube brand for rich beef broth?
Top picks include Knorr Beef Bouillon Cubes (bold flavor), Better Than Bouillon Roasted Beef Base (paste form, more intense), or Organic Goya Beef Bouillon (lower sodium). Check labels for MSG or additives if avoiding them. Experiment to find your favorite!
My broth tastes too salty—how do I fix it?
Dilute with extra water or unsalted broth, or balance flavors by adding a splash of acid (lemon juice, vinegar) or a pinch of sugar. Prevent over-salting: Start with half the recommended cubes, taste, then adjust. Low-sodium cubes are a great backup!
Can I make bouillon broth in a slow cooker or Instant Pot?
Yes! For a slow cooker, dissolve cubes in hot water first, then add to the pot with aromatics (onion, celery) on Low for 2–4 hours. In an Instant Pot, use the Sauté function to dissolve cubes, then pressure cook for 5 minutes. Both methods deepen flavor without much effort!
With just a few bouillon cubes and simple pantry staples, you’ve unlocked the secret to rich, homemade-style beef broth in minutes—no hours of simmering required! 🎉 Whether you’re whipping up a hearty soup, deglaizing a pan, or adding depth to gravies, this shortcut delivers big flavor without the fuss. Now that you’ve mastered the basics, why not experiment? Try swapping in herbs like thyme or bay leaves for a custom twist, or use your broth as the base for a show-stopping French onion soup. Your next culinary creation is just a cube away—happy cooking! 🍲