
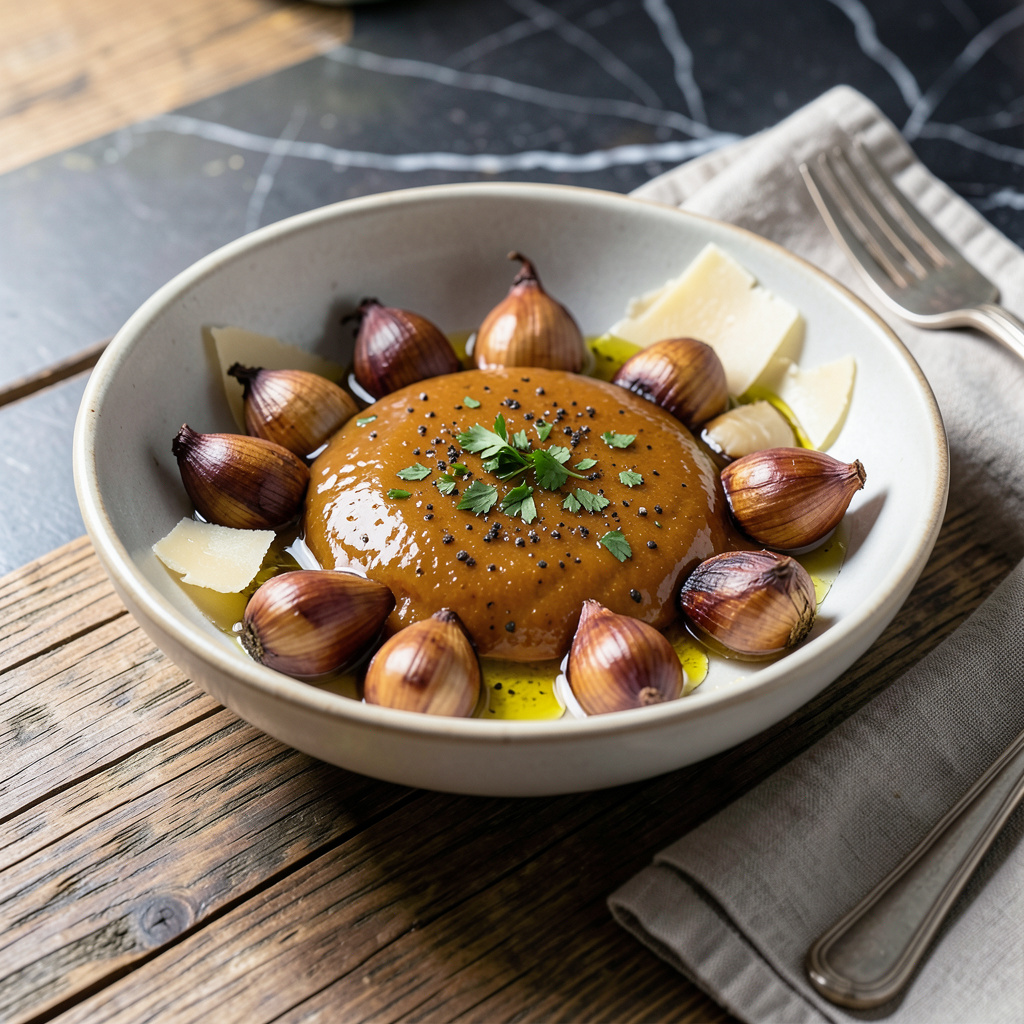
When it comes to flavor, nothing beats a rich garlic sauce that elevates any dish. I’ve crafted this version to mimic the beloved dip from my favorite pizza place. This blend is not just a sauce; it’s a game-changer for your pizza nights. 🍕
The key to achieving that perfect viscosity lies in the emulsification process. Combining simple ingredients like garlic, oil, and a touch of vinegar ensures a creamy texture that clings beautifully to your pizza. It’s straightforward, and once you get the ratios right, you’ll be whipping this up regularly.
By the time you’re done, you’ll have a luscious sauce that’s not only aromatic but also bursting with flavor. Drizzle it over your favorite pie or use it as a dip for breadsticks. Trust me; it’s worth every minute spent in the kitchen.
Store any leftovers in an airtight container in the fridge for up to a week. This sauce is versatile enough to enhance grilled meats or vegetables too. Let’s get this garlic sauce ready!
Ingredients for Papa Murphy’s Garlic Sauce
When you’re craving a rich garlic dip, this blend of ingredients is all you need.
| Ingredient | Amount | Notes |
|---|---|---|
| Garlic Cloves 🧄 | 6 cloves | Minced for best flavor |
| Olive Oil 🫒 | ½ cup | Extra-virgin for richness |
| Vinegar 🍋 | 2 tbsp | White or apple cider vinegar |
| Salt 🧂 | ½ tsp | Kosher or sea salt |
| Black Pepper 🌶️ | ¼ tsp | Freshly ground preferred |
| Parmesan Cheese 🧀 | ¼ cup | Grated for added flavor |
The garlic is crucial here—freshly minced makes a world of difference. I usually buy from local farmers markets for the best flavor, but grocery store bulbs work too. Look for firm cloves without any sprouting. The olive oil should be high-quality; extra-virgin gives the sauce its luxurious texture and taste, which is key to mimicking that pizzeria classic.
No fresh garlic? Garlic powder can substitute in a pinch, but use less—about one teaspoon for every clove. If you prefer a milder sauce, go easy on the vinegar; it’s there to balance out the oil but can be adjusted to your taste. You can also skip the cheese for a dairy-free version if needed; just add a bit more salt to compensate.
This sauce keeps well in the fridge for up to one week. I recommend storing it in an airtight container to maintain flavor. If you make a larger batch, it freezes nicely too—just thaw and stir before using. Perfect for pizza nights or drizzling over grilled veggies!
Step-by-Step Instructions for Garlic Dipping Sauce
This rich and flavorful dip is easier to make than you think!
👨🍳 Step 1: Mince the Garlic Cloves
Start by peeling and mincing the 6 cloves of garlic. I like to use a sharp knife for this—mincing finely releases the garlic’s essential oils and flavor. You want the pieces to be small enough to blend seamlessly into the sauce, enhancing every bite.
As you chop, pay attention to the aroma filling your kitchen. It should be pungent and fragrant, which indicates you’re on the right track. If you’re not a fan of strong garlic flavors, feel free to adjust the amount based on your taste preferences.
🍳 Step 2: Combine Ingredients in a Bowl
In a medium-sized bowl, add the minced garlic along with 0.5 cup of olive oil, 2 tablespoons of vinegar, 0.5 teaspoon of salt, 0.25 teaspoon of black pepper, and 0.25 cup of grated Parmesan cheese. I always recommend using extra-virgin olive oil for its richness; it really elevates the flavor of the sauce.
Use a whisk or a fork to mix everything together thoroughly. You want the garlic, oil, and cheese to form a cohesive blend. The mixture should have a creamy consistency, and you’ll start to see the ingredients emulsifying, which is key to a smooth dip.
🥘 Step 3: Let It Rest for Maximum Flavor
Cover the bowl with plastic wrap and let it sit at room temperature for about 30 minutes. This step is crucial! Allowing the sauce to rest lets the flavors meld together beautifully. You’ll notice that the garlic’s pungency will mellow and become more harmonious with the other ingredients.
If you find yourself impatient, just remember that good things come to those who wait! You’ll be rewarded with a richer taste once it’s time to serve.
🍽️ Step 4: Serve and Enjoy!
Your garlic dipping sauce is now ready! Serve it alongside your favorite dishes like breadsticks, pizza, or roasted vegetables. I like to drizzle it over grilled meats or use it as a salad dressing too.
Make sure to give it a good stir before serving, as some separation may occur. Enjoy this versatile sauce—it’s bound to become a staple in your kitchen!
Common Mistakes When Making This Dish
Over-Processing Garlic
One common mistake is over-processing the garlic. I recommend mincing the 6 cloves of garlic by hand. A food processor can turn it into a paste, which can overpower the sauce. You want a nice balance of texture and flavor, so keep the pieces small but not mushy. 🧄
Using Low-Quality Oil
Opt for extra-virgin olive oil instead of cheaper oils. The richness of high-quality oil enhances the sauce’s flavor significantly. I always buy mine from local farmers or specialty stores. If you skimp on this ingredient, you’ll miss out on that luxurious taste that makes it special. 🫒
Ignoring Vinegar Ratios
The type and amount of vinegar matter! Using too much can make your sauce overly tangy, while too little can leave it bland. Stick with 2 tablespoons of white or apple cider vinegar. Adjust it to your taste, but don’t skip it altogether; it balances the richness of the oil.
Not Letting It Rest
After mixing your ingredients, let the sauce sit for at least 30 minutes. This resting time allows the flavors to meld beautifully. Trust me; the difference in taste is worth the wait! Don’t rush this step; it’s essential for achieving that harmonious flavor profile.
Forgetting to Stir Before Serving
Separation can happen naturally, so always give your sauce a good stir before serving. This ensures even distribution of flavors and maintains that creamy texture. I like to use a whisk for this—it’s quick and effective! Serve it alongside your favorite dishes for maximum enjoyment. 🍽️
Skipping Storage Tips
If you have leftovers, store the sauce in an airtight container. It keeps well in the fridge for up to a week. If you make a larger batch, consider freezing it for future use. Just thaw and stir before serving. Proper storage helps maintain its vibrant flavors! ❄️
Nutrition Facts
Frequently Asked Questions
How can I adjust the garlic flavor in the sauce?
You can modify the garlic intensity by using fewer cloves or opting for roasted garlic for a milder taste. If you prefer a stronger flavor, consider adding an extra clove or two!
What type of vinegar works best for this sauce?
Both white vinegar and apple cider vinegar work well. Each offers a slightly different flavor profile, so choose based on your preference. Just stick to about 2 tablespoons for balance!
Can I make this sauce ahead of time?
This sauce can be prepared up to a week in advance. Store it in an airtight container in the fridge to keep it fresh. Just give it a good stir before serving!
What should I do if my sauce is too thick?
If your garlic sauce ends up too thick, simply whisk in a bit more olive oil or vinegar to reach your desired consistency. Adjusting these ingredients can enhance both flavor and texture.
Is it possible to freeze the garlic sauce?
Yes, you can freeze it! Store the sauce in a freezer-safe container, and it will maintain quality for up to three months. Thaw overnight in the fridge before use.