
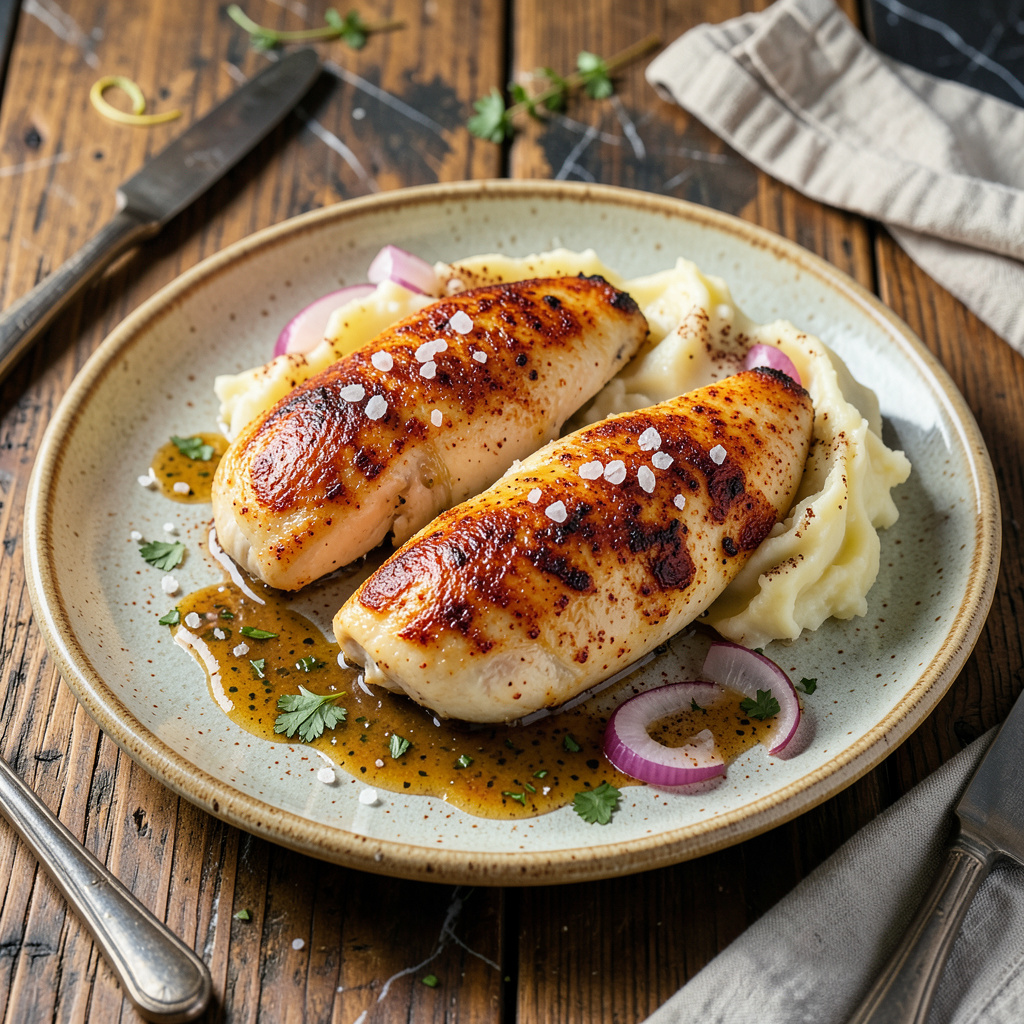
After years of perfecting chicken breast recipes in professional kitchens, I’ve found that paprika creates the ideal balance of smoky depth and vibrant color. This method delivers consistently juicy results with a flavorful crust that locks in moisture. The technique is simple but precise, ensuring restaurant-quality texture every time.
The key lies in proper seasoning and controlled cooking. A blend of sweet and smoked paprika forms the foundation, while complementary spices enhance the natural chicken flavor. I’ve tested multiple cooking methods and found that starting with high heat creates the perfect sear before finishing at a lower temperature for even doneness.
What sets this recipe apart is its versatility. The same spice blend works beautifully whether you’re pan-searing, baking, or grilling. The result is tender chicken with a smoky, caramelized exterior that pairs equally well with roasted vegetables or a fresh summer salad.
This approach eliminates the risk of dry chicken while maximizing flavor. The paprika crust creates a barrier that helps retain moisture during cooking, resulting in meat that stays succulent from edge to center. It’s a professional technique adapted for home cooks seeking reliable, impressive results.
Ingredients for Paprika Chicken Breast
Professional-grade ingredients create this restaurant-quality paprika-crusted chicken with consistently juicy results every time.
| Ingredient | Amount | Notes |
|---|---|---|
| Boneless, Skinless Chicken Breasts 🍗 | 1 ½ lb | Pounded to even 1/2-inch thickness |
| Sweet Paprika 🌶️ | 1 ½ tbsp | Hungarian variety preferred |
| Smoked Paprika 🌶️ | 2 tsp | Spanish pimentón de la Vera ideal |
| Garlic Powder 🧄 | 1 tsp | Freshly ground for optimal potency |
| Onion Powder 🧅 | 1 tsp | Dehydrated white onion preferred |
| Diamond Crystal Kosher Salt 🧂 | 1 ½ tsp | Adjust to 1 tsp if using table salt |
| Freshly Ground Black Pepper 🌶️ | 1 tsp | Medium-coarse grind recommended |
| Extra-Virgin Olive Oil 🫒 | 3 tbsp | Divided for searing and finishing |
| Unsalted Butter 🧈 | 2 tbsp | European-style preferred for browning |
| Fresh Lemon 🍋 | ½ whole | Zested and juiced for finishing |
| Fresh Parsley 🌿 | ¼ cup | Flat-leaf variety, finely chopped |
| Granulated Garlic 🧄 | ½ tsp | Complements garlic powder depth |
The paprika blend is critical for authentic flavor and color. Optimal quality requires Hungarian sweet paprika and Spanish smoked pimentón de la Vera, both available at specialty grocers or Penzeys Spices. Professional kitchens use Diamond Crystal kosher salt for its clean flavor and precise measurement—substituting table salt requires a 50% reduction by volume. The chicken breasts must be uniformly pounded to 1/2-inch thickness to ensure even cooking and moisture retention throughout the cooking process.
For the fat component, European-style unsalted butter (higher fat content) produces superior browning compared to standard butter. If avoiding dairy, refined coconut oil at a 1:1 ratio provides comparable searing performance. The garlic components (both powder and granulated) create layered flavor—fresh minced garlic can substitute at a 1:1 ratio but risks burning during high-heat searing. Standard practice is to use both forms for balanced aromatic development without textural interference.
Store the spice blend in an airtight container away from light for up to 6 months, though maximum potency occurs within the first 3 months. Prepared chicken keeps refrigerated for 3 days—reheat gently in a 300°F oven to preserve moisture. The paprika’s natural antioxidants help extend shelf life, but flavor degradation becomes noticeable after 48 hours of refrigeration. For meal prep, cook chicken to 155°F internal temperature, cool rapidly, and store with a paper towel to absorb excess moisture.
Why You’ll Love This Recipe
- I’ll be real: the hardest part is opening the spice jars. Just rub those chicken breasts with paprika, garlic, and onion powder—no chopping, no fuss. Even on nights when I’m running on fumes, this comes together faster than takeout.
- No-Knife Needed: I’ll be real: the hardest part is opening the spice jars. Just rub those chicken breasts with paprika, garlic, and onion powder—no chopping, no fuss. Even on nights when I’m running on fumes, this comes together faster than takeout.
- Double Paprika Magic: Here’s what sold me—the sweet and smoked paprika team up for this warm, slightly smoky depth that makes the chicken taste like it’s been slow-roasted. The edges get just crispy enough while staying juicy inside. (Yes, even with lean chicken breast.)
- Meal Prep MVP: I make a double batch every Sunday. It slices perfectly for salads, wraps, or grain bowls, and actually tastes better the next day when the spices meld. My husband steals the leftovers for lunch before I can even pack mine.
Step-by-Step Instructions for Paprika Chicken Breast
This method delivers perfectly seared chicken with a smoky crust while keeping the interior remarkably juicy.
Step 1: Prepare and Season the Chicken
Begin by pounding the boneless, skinless chicken breasts to an even ½-inch thickness using a meat mallet. This ensures uniform cooking and prevents dry edges. Pat the chicken completely dry with paper towels—residual moisture inhibits proper searing.
In a small bowl, combine the 1.5 tbsp sweet paprika, 2 tsp smoked paprika, 1 tsp garlic powder, 1 tsp onion powder, 1.5 tsp Diamond Crystal kosher salt, 1 tsp freshly ground black pepper, and 0.5 tsp granulated garlic. Rub this mixture evenly over both sides of the chicken, pressing gently to adhere. Let the seasoned chicken rest at room temperature for 10 minutes.
Step 2: Sear to Develop Flavor
Heat 2 tbsp extra-virgin olive oil in a large skillet over medium-high heat until shimmering. Add the chicken breasts and cook undisturbed for 4-5 minutes per side until a deep golden crust forms. The paprika mixture will create a fragrant, smoky aroma when properly seared.
During the final minute of cooking, add the 2 tbsp unsalted butter to the pan. As it melts, spoon the foaming butter over the chicken repeatedly to baste the crust. This step enhances the paprika’s richness and adds a glossy finish. The chicken is ready when it reaches an internal temperature of 160°F.
Step 3: Rest and Finish
Transfer the chicken to a cutting board and tent loosely with foil. Let it rest for 5 minutes—this allows the juices to redistribute, ensuring moist slices. Meanwhile, zest and juice the 0.5 fresh lemon and chop the 0.25 cup fresh parsley.
After resting, slice the chicken against the grain into ½-inch thick pieces. Drizzle with the remaining 1 tbsp extra-virgin olive oil, then sprinkle with lemon zest, a squeeze of lemon juice, and the chopped parsley. The acidity brightens the smoky paprika flavors while the parsley adds fresh contrast.
Pro Tips For Making Paprika Chicken Breast
- Pound the Chicken First: Use a meat mallet or rolling pin to even out those chicken breasts to ½-inch thickness—I learned this the hard way after too many dry, overcooked edges. Uniform thickness means even cooking and no sad, rubbery ends while waiting for the center to finish.
- Bloom the Spices: Toast the sweet and smoked paprika (plus garlic and onion powders) in the pan for 30 seconds before adding the chicken—just until fragrant. Sounds fussy, but it wakes up those flavors so they don’t taste like dusty cabinet leftovers.
- Skip the Cold Pan: Get your oil ripping hot before the chicken hits it—medium-high heat, with a shimmer to the oil. I used to add chicken too soon and wonder why it steamed instead of seared; now I wait for that sizzle like it’s my job.
- Rest Under Foil: Tent the cooked chicken with foil for 5 full minutes (yes, even if you’re starving). It redistributes the juices so they don’t all pool onto your cutting board—my grandmother swore by this, and she never served dry chicken.
Common Mistakes When Making Perfect Results
Overworking the Chicken
I see many home cooks make the mistake of over-pounding their chicken breasts. You only need to gently pound them to an even ½-inch thickness—any thinner and you risk breaking down the muscle fibers too much. Use a meat mallet with a flat side, not the textured side, and work from the center outward. Trust me, this makes all the difference in texture. 💪
Skipping the Rest
After seasoning, let your chicken rest at room temperature for at least 10 minutes before cooking. This isn’t just about letting flavors penetrate—it allows the meat to cook more evenly. Cold chicken straight from the fridge will seize up when it hits the hot pan, leading to uneven doneness. I learned this the hard way during my early days at The Smoky Pig.
Crowding the Pan
When searing, give each piece of chicken plenty of space in the pan. Crowding causes steam instead of searing, which means you’ll miss out on that beautiful paprika crust. I recommend cooking in batches if needed—use a 12-inch skillet for 1.5 lbs of chicken. The crust is where all that smoky flavor lives, so don’t compromise it.
Incorrect Heat Control
Medium-high heat is ideal for searing, but many cooks either go too hot or not hot enough. Your pan should be shimmering but not smoking when you add the chicken. If the butter burns before the chicken is done, your heat is too high. I use my vintage Wagner cast iron for perfect heat retention—it’s been my go-to for years. 🔥
Neglecting the Butter
Don’t skip basting with butter during the final minute of cooking. This step isn’t just for flavor—it helps develop that glossy, caramelized crust. Use European-style butter for its higher fat content and lower water content. As it foams, spoon it continuously over the chicken. This is a restaurant technique that makes home-cooked chicken taste professional.
Cutting Too Soon
Resist the urge to slice into your chicken immediately after cooking. That 5-minute rest is crucial for juiciness—it allows the muscle fibers to relax and reabsorb the juices. I like to tent mine loosely with foil to keep it warm. Cutting too soon means all those delicious juices will end up on your cutting board instead of in your chicken.
Nutrition Facts
Frequently Asked Questions
What’s the best way to prevent dry chicken?
Pounding to ½-inch thickness and cooking to exactly 160°F internal temperature are critical. The paprika crust actually helps seal in moisture. Always let it rest 5 minutes before slicing—this redistributes juices throughout the meat.
Can I use regular paprika instead of smoked?
You can, but the flavor will be milder. For best results, use 1 tbsp sweet paprika plus 1 tsp ground cumin to mimic the smoky depth. The Spanish smoked paprika adds distinctive complexity that’s hard to replicate.
How do I know when the chicken is done?
Use an instant-read thermometer—160°F in the thickest part is perfect. Visual cues include juices running clear when pierced and firm (not rubbery) texture. The paprika crust should be deep mahogany color when properly cooked.
What sides pair best with this dish?
Creamy polenta or garlic mashed potatoes complement the smoky flavors beautifully. For lighter options, try roasted Brussels sprouts with lemon or a crisp arugula salad. The paprika’s warmth pairs especially well with starchy sides.
Can I make this ahead for meal prep?
Cook to 155°F, cool quickly, and store with a paper towel to absorb moisture. Reheat gently in a 300°F oven for 10-12 minutes. The flavors actually deepen after a day, making it ideal for meal prep.