
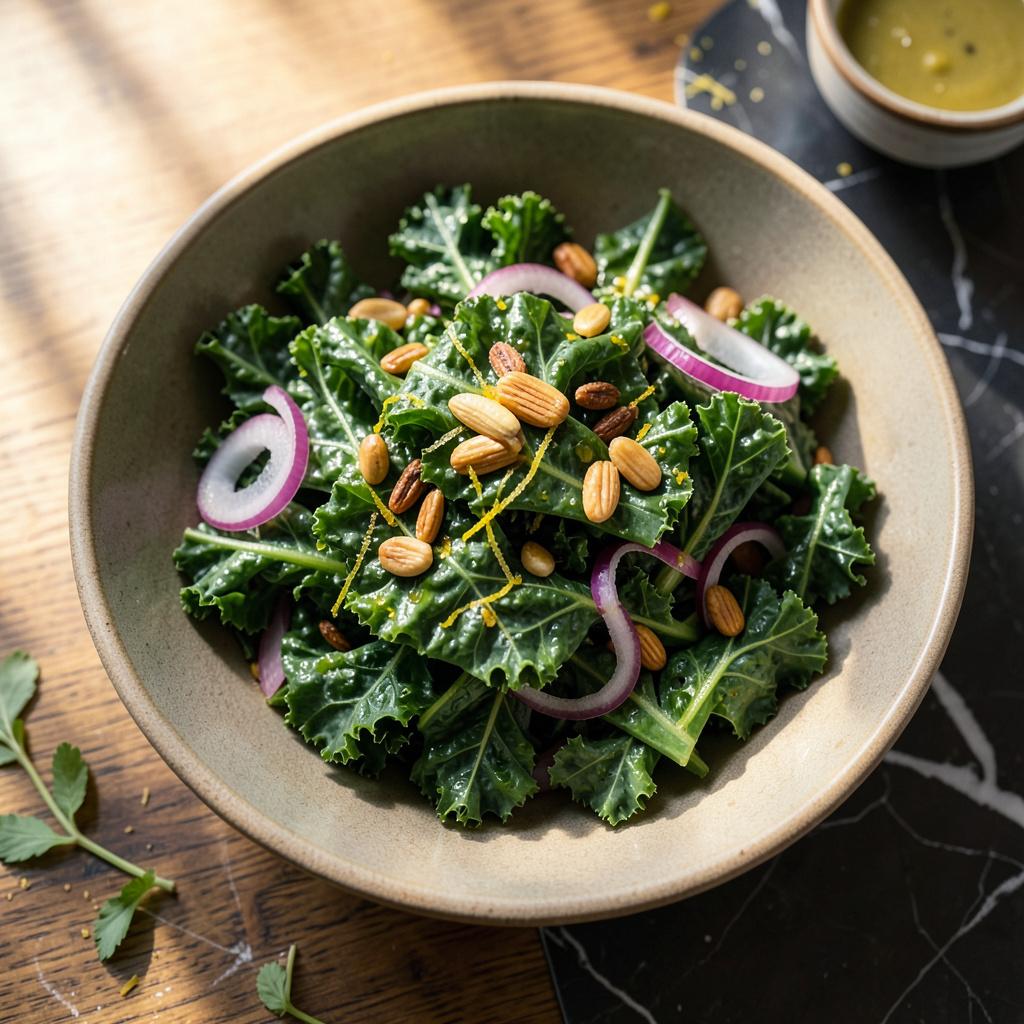
Raw kale can be tough and bitter, but I’ve got the quick tricks to transform it into tender, sweet greens that’ll make you actually crave salad. After years of working with greens in professional kitchens, I’ve learned that kale just needs a little love to go from chewy to melt-in-your-mouth.
The game-changer is massaging—yes, massaging your kale. Just 3-5 minutes with olive oil and lemon juice breaks down the fibrous cell walls, turning rough leaves into silky ribbons. I do this right in my salad bowl before adding other ingredients. For even faster results, blanching in boiling water for 30 seconds works wonders, or sautéing with garlic for 5 minutes creates a completely different texture.
What you’re left with is kale that’s actually enjoyable to eat—tender enough for salads, soft enough for wraps, and perfectly prepped for sautés. I use this technique daily in my own kitchen, whether I’m making a quick massaged kale salad with tahini dressing or adding softened greens to my morning smoothie. The difference is night and day.
No more chewing through tough leaves or picking kale out of your teeth. These methods work every single time, and you’ll never go back to eating raw kale straight from the bag. Let’s get those greens ready!
📚 In This Guide
- What You’ll Need
- Instructions
- Tips and Common Mistakes
What Youll Need
- ● Fresh kale: 1 bunch (about 6–8 cups chopped, Lacinato (dinosaur) or curly varieties work best 🌿). Avoid wilted or yellowing leaves.
- ● Salt: ½–1 tsp kosher or sea salt (for massaging or blanching).
- ○ Oil: 1–2 tbsp extra-virgin olive oil, avocado oil, or coconut oil (optional, for massaging).
- ○ Lemon juice or vinegar: 1 tbsp fresh lemon juice, apple cider vinegar, or balsamic vinegar (optional, for flavor + tenderness).
- ● Cutting board + sharp knife: For trimming stems and chopping.
- ● Large bowl: For massaging (wide enough to toss greens easily).
- ● Colander: If blanching or rinsing.
- ● Pot + boiling water: 4–6 cups water (if blanching).
- ○ Salad spinner or clean towel: To dry kale post-wash (optional but helpful).
- ● ⏰ Time: 5–15 minutes (massaging takes ~5 mins; blanching ~3 mins + cooling).
- ● 💪 Clean hands: For massaging—no tools needed, just elbow grease!
Instructions
This simple process transforms tough kale into perfectly tender greens in minutes—no special tools required.
Wash and Destem the Kale
Start by rinsing your kale thoroughly under cold water to remove any dirt or grit. I like to fill a large bowl with water and swish the leaves around—this helps loosen any stubborn debris hiding in the crevices. Drain and pat dry with clean kitchen towels or use a salad spinner.
Next, remove the tough stems by folding each leaf in half lengthwise and stripping the leaf away from the stem with a quick pull. You can also use a knife to cut along both sides of the stem if that feels easier. Discard the stems (or save them for smoothies) and chop the leaves into bite-sized pieces—about 1-inch wide works well for even cooking.
Massage the Kale with Oil and Salt
Place the chopped kale in a large bowl and drizzle with just enough olive oil to lightly coat the leaves—about 1 tablespoon per bunch usually does the trick. Sprinkle with a pinch of salt (about ¼ teaspoon), then get your hands in there.
Massage the kale by gently squeezing and rubbing the leaves between your fingers for 2-3 minutes. You’ll feel the texture change as the leaves soften and darken in color. This breaks down the fibrous cell structure, making the kale more palatable. The leaves should reduce in volume by about half and become silky to the touch.
Apply Heat for Maximum Tenderness
Heat a large skillet over medium heat for 1 minute to get it warm but not smoking. Add the massaged kale (no extra oil needed) and cook for 3-5 minutes, stirring occasionally. You’ll hear a gentle sizzle as the moisture releases from the leaves.
Watch for the kale to turn bright green and wilt significantly—it should collapse to about one-third of its original volume. If the pan seems dry, add a splash of water (about 2 tablespoons) and cover for 1 minute to steam the leaves. This final heat step ensures perfect tenderness without losing that vibrant color.
Finish and Serve Immediately
Remove the kale from heat while it’s still vibrant green—overcooking will turn it dull and mushy. Taste and adjust seasoning with more salt if needed. For extra flavor, I like to finish with a squeeze of lemon juice or a sprinkle of red pepper flakes.
Serve the kale right away while it’s warm and at its most tender. The texture should be silky but still with a slight bite—not mushy or stringy. This quick method preserves all the nutrients while making the kale enjoyable to eat. Leftovers will keep in the fridge for 3-4 days in an airtight container, though the texture is best when fresh.
Tips and Common Mistakes
These simple adjustments will transform your kale from tough to perfectly tender every time.
Massage Technique: In Step 2, don’t rush the 2-3 minutes of massaging—this is where the magic happens. I use a gentle but firm squeezing motion between my fingers, almost like kneading dough. You’ll notice the leaves darken and shrink by about half when done properly. This breaks down the fibrous cell walls that make raw kale so chewy.
Heat Control: When heating your skillet in Step 3, that 1 minute at medium heat is crucial. You want it warm enough to sizzle the kale but not so hot it burns the olive oil. If your pan starts smoking, reduce the heat slightly before adding the kale. The gentle sizzle should sound like quiet rain, not a loud crackle.
Visual Cue: Pay close attention to the color change during the 3-5 minutes of cooking. Perfectly tender kale will turn a vibrant emerald green and wilt to about one-third its original volume. If it starts looking dull or olive-colored, you’ve gone too far—remove it immediately to preserve that ideal texture.
Optional Flavor Boost: While the recipe calls for finishing with lemon juice or red pepper flakes, I love adding a splash of apple cider vinegar (about 1 teaspoon) right at the end. It brightens the flavor without overpowering the natural taste of the kale. The acidity also helps maintain that beautiful green color.
Pro Tips for Soften Kale
- These simple adjustments will transform your kale from tough to perfectly tender every time.
- Massage Technique: In Step 2, don’t rush the 2-3 minutes of massaging—this is where the magic happens. I use a gentle…
- Heat Control: When heating your skillet in Step 3, that 1 minute at medium heat is crucial. You want it warm enough t…
Frequently Asked Questions
How long does it take to soften kale properly?
Most methods take 5–15 minutes! Massaging with oil/lemon for 5–10 minutes works for raw kale, while sautéing or steaming takes 5–7 minutes. For ultra-tender results (like in soups), simmer for 10–15 minutes.
Can I soften kale without cooking it?
Massaging is the go-to no-cook method. Toss chopped kale with 1 tsp olive oil + lemon juice per cup, then squeeze and rub the leaves for 5+ minutes until wilted. Perfect for salads! Pro tip: Add salt to speed it up.
Why is my kale still tough after cooking?
Three common culprits:
- Stems not removed (they’re fibrous—discard or chop finely).
- Undercooked (steam/sauté longer).
- Old kale (fresh leaves soften faster).
What’s the fastest way to soften kale for smoothies?
Blend it first with liquid! Add kale + ½ cup water/juice to the blender, pulse until smooth, then add other ingredients. OR freeze kale overnight—thawing softens it naturally. Bonus: No bitter taste!
Are there good substitutes if I don’t like softened kale?
Yes! Swap for:
- Spinach (cooks in 1–2 minutes).
- Swiss chard (milder, softens like kale).
- Collard greens (heartier, great for soups).
With just a few simple tricks, you can turn tough kale into melt-in-your-mouth greens every time! 🥬 Whether you prefer massaging, blanching, or sautéing, the key is patience and technique. Now that you’ve mastered the art of softening kale, why not put it to the test?
Try adding your tender kale to a warm salad, a hearty soup, or even a crispy snack—your taste buds will thank you! Ready to experiment? Pick a recipe and get cooking!