
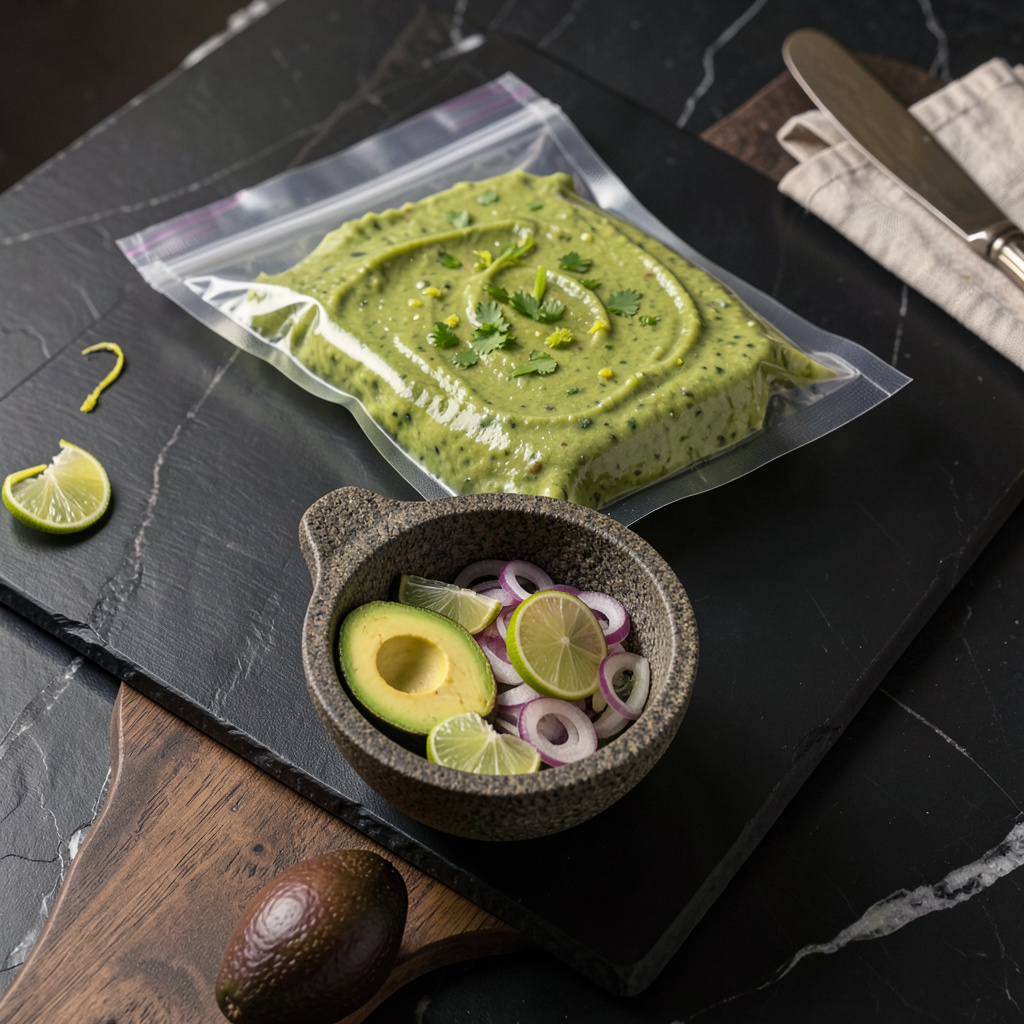
I’ll be real with you—nothing ruins a good batch of guacamole faster than that sad brown layer that forms after just a few hours in the fridge. After years of testing every preservation trick (lemon juice, plastic wrap, even water layers), I finally found the one method that actually works: vacuum sealing. This isn’t just about extending shelf life—it’s about keeping that vibrant green color and fresh-made flavor for days.
Here’s the thing—most people don’t realize that guacamole’s worst enemy is oxygen. That’s why simply pressing plastic wrap on top never fully solves the problem. Vacuum sealing removes the air completely, locking in that just-mashed avocado taste and creamy texture. I’ve kept guac perfect for up to 5 days this way, which means you can make a big batch for meal prep without waste.
The process is simpler than you might think. You start with classic guacamole—ripe avocados, lime juice, cilantro, onion, and salt—then use either a vacuum sealer machine or the water displacement method if you don’t have special equipment. No fancy gadgets required, just a technique that actually delivers on keeping your guac fresh and bright.
What you end up with is guacamole that tastes like it was made minutes ago, even days later. The color stays vivid, the texture remains creamy, and that signature lime-zesty flavor doesn’t dull. Whether you’re prepping for a party or just want to enjoy guac all week, this method changes everything about how you store this condiment.
📚 In This Guide
- What You’ll Need
- Instructions
- Tips and Common Mistakes
What Youll Need
- ● Fresh guacamole – 2–4 cups (homemade or store-bought, but freshness matters!)
- ● Vacuum sealer machine – Any standard model (e.g., FoodSaver, Nesco, or Anova)
- ● Vacuum seal bags or rolls – Quart-sized (11″ x 10″) or pint-sized (8″ x 12″), BPA-free recommended
- ○ Plastic wrap (optional) – For pre-sealing the guacamole surface to minimize air exposure
- ● Spoon or spatula – To smooth the guacamole and remove air pockets
- ○ Lemon or lime juice (optional) – 1–2 tbsp to add an extra layer of freshness
- ○ Permanent marker (optional) – For labeling bags with dates
- ● Cutting board & knife (if prepping fresh) – For chopping avocados, onions, etc.
Instructions
Let me walk you through the simple process that keeps your guacamole fresh and vibrant for days.
Prepare Your Guacamole for Vacuum Sealing
Start with freshly made guacamole that’s slightly cooler than room temperature. I’ve found that chilled guacamole seals better and maintains its texture during the vacuum process. Make sure your mixture is smooth and well-combined, with no large air pockets that could interfere with the seal.
Transfer the guacamole to a vacuum-seal bag, leaving about 2 inches of space at the top. This extra room gives you space to work with when sealing. Spread the guacamole evenly in the bag, creating a flat, uniform layer that’s no thicker than 1 inch. This even distribution helps the vacuum sealer remove all air efficiently.
Create a Smooth Surface for Optimal Sealing
Use a spatula or the back of a spoon to smooth the top surface of the guacamole completely flat. I like to run the spatula across the surface at a slight angle to eliminate any ridges or peaks. You want the surface as level as possible – this helps prevent air pockets from forming during the sealing process.
Here’s the thing—any bumps or uneven spots can trap air and prevent a proper seal. Take your time with this step, as it makes all the difference in how well your guacamole preserves. Once smooth, gently press the bag to bring the guacamole level with the bottom of the bag, leaving that 2-inch border at the top.
Begin the Vacuum Sealing Process
Place the open end of the bag in your vacuum sealer, making sure it’s properly aligned according to your machine’s instructions. Start the sealing process, but here’s what I do differently: I stop the machine just before it completes the final seal. This gives me a chance to check for any remaining air bubbles.
If you see any air pockets near the seal, gently press them toward the open end of the bag. You’ll notice the guacamole might shift slightly—that’s normal. Restart the sealing process to complete the vacuum. The bag should end up tightly wrapped around the guacamole with no visible air pockets or loose areas.
Complete the Seal and Store Properly
Once fully sealed, check the bag for any signs of air leakage or weak spots in the seal. I like to press gently on the sealed bag—it should feel firm and solid, with the plastic tightly conforming to the guacamole’s shape. If you notice any soft spots or air bubbles, you’ll need to reseal those areas.
For best results, store your vacuum-sealed guacamole in the refrigerator immediately. The cold temperature combined with the airtight seal will preserve that fresh-made flavor and vibrant green color. I’ve found that guacamole stored this way maintains its quality for up to 5 days, though it’s usually so good it doesn’t last that long!
Open and Serve with Care
When you’re ready to enjoy your guacamole, cut open the bag carefully along one edge. You might notice the surface looks perfectly preserved—just like when you first made it. Give it a quick stir to redistribute any separated liquids, though you’ll likely find there’s minimal separation thanks to the vacuum sealing.
Serve immediately for the best texture and flavor. If you don’t use all of it, you can reseal the bag using the same method, though the second seal might not last quite as long. The guacamole should maintain its bright green color and fresh taste, with none of the brown discoloration you typically see with traditional storage methods.
Tips and Common Mistakes
Mastering the vacuum sealing technique for guacamole comes down to a few key details that make all the difference in preserving that just-made freshness.
Surface Preparation: In Step 2, when smoothing the guacamole surface, I’ve found that wetting my spatula slightly with cold water prevents sticking and creates an even smoother finish. The flatter the surface, the more effective the vacuum seal will be at removing all air pockets that cause browning. Take your time with this step—it’s the foundation for perfect preservation.
Bag Positioning: When transferring guacamole to the vacuum bag in Step 1, place the bag in a shallow dish or baking sheet before filling. This prevents the bag from tipping over and keeps the guacamole layer perfectly even at that critical 1-inch thickness. The dish also helps you maintain the 2-inch border at the top without making a mess.
Sealing Technique: During Step 3, if your vacuum sealer has a “moist” setting, use it for guacamole. The higher moisture content can sometimes interfere with the sealing process, and this setting accounts for that. If you don’t see this option, simply pause the sealing process twice to give the machine extra time to handle the moisture properly.
Storage Wisdom: While the instructions mention 5 days of freshness, I’ve found that placing the sealed bag on a flat surface in the fridge (rather than standing it upright) helps maintain the perfect texture throughout storage. The even distribution prevents any separation of liquids that might occur if the bag were positioned vertically.
Pro Tips for Vacuum Seal Guacamole
- Mastering the vacuum sealing technique for guacamole comes down to a few key details that make all the difference in …
- Surface Preparation: In Step 2, when smoothing the guacamole surface, I’ve found that wetting my spatula slightly wit…
- Bag Positioning: When transferring guacamole to the vacuum bag in Step 1, place the bag in a shallow dish or baking s…
Frequently Asked Questions
Got questions about vacuum-sealing guacamole? We’ve got answers! Here are the most common queries to keep your guac fresh, tasty, and hassle-free.
How long does vacuum-sealed guacamole stay fresh?
When properly vacuum-sealed and refrigerated, guacamole stays fresh for 5–7 days—double the usual lifespan! For longer storage, freeze it (up to 3 months). Just thaw in the fridge overnight before serving.
Can I vacuum-seal guacamole without a machine?
Yes! Use the water displacement method: Place guac in a ziplock bag, submerge it in water (leaving the top open), then seal as the water pressure pushes air out. Not as airtight as a machine, but it helps!
Why does my vacuum-sealed guacamole still turn brown?
Even vacuum-sealed, minimal oxygen or light exposure can cause browning. Fix it by:
- Adding a thin layer of lime juice or water on top before sealing.
- Storing in an opaque container or wrapping in foil.
What’s the best container for vacuum-sealing guacamole?
Use BPA-free vacuum-seal bags or rigid containers with a vacuum lid attachment. For freezer storage, opt for thicker, puncture-resistant bags to prevent freezer burn. Mason jars with vacuum sealers work too!
Does vacuum-sealing change the texture of guacamole?
If frozen, guac may soften slightly after thawing (stir to restore creaminess). For fridge storage, texture stays intact! Pro tip: Underripe avocados hold up better for longer storage.
Vacuum sealing your guacamole is a game-changer for keeping it fresh, vibrant, and delicious for days—no more sad, brown dips! 🥑✨ With just a few simple tools and the right technique, you can lock in that creamy, zesty flavor and say goodbye to waste. Whether you’re prepping for a party or just love having guac on hand, this method ensures every bite tastes just-made.
Ready to give it a try? Grab your vacuum sealer and a ripe avocado—your future self (and taste buds) will thank you! For even more tips, check out our guide on storing other homemade sauces to keep your kitchen stocked with freshness.