
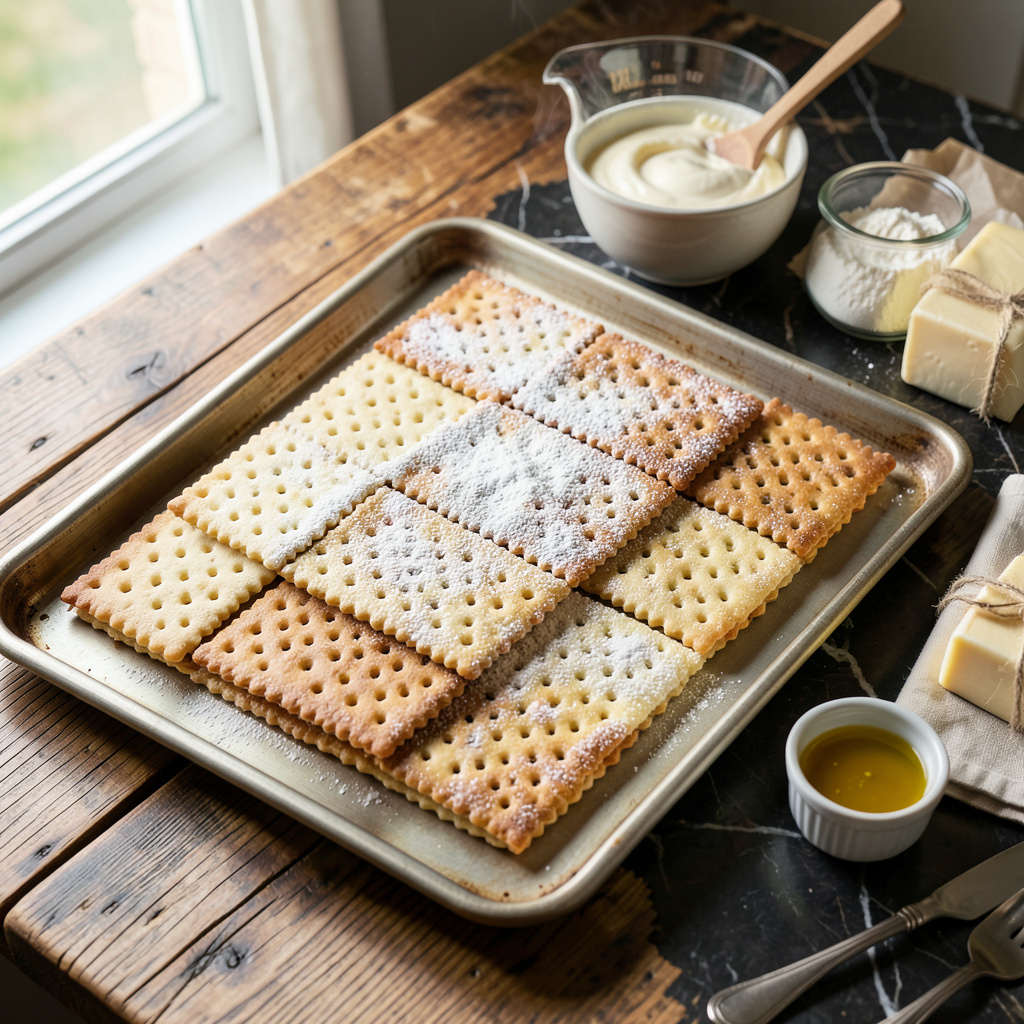
There’s something truly satisfying about mastering the art of creating wafer sheets. These delicate, crispy layers are a game changer in desserts, elevating everything from ice cream sandwiches to layered cakes. I promise, once you try this technique, you’ll find endless ways to use them.
What sets this method apart is the precision involved in achieving that perfect thinness and crispiness. Using just a few simple ingredients and the right temperature, you can create wafer sheets that are light and airy. Trust me, it’s easier than it sounds!
Once baked, these sheets will have a satisfying crunch that complements any dessert beautifully. Imagine biting into a layered treat where each layer is perfectly crisp and adds texture to your favorite sweets. The aroma of freshly baked wafers will fill your kitchen, making it hard to resist.
These wafer sheets are versatile and can be stored for weeks in an airtight container, ready to enhance your next dessert creation. Let’s dive into the details of making these irresistible layers!
Ingredients for Wafer Sheet
Short list. Big flavor. These simple ingredients will change your dessert game forever.
| Ingredient | Amount | Notes |
|---|---|---|
| All-Purpose Flour 🌾 | 2 cups | Sifted for lightness |
| Granulated Sugar 🍬 | ½ cup | Adds sweetness and texture |
| Egg Whites 🥚 | 4 whole | Room temperature preferred |
| Vanilla Extract 🍦 | 1 tsp | Pure for best flavor |
| Salt 🧂 | ¼ tsp | Enhances sweetness |
| Butter 🧈 | ½ cup | Melted for batter smoothness |
| Water 💧 | ½ cup | To adjust batter consistency |
| Cornstarch 🌽 | 1 tbsp | For added crispiness |
| Almond Extract 🌰 | ½ tsp | Optional, for flavor depth |
| Powdered Sugar 🍬 | ¼ cup | For dusting, optional |
The flour is key here—use unbleached all-purpose for a better texture. Most grocery stores carry it, and I usually grab mine from Costco when I’m stocking up. The egg whites should be at room temperature for optimal volume, so pull them out ahead of time. If you’re feeling fancy, try using organic sugar for a richer taste.
No egg whites? You can substitute with flax eggs (1 tbsp ground flaxseed mixed with 3 tbsp water per egg). Don’t have almond extract? Just skip it or use a bit more vanilla—no biggie! If the batter feels too thick, a splash more water should do the trick. And if you want to make it chocolate, just swap in some cocoa powder, adjusting the flour accordingly.
Store these sheets in an airtight container for up to 2 weeks, but they won’t last long once you start using them! I recommend layering them with parchment paper if you plan to stack them. They also freeze well—just place in a zip-top bag and they’ll keep for 3 months.
Step-by-Step Instructions for Crispy Wafer Sheets
Creating these light, crispy layers is easier than you think. Let’s get started!
👨🍳 Step 1: Prepare Your Batter
In a large mixing bowl, combine 2 cups of all-purpose flour, 0.5 cup of granulated sugar, and 0.25 tsp of salt. Whisk these dry ingredients together to ensure they are well mixed. This step is crucial for achieving a uniform texture in your wafer sheets.
Next, in another bowl, beat 4 egg whites until frothy. This incorporates air into the batter, giving your wafers their signature crispiness. Add 1 tsp of vanilla extract and 0.5 tsp of almond extract for flavor depth, mixing gently until combined.
🔥 Step 2: Melt Butter and Combine Ingredients
Melt 0.5 cup of butter in the microwave or on the stovetop until fully liquefied. Allow it to cool slightly before adding it to the egg mixture. Slowly pour the melted butter into the egg mixture while whisking continuously to create a smooth batter.
Now, gradually incorporate the dry ingredients into the wet mixture, alternating with 0.5 cup of water. This helps to maintain a consistent texture. Finally, add 1 tbsp of cornstarch, which will enhance the crispiness of your wafers. Stir until everything is well combined and smooth.
🥘 Step 3: Bake Your Wafer Sheets
Preheat your oven to 350°F. Line a baking sheet with parchment paper or a silicone mat for easy removal. Pour a thin layer of batter onto the baking sheet, spreading it evenly to about 1/8 inch thick.
Bake in the preheated oven for 10-12 minutes, or until the edges turn golden brown and the center feels firm to the touch. Keep an eye on them; they can go from perfect to burnt quickly! The aroma of baked wafer sheets will fill your kitchen, signaling they are nearly done.
⏰ Step 4: Cool and Dust with Powdered Sugar
Once baked, remove the wafer sheets from the oven and let them cool on the baking sheet for a few minutes. Then transfer them to a wire rack to cool completely. This cooling process is essential for achieving that satisfying crispiness.
If you like, dust the cooled wafers with 0.25 cup of powdered sugar for added sweetness and visual appeal before serving. These wafers can be enjoyed as is or used as layers in your favorite desserts!
Pro Cooking Tips for Perfect Results
Temperature Control
Getting the temperature right is crucial for achieving that perfect crispiness in your wafer sheets. I recommend preheating your oven to 350°F. Using an oven thermometer can help ensure accuracy, as some ovens can be off by quite a bit. This little trick has saved me from many burnt batches! 🔥
Batter Consistency
The consistency of your batter is key. Aim for a smooth mixture that flows easily but isn’t too runny. If your batter feels thick, add a splash more water—this can make a world of difference. I always start with 0.5 cup of water, then adjust as needed for the perfect texture.
Spreading Technique
When spreading the batter on your baking sheet, aim for an even layer of about 1/8 inch thick. Using an offset spatula works wonders for this! If you want to get fancy, you can use a piping bag for more control—just
Baking Time
Keep an eye on your wafer sheets while they bake! They typically need about 10-12 minutes, but each oven is different. Look for edges that are golden brown and a firm center. Trust me, the aroma will let you know they’re close! 🍬
Cooling Method
After baking, let your wafer sheets cool on the baking sheet for a few minutes before transferring them to a wire rack. This step is crucial for achieving that satisfying crunch. If you skip it, the wafers may become soggy. I often wait until they are completely cool before dusting them with powdered sugar.
Storage Tips
To keep your wafer sheets fresh, store them in an airtight container. They can last up to 2 weeks, but I doubt they’ll last that long once you start using them! For longer storage, freeze them in a zip-top bag for up to 3 months. You’ll be glad you did! 💡
Nutrition Facts
Frequently Asked Questions
What can I use wafer sheets for?
Wafer sheets are incredibly versatile! You can use them as layers in cakes, in ice cream sandwiches, or even as a crunchy topping for desserts. Their light and crispy texture adds a delightful contrast to creamy and soft elements.
How do I know when my wafer sheets are done baking?
Look for edges that turn golden brown and a firm center when baking. Typically, this takes about 10-12 minutes. Keep an eye on them, as they can burn quickly! The delightful aroma will also hint that they’re close to being done.
Can I make these sheets in advance?
You can prepare the wafer sheets ahead of time and store them in an airtight container for up to 2 weeks. For longer storage, they freeze well for up to 3 months. Just
What should I do if my batter is too thick? If your batter feels too thick, simply add a splash more water to achieve the right consistency. Aim for a smooth mixture that flows easily but isn’t runny. Adjusting the water can make all the difference!
Can I use different flavors in my wafer sheets?
Yes, you can customize the flavor of your wafer sheets!