
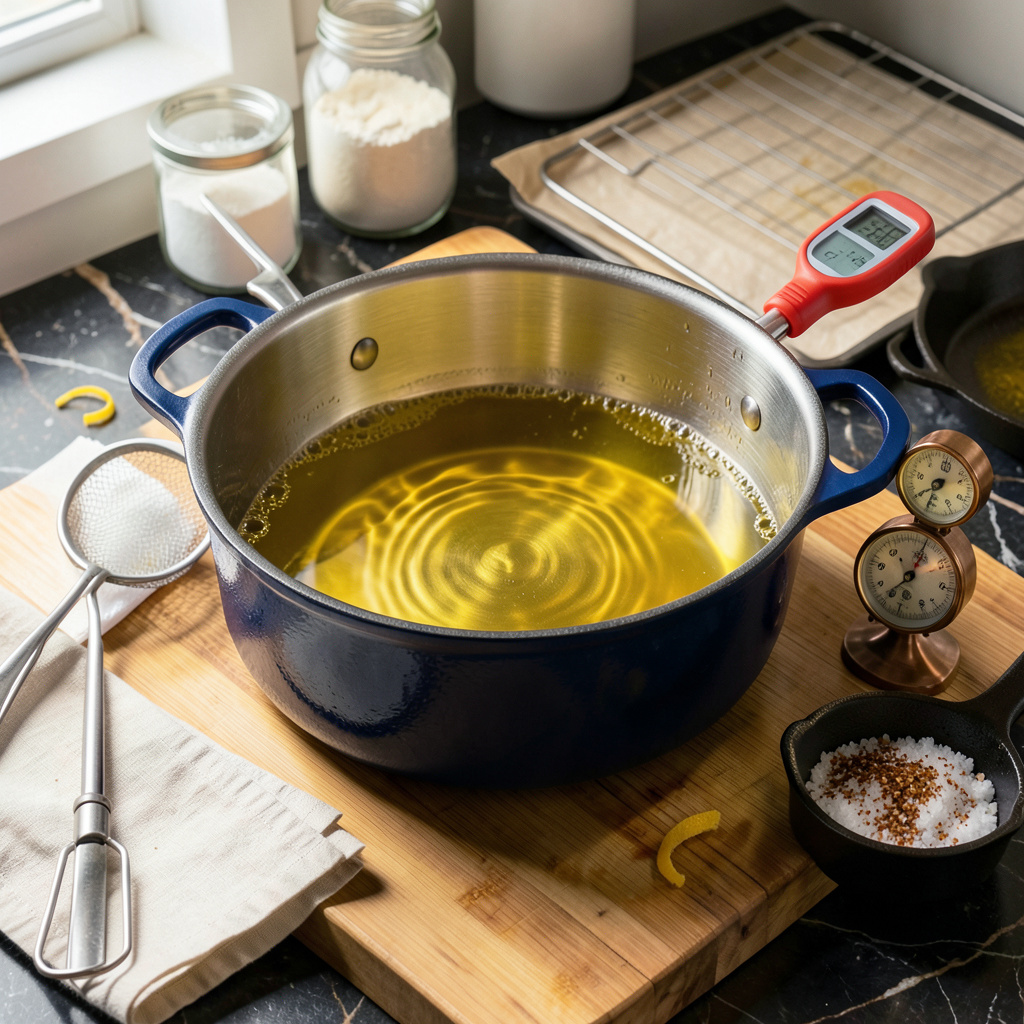
Let me tell you something that changed my frying game forever: nailing that 350°F oil temperature is the difference between soggy disasters and crispy perfection. I learned this the hard way during my first year at The Smoky Pig, when I burned through three batches of hush puppies before realizing my oil was either too hot or too cold. That golden number isn’t arbitrary—it’s where food cooks through without absorbing grease or burning.
Here’s the thing—most home cooks eyeball it and hope for the best, but I’ve got a foolproof method that doesn’t require fancy equipment. A simple candy thermometer clipped to your pot is ideal, but I’ll show you the chopstick trick my grandma used in her Georgia kitchen. When tiny bubbles form around a wooden chopstick in the oil, you’re in the zone. No thermometer? No problem.
What you’re really doing is creating the perfect environment for whatever you’re frying—whether it’s chicken that’s crispy outside and juicy inside, or falafel that’s golden without being greasy. The oil temperature affects everything: how much oil your food absorbs, how even it cooks, even how long it stays crispy after frying. Get this right, and you’ll never have to apologize for soggy fried food again.
I’ll walk you through exactly how to maintain that temperature, even when adding cold food to the pot (which always drops the temp). We’ll cover how to adjust your burner, when to add more oil, and how to handle multiple batches without ending up with a greasy mess. This is the kind of technique that separates good fried food from the kind people remember.
📚 In This Guide
- What You’ll Need
- Instructions
- Tips and Common Mistakes
What Youll Need
- ● Deep fryer or heavy-bottomed pot (3–5 quart capacity for home use; stainless steel or cast iron preferred for even heat distribution).
- ● High-smoke-point oil (1–2 gallons, depending on pot size): Peanut oil (best for flavor & high heat)
- ● Vegetable or canola oil (budget-friendly)
- ● Avoid olive oil—it smokes at lower temps! ❌
- ● Candy/deep-fry thermometer (instant-read, 0–500°F range) or an infrared thermometer for no-touch checks. 🌡️
- ● Slotted spoon or spider strainer (stainless steel, heat-resistant).
- ● Paper towels or wire rack (for draining fried food).
- ○ Kitchen timer (optional but handy for batch frying). ⏰
- ● Fire extinguisher (safety first! Keep a Class B extinguisher nearby—never use water on grease fires!).
- ● Oil disposal container (empty can or jar with a lid for cooling used oil).
Instructions for Maintaining Perfect 350°F Frying Oil
This is the foolproof method I use every time—crispy results guaranteed without the guesswork.
Choose the Right Equipment for Temperature Control
Start with a heavy-bottomed pot or Dutch oven—thin pots create hot spots and temperature swings. I recommend using a pot that’s at least 5 quarts for home frying, which gives you enough room for food to move without crowding. Fill it no more than halfway with oil to prevent dangerous overflow when adding food.
Clip a reliable deep-fry thermometer to the side of the pot, ensuring the probe is submerged but not touching the bottom. Digital thermometers with alarms work best—they beep when you hit 350°F and alert you if the temperature drops. Never trust the dial on your stove or an old mercury thermometer for this critical task.
Heat the Oil Gradually and Evenly
Set your burner to medium heat and let the oil warm slowly. I’ve found that blasting the heat to high right away causes the outside of the oil to overheat while the center stays cool. You want the entire volume to reach temperature uniformly, which takes about 10-15 minutes depending on your pot size.
Watch for visual cues: the oil will start to shimmer and tiny bubbles will form around the thermometer probe. When you see the first wisp of smoke (not billowing smoke—that means it’s too hot), you’re getting close. The thermometer should read 325°F before you adjust to maintain 350°F. This gradual approach prevents overshooting your target temperature.
Maintain the Temperature During Frying
Here’s the secret: adjust your burner in small increments. When you add food, the temperature will drop—usually by 25-50°F depending on what you’re frying. Immediately reduce the heat to medium-low to prevent overshooting as the oil recovers. I keep one hand on the temperature probe and the other on the burner knob for precise control.
Never add more than ¼ of the pot’s capacity in food at once. Overcrowding causes dramatic temperature drops and uneven cooking. Work in batches if needed, allowing the oil to return to 350°F between additions. You’ll see the oil bubbling actively but not violently around the food—that’s the sweet spot for perfect frying.
Monitor and Adjust Continuously
The oil temperature will fluctuate constantly, so stay vigilant. I check my thermometer every 30-60 seconds and make micro-adjustments to the burner. If the temperature climbs above 360°F, remove the pot from heat briefly to cool it down. If it drops below 340°F, increase the heat slightly.
Watch for these visual clues: at 350°F, food should sizzle immediately when added but not burn within seconds. The bubbles should be steady and medium-sized, not furious and popping. If you see smoke (other than that initial wisp), your oil is too hot—reduce heat immediately and let it cool to 340°F before continuing.
Recover Between Batches Like a Pro
After removing food, give the oil 2-3 minutes to recover to 350°F before adding the next batch. I use this time to skim out any loose bits with a fine-mesh strainer—these can burn and lower your oil’s smoke point. If you’re frying multiple batches, consider resting the oil for 5 minutes every 3 batches to prevent degradation.
You’ll know your oil is properly recovered when the thermometer holds steady at 350°F for 30 seconds without fluctuation. The color should remain clear golden, not dark or cloudy. If the oil develops an off smell or darkens significantly, it’s time to start fresh—burnt oil imparts bitter flavors to your food.
Tips and Common Mistakes for Perfect Frying Temperature
Mastering that golden 350°F sweet spot transforms good fried food into extraordinary. Here’s what I’ve learned from years of professional frying.
Equipment Selection: The 5-quart minimum pot size mentioned in Step 1 isn’t arbitrary—it’s the secret to temperature stability. I’ve tested this with everything from chicken to doughnuts, and smaller pots simply can’t recover from temperature drops quickly enough. For home cooks, I recommend a 6-quart Dutch oven for that extra buffer. The heavy bottom distributes heat evenly, preventing those frustrating hot spots that burn some pieces while undercooking others.
Heat Control Technique: When you’re monitoring every 30-60 seconds as described in Step 4, here’s what to watch for: the bubbles around your food should look like champagne bubbles—steady and lively, not explosive. If you see large, aggressive bubbles, your oil is climbing above that 360°F danger zone. I keep a small bowl of ice water nearby to quickly cool the thermometer probe between checks—this prevents false high readings that can happen with prolonged heat exposure.
Batch Management: The 2-3 minute recovery time between batches in Step 5 is non-negotiable for perfect results. I use this time to not just skim debris, but to gently stir the oil with a slotted spoon. This helps distribute heat evenly and brings any cooler oil from the bottom to the surface. For multiple batches, that 5-minute rest every 3 batches isn’t just for the oil—it gives you time to check your food’s doneness and adjust seasoning if needed.
Visual Mastery: At exactly 350°F, your oil will have a specific “personality”—it shimmers like a mirage and produces that first wisp of smoke mentioned in Step 2. I teach my students to watch for what I call the “golden halo” effect: when you tilt the pot slightly, the oil’s surface should catch the light in a way that creates a golden reflection. This visual cue is just as reliable as your thermometer and helps you spot temperature changes instantly.
Pro Tips for Keep Oil At 350
- Mastering that golden 350°F sweet spot transforms good fried food into extraordinary. Here’s what I’ve learned from y…
- Equipment Selection: The 5-quart minimum pot size mentioned in Step 1 isn’t arbitrary—it’s the secret to temperature …
- Heat Control Technique: When you’re monitoring every 30-60 seconds as described in Step 4, here’s what to watch for: …
Frequently Asked Questions
Got questions about keeping your oil at that perfect 350°F sweet spot? You’re not alone! Here are the most common head-scratchers—answered fast so you can get back to frying like a pro.
How long does it take for oil to reach 350°F?
Most oils hit 350°F in 5–10 minutes on medium-high heat, but it depends on your stove and pot size. Use a candy/deep-fry thermometer to check—never guess! Pro tip: Preheat with the lid off to speed it up.
Can I keep oil at 350°F without a thermometer?
It’s risky, but you can test with a wooden chopstick: If bubbles form steadily around it, you’re close. Or toss in a 1-inch bread cube—if it browns in 60 seconds, you’re at ~350°F. Still, a $10 thermometer beats ruined food!
Why does my oil temperature keep dropping when I add food?
Cold food = instant temp plunge! Fix it by: 1) Frying in small batches, 2) patting food completely dry before frying, or 3) briefly removing the pot from heat when adding food. Let oil recover between batches!
What’s the best oil for maintaining 350°F?
High-smoke-point oils like peanut (450°F), vegetable (400°F), or canola (400°F) are ideal. Avoid olive oil (smokes at 375°F) or butter (burns fast). Check our oil comparison table for more!
How do I safely lower the temperature if oil gets too hot?
Never use water—it causes dangerous splatter! Instead:
- Turn off the heat and gently slide the pot to a cool burner.
- Add a small amount of room-temp oil (same type) to dilute heat.
- Let it sit covered (with vent) for 2–3 minutes.
Mastering the perfect 350°F oil temperature is your ticket to crispy, golden results every time—no more soggy disasters or burnt bits! 🎯 With the right thermometer, patience, and a few pro adjustments, you’ll fry like a seasoned chef in no time. Remember: steady heat and attentive monitoring are your best friends.
Ready to put your skills to the test? Grab that recipe you’ve been eyeing and start frying with confidence! For extra peace of mind, bookmark this guide or share it with a fellow home cook—because great food is always better shared. 😊