
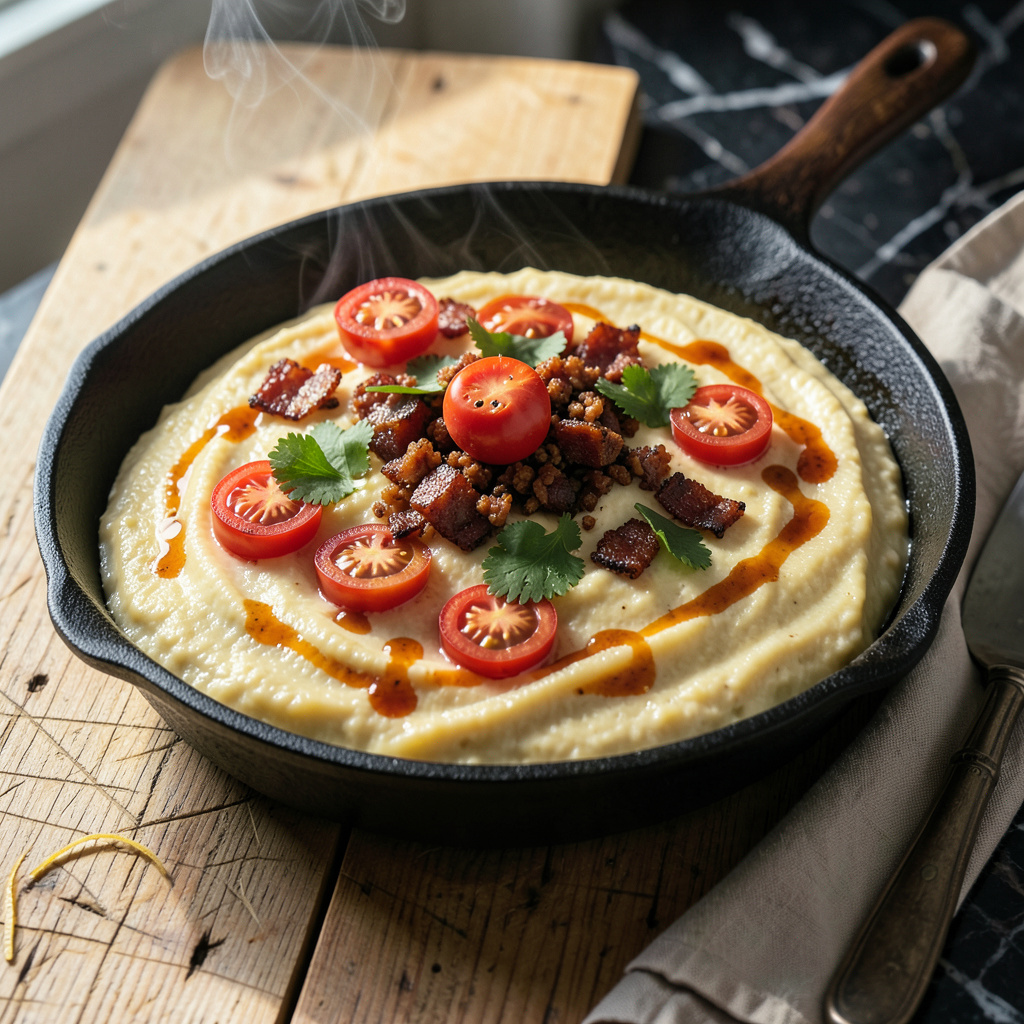
Nothing ruins a good queso faster than a runny, watery texture that slides right off your chips. After years of making (and fixing) queso for crowds at The Smoky Pig, I’ve learned the foolproof tricks to turn any thin, sad dip into rich, velvety perfection. The difference between good queso and great queso comes down to just a few simple techniques.
Most people don’t realize that the secret isn’t just adding more cheese—it’s about controlling the liquid. A quick cornstarch slurry (1 tablespoon cornstarch mixed with 2 tablespoons cold water) stirred in while heating works miracles. Or try swapping some of the milk for cream cheese—it adds body without changing the flavor. I’ve rescued countless batches this way during busy service nights.
Heat control matters too. Too high and your queso will separate, too low and it won’t thicken properly. The sweet spot is medium-low heat with constant stirring—this gives you that ultra-creamy texture without any graininess. And if you’re using pre-shredded cheese? Stop. Those anti-caking agents prevent proper melting, leaving you with a thin, oily mess.
Whether you’re fixing a batch that went wrong or starting from scratch, these methods guarantee queso that clings to chips and satisfies every dipper. No more apologizing for soupy cheese—just perfect, thick, velvety queso every single time. Here’s exactly how to make it happen.
📚 In This Guide
- What You’ll Need
- Instructions
- Tips and Common Mistakes
What Youll Need
- ● Cheese (1–2 cups) – Use melting-friendly varieties like: American cheese (for ultra-smooth texture 🧀)
- ● Cheddar (sharp or mild, shredded)
- ● Monterey Jack or pepper jack (for a kick!)
- ● Velveeta (the classic thickener!)
- ● Liquid base (½–1 cup) – Pick one: Whole milk or heavy cream (richest option 🥛)
- ● Half-and-half (lighter but creamy)
- ● Evaporated milk (for extra thickness)
- ● Thickening agents (1–3 tbsp) – Choose as needed: Cornstarch or flour (mix with cold liquid first!)
- ● Xanthan gum (⅛ tsp—powerful stuff!)
- ● Cream cheese (2 oz, softened)
- ○ Optional flavor boosters: Diced jalapeños (2 tbsp, seeds removed)
- ● Garlic powder (½ tsp) or fresh minced garlic (1 clove)
- ● Cumin (¼ tsp) or smoked paprika (½ tsp)
- ● Hot sauce (few dashes, to taste)
- ● Medium saucepan (non-stick preferred)
- ● Whisk or wooden spoon (for constant stirring!)
- ● Cheese grater (if using block cheese)
- ● Measuring cups/spoons
- ○ Optional: Immersion blender (for ultra-smooth queso)
Instructions
Here’s the foolproof method for transforming your queso from runny to luxuriously thick and creamy.
Start with the Right Base Ingredients
Begin with a quality melted cheese base—this is your foundation. I always recommend using a combination of cheeses like cheddar and Monterey Jack for that perfect balance of flavor and meltability. The key here is to use freshly grated cheese rather than pre-shredded, as the anti-caking agents in pre-shredded cheese can actually prevent your queso from thickening properly.
If you’re starting from scratch, melt your cheese slowly over low heat with a splash of milk or cream to prevent clumping. Stir constantly with a silicone spatula, scraping the bottom of the pan to avoid scorching. You’re looking for a smooth, velvety texture before moving to the next step—this ensures your base is properly emulsified.
Incorporate the Thickening Agent Gradually
Once your cheese is fully melted, it’s time to add your thickening agent. I’ve found that a combination of cornstarch and evaporated milk works best for that ultra-creamy texture without altering the flavor. Mix 1 tablespoon of cornstarch with ¼ cup of evaporated milk first to create a smooth slurry—this prevents lumps from forming when you add it to the hot cheese.
Pour this mixture into your queso very slowly while stirring constantly. The heat will activate the cornstarch, causing the liquid to thicken almost immediately. Keep the heat on low and stir for an additional 2-3 minutes until you notice the texture becoming more substantial. You’ll see it transform from liquidy to a beautiful, spoon-coating consistency.
Adjust Consistency with Heat Control
Now comes the critical temperature management phase. Maintain your queso at a gentle simmer—you should see small bubbles breaking the surface occasionally, but not a rolling boil. Too much heat can cause the cheese to separate or become grainy, which is the opposite of what we want.
Simmer for 5-7 minutes, stirring frequently. You’ll know it’s ready when the queso coats the back of your spoon and leaves a clean line when you run your finger through it. If it’s still thinner than you’d like, you can add another ½ teaspoon of cornstarch mixed with 1 tablespoon of cold water, but be patient—sometimes it just needs a little more time to reach that perfect thickness.
Finish with Creamy Enhancements
For that restaurant-quality richness, stir in 2 tablespoons of cream cheese or ¼ cup of heavy cream during the last minute of cooking. This adds body and creates that velvety mouthfeel we all love in perfect queso. The cream cheese should melt completely into the mixture, disappearing while enhancing the texture.
Taste and adjust the seasoning if needed—I often add a pinch of garlic powder or smoked paprika at this stage for extra depth. Remember that flavors intensify as the queso cools slightly, so don’t over-salt. Your finished queso should be thick enough to cling to chips but still pourable—like a warm, cheesy blanket for your favorite dippers.
Rest and Serve for Optimal Texture
Remove your queso from the heat and let it rest for 5 minutes before serving. This brief resting period allows the thickening agents to fully activate and the flavors to meld together. You’ll notice the texture becomes even more luscious as it sits—almost like it’s setting up just a bit more.
Serve your perfectly thickened queso while still warm, either directly from the pot or transferred to a serving bowl. If it starts to thicken too much as it cools (which can happen), simply stir in a splash of warm milk to bring it back to that ideal dipping consistency. The beauty of this method is that it stays creamy and thick without turning gloppy or separating.
Tips and Common Mistakes
Mastering the perfect queso texture is all about understanding the science behind the process. Here’s what I’ve learned from years of making (and occasionally ruining) countless batches.
The Heat Factor: Maintaining that gentle simmer in Step 3 is absolutely critical. When the instructions say “small bubbles breaking the surface occasionally,” that’s exactly what you want—anything more aggressive will cause your cheese to separate. I’ve found that using a heavy-bottomed pot helps distribute heat evenly at that low setting, preventing hot spots that can turn your queso grainy. The 5-7 minutes specified isn’t arbitrary; it’s the perfect window for the cornstarch to fully activate without overcooking the cheese proteins.
Slurry Success: In Step 2, when mixing the 1 tablespoon of cornstarch with ¼ cup of evaporated milk, take an extra 30 seconds to whisk it until completely smooth. I can’t stress enough how important this is—any lumps in your slurry will translate to lumps in your finished queso. The 2-3 minutes of stirring after adding it might seem tedious, but that’s when the magic happens as the cornstarch molecules absorb liquid and swell, creating that perfect thickened consistency.
Cheese Selection Matters: While the instructions mention cheddar and Monterey Jack as ideal choices, I’ve found that the quality of your cheese makes a surprising difference. Always opt for block cheese that you grate yourself rather than pre-shredded. Those anti-caking agents in pre-shredded cheese aren’t just marketing—they genuinely interfere with the melting process and can prevent your queso from reaching that ideal thickness. Freshly grated cheese melts more smoothly and creates a better emulsion with the liquids.
Resting Period Secret: Don’t skip the 5-minute resting time in Step 5. I know it’s tempting to dive right in when your queso looks perfect, but this brief pause allows the starch molecules to fully relax and the texture to set. You’ll notice the queso actually thickens slightly during this time as everything comes together. It’s also when the flavors meld—taste before and after resting and you’ll notice the difference.
Pro Tips for Make Queso Thicker
- Mastering the perfect queso texture is all about understanding the science behind the process. Here’s what I’ve learn…
- The Heat Factor: Maintaining that gentle simmer in Step 3 is absolutely critical. When the instructions say “small bu…
- Slurry Success: In Step 2, when mixing the 1 tablespoon of cornstarch with ¼ cup of evaporated milk, take an extra 30…
Frequently Asked Questions
Can I use flour to thicken queso without making it taste grainy?
Yes! The key is to pre-mix 1 tbsp flour with 2 tbsp cold water or broth to create a slurry before stirring it in. Cook on low heat for 3-5 minutes while whisking constantly to avoid lumps. For extra smoothness, use Wondra flour—it dissolves instantly! Avoid dumping dry flour directly into hot queso.
How long does it take for queso to thicken after adding a thickener?
Most thickeners (like cornstarch or cheese) work in 2-5 minutes on medium-low heat. Stir continuously to prevent scorching. If using cream cheese or evaporated milk, allow 5-10 minutes for full integration. Pro tip: Remove from heat just before it reaches your desired thickness—it’ll firm up slightly as it cools! Opt for low-moisture, high-fat cheeses like:
Try these quick fixes:
Surprisingly, no—they’re better for creaminess than thickness. Sour cream (½ cup max) adds tang but may loosen the dip. For thickness, stick to reducing liquid, starches, or extra cheese. Greek yogurt can curdle if overheated, so stir it in off-heat at the end.What’s the best cheese for thick queso that still melts smoothly?
Avoid pre-shredded cheese—it contains additives that make queso grainy or oily.
My queso is too thin—can I fix it without starting over?
Avoid over-stirring after adding thickeners—it can break the emulsion!
Does adding sour cream or Greek yogurt thicken queso?
Now you’ve got the tools to turn runny queso into a rich, velvety masterpiece every time! 🧀✨ Whether you thicken it with a roux, cheese blends, or a splash of cream, the key is patience and the right technique. Don’t be afraid to experiment—your perfect dip is just a whisk away.
Ready to put your new skills to the test? Grab your favorite chips, fire up the stove, and dive into that ultra-creamy queso—your taste buds (and party guests) will thank you! 🎉